Development preview — content and features are still being refined.
 Items
Items · Items
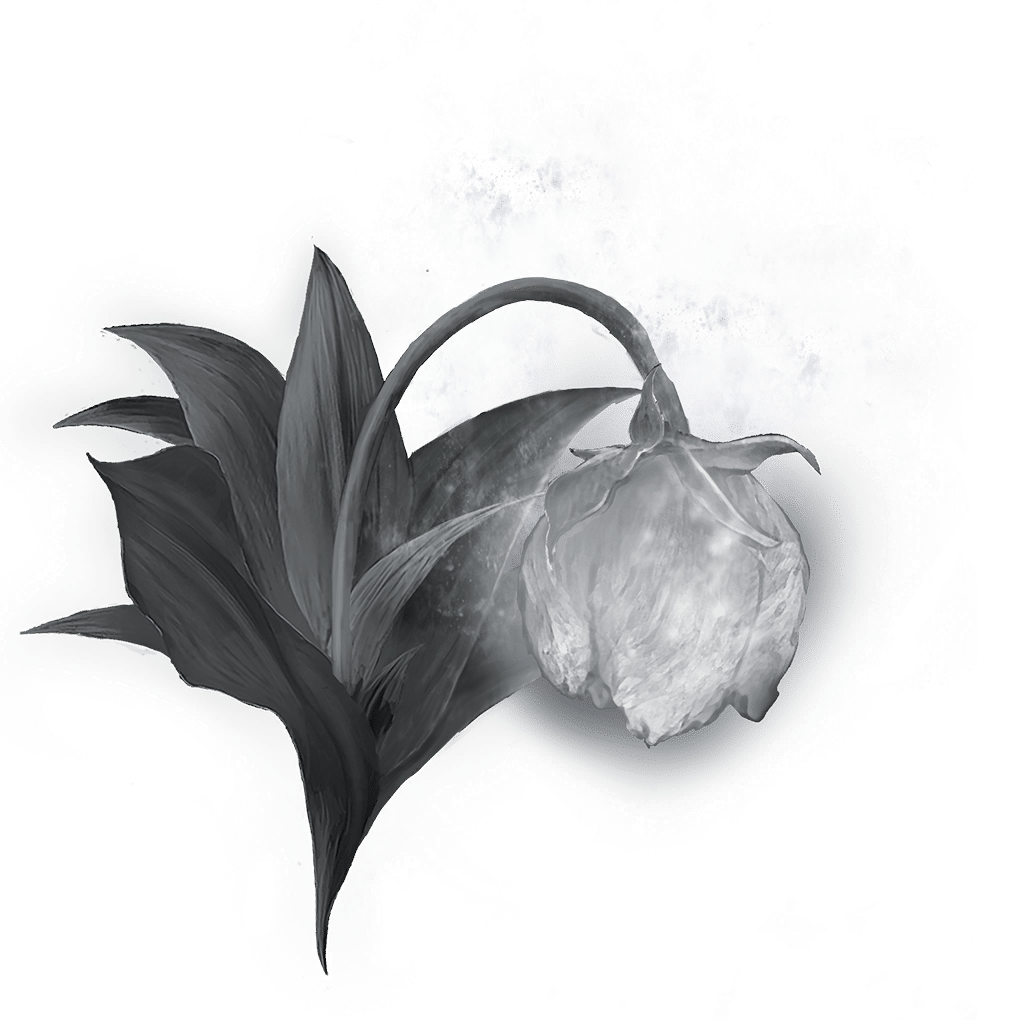
Great Grave Glovewort
Items
One flower upgrades a compatible standard Spirit Ash from +9 to its maximum +10, plus Roderika's tuning fee.
Reference values
- Type
- Upgrade material
About this upgrade material
One flower upgrades a compatible standard Spirit Ash from +9 to its maximum +10, plus Roderika's tuning fee.
A grouped summon needs one flower for the ash, rather than one per spirit. Lone Wolf Ashes and Greatshield Soldier Ashes keep their shared group upgrade.
Horned Warrior Ashes also use this standard material family despite being a single powerful warrior. Named special ashes such as Tiche use Great Ghost Glovewort instead.
Technical details
- Item Type
- Bolstering Material
- Effect
- Strengthen ashes to +10
In-game description
White flower that blooms in catacombs.
An especially large specimen.
Strengthens ashes to +10.
Since times of old, large gloveworts were used to comfort heroic spirits. Given in tribute to those who died the most glorious of deaths, in the hope their stories would become legend.
Where to find
Prelate's room in Giant-Conquering Hero's Grave
Mountaintops of the Giants
Starting Site of Grace: Giant-Conquering Hero's Grave
- Reach Giant-Conquering Hero's Grave on the high plateau above Zamor Ruins. Enter from the mountain's upper route, rather than looking for a doorway below the cliff.
- Work through the dungeon's light-and-shadow enemy rooms to the large hall with the shadow troll. Use the holy light to make shadow enemies vulnerable when needed.
- Drop from the side of the platform in the troll hall to the lower room guarded by a Fire Prelate.
- Clear or avoid the Prelate and gather the flower at the back of the room. The Ancient Hero boss is not the pickup trigger.
Consecrated Snowfield Catacombs boss reward
Consecrated Snowfield
Starting Site of Grace: Consecrated Snowfield Catacombs
Before you go
- Reach Consecrated Snowfield and defeat the dungeon boss.
- Obtain the right Haligtree Secret Medallion half from Albus in Village of the Albinaurics, beneath southwestern Liurnia's plateau. Follow the village path uphill past the perfumer, reveal the large pot before the bridge and speak to Albus. Stop attacking once he appears.
- Obtain the left half from the rooftop beyond Commander Niall in Castle Sol. After defeating Niall, go through the exit behind his arena, ride the tower lift and collect the half beside the seated spirit. It is a separate pickup from his direct weapon reward.
- Return to the Grand Lift of Rold and switch the action to Hoist secret medallion. Follow Hidden Path to the Haligtree through to the snowy exit. The ordinary Rold Medallion goes to the other part of the Mountaintops.
- From Consecrated Snowfield grace, ride northeast while keeping beside the eastern cliff wall. Pass the troll-pulled carriage and find the rising approach to Consecrated Snowfield Catacombs. Enter and activate the grace.
- Enter Consecrated Snowfield Catacombs in the eastern cliff of the lower snowfield. Climb the long staircase from the grace to the first pillar spraying frost. Strike or shoot the pillar to lower it, then pass it.
- Turn right at the sealed boss doors and climb the next staircase. Shoot the second frost pillar to clear the passage and enter the room where a Burial Watchdog drops down.
- Cross that room to the passage on its opposite side. In the next chamber, a knight occupies the lower floor and another Burial Watchdog guards the upper area.
- Take the left-hand stairs onward to the frost pillar above the earlier corridor. Lower it, stand on its top and strike it to ride upward.
- Pull the boss-door lever on the upper floor, then return to the doors near the entrance. Defeat Putrid Grave Warden Duelist for two Great Grave Gloveworts and Rotten Gravekeeper Cloak.
Sarcophagus above the Dragon Temple side route
Crumbling Farum Azula
Starting Site of Grace: Dragon Temple
- From Dragon Temple, look back toward the broken platforms west of the grace.
- Jump onto the floating platform and take the route right past the undead ambush. Cross the fallen pillar to the ladder.
- Climb to the sarcophagus and gather the flower. More undead rise behind you when you approach the pickup.
Upper room near Crumbling Beast Grave Depths
Crumbling Farum Azula
Starting Site of Grace: Crumbling Beast Grave Depths
- Take the northwestern exit from the room beside Crumbling Beast Grave Depths.
- Continue past the row of sarcophagi to the outside overlooking the adjacent roof. Jump onto that roof and climb to its highest part.
- Enter the upper opening into the neighboring building. Gather the flower at the northeastern end, guarded by three beastmen.
Rot pool above Drainage Channel
Elphael, Brace of the Haligtree
Starting Site of Grace: Drainage Channel
- From Drainage Channel, go back uphill through the channel and climb the ladder toward the area you crossed to reach this grace.
- At the flower-covered slope, find the branch extending to the separate scarlet-rot pool beside a Kindred of Rot.
- Cross the branch to the pool. An Ulcerated Tree Spirit appears here; defeat it or create a safe pickup opening before collecting the flower.
- Bring rot protection or a way to cure it. This is also the pool used for Millicent's late quest encounter.
Stone enclosure in the flooded Church District
Shadow Keep
Starting Site of Grace: Church District Entrance
- From Highroad Cross in Scadu Altus, follow the road east to Moorth Ruins and activate the grace beside the cross.
- Pass through the large stone arch east-southeast of the grace. At the house ahead, turn left toward the leaning tower. Avoid the large open shaft behind the house, which is too deep for a direct drop.
- Find the smaller gap between the broken building and the rock wall in front of the leaning tower. Drop onto the balcony-like ledge, turn right past the dogs and follow the cave inward.
- In the open chamber at the end, take the back-left ledges down onto the lower roof. Look for the small shrine guarded by three Inquisitors and collect Golden Arcs from the chest inside.
- To continue east, drop from the lower roof to the ground and take the cave beside the building on the left. Follow it to the long ladder and climb out of the well at Bonny Village grace.
- Go east through Bonny Village, watching for the large cleaver-wielding villagers, and cross the two suspension bridges. The second brings you to Bridge Leading to the Village grace.
- Follow the road north through the woods to Church District Highroad grace. Take the northwestern road through the entrance tunnel and activate Church District Entrance inside Shadow Keep. This eastern entrance leads to the flooded district, rather than the main-gate Hippopotamus arena.
- Jump from the entrance ledge onto the first roof below. Follow its northwestern edge and jump from the raised roof section to the stone wall opposite, rather than taking the southwestern log platforms toward different loot.
- Follow the wall around and climb its northeastern rise. Jump to the next roof northwest, where a Fire Knight patrols. Clear it or make enough room to continue safely.
- Cross toward the next large church and jump onto the sloping stone support on your left. Walk southwest up that support to the high roof, then use the broken roof opening to drop onto the central beam below.
- Follow the beam to the adjoining upper corridor and drop through the opening in its floor onto the raised church passage. Stay above the water and continue northwest; the Prayer Room door is a separate side destination.
- Pass the small side room holding a Rune of an Unsung Hero and continue into the corridor patrolled by two Fire Knights. The first left exit leads toward the drainage wheel, while the later left exit leads to the Storehouse lift.
- Take the first left exit and cross the small bridge outside. Clear the bats, go up the steps and jump the narrow gap in the walkway before the tall lamp.
- Climb the ladder to the large wheel and operate it from the side to drain the district. This permanently opens the lower ground for the current journey.
- Climb back down and use the nearby doorway and lower platforms to descend to the exposed ground. Enter the small chapel nearby and activate Sunken Chapel grace.
- From Sunken Chapel, go toward the large tree in the drained district. Defeat the nearby Ulcerated Tree Spirit if it prevents a safe approach, then search the ground around the tree’s stone enclosure for the corpse holding Great Grave Glovewort.
- The pickup can also be reached on the enclosure while the area is flooded. Draining the water does not permanently lose the flower; avoid jumping into deep water to reach it early.
Notes
- One flower upgrades a compatible standard Spirit Ash from +9 to its maximum +10, plus Roderika's tuning fee.
- A grouped summon needs one flower for the ash, rather than one per spirit. Lone Wolf Ashes and Greatshield Soldier Ashes keep their shared group upgrade.
- Horned Warrior Ashes also use this standard material family despite being a single powerful warrior. Named special ashes such as Tiche use Great Ghost Glovewort instead.
- Numbered Grave Gloveworts remain necessary for the first nine upgrades. This final flower does not skip the earlier levels.
- The final flowers are finite per Journey. Glovewort Picker's Bell Bearings only unlock numbered ranks and do not provide an unlimited +10 supply.
- The Putrid Grave Warden Duelist in Consecrated Snowfield Catacombs awards two flowers in one victory. That does not make the boss repeatable after resting.
- The Putrid Grave Warden Duelist reward contains two copies, enough to finish two standard ashes. Other corpse or chest pickups should not be assumed to contain the same quantity.
- The Church District flower remains obtainable after draining the water. Look on the ground around the tree’s enclosure instead of assuming a flooded-area pickup is permanently gone.
- Cannot be dropped for another player. Tuning consumes one flower for the selected ash, and a later journey does not raise its maximum reinforcement above +10.