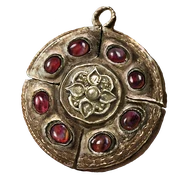
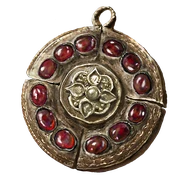
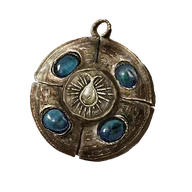
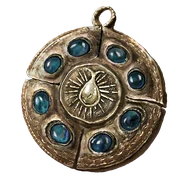
Reference values
- Type
- Talismans
- Weight
- 0.9
Effects
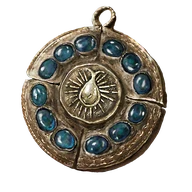
Increases damage dealt by 20% for 30 seconds after Madness triggers nearby. Against other players, the increase is 12%. It weighs 0.9.
Your own Madness can trigger it, but the meter must actually fill and the ailment must occur. Merely casting a frenzy spell or landing Fire damage on an immune enemy does not activate the talisman.
Another nearby Madness trigger refreshes the duration rather than stacking another copy of this bonus. The buff improves damage, not Madness buildup.
Technical details
Attack Power
- Value
- 1.2
- Calculation
- multiplicative
- Effect type
- positive
- Conditions
- Trigger in Presence of Madness
- PvP value
- 1.12
In-game description
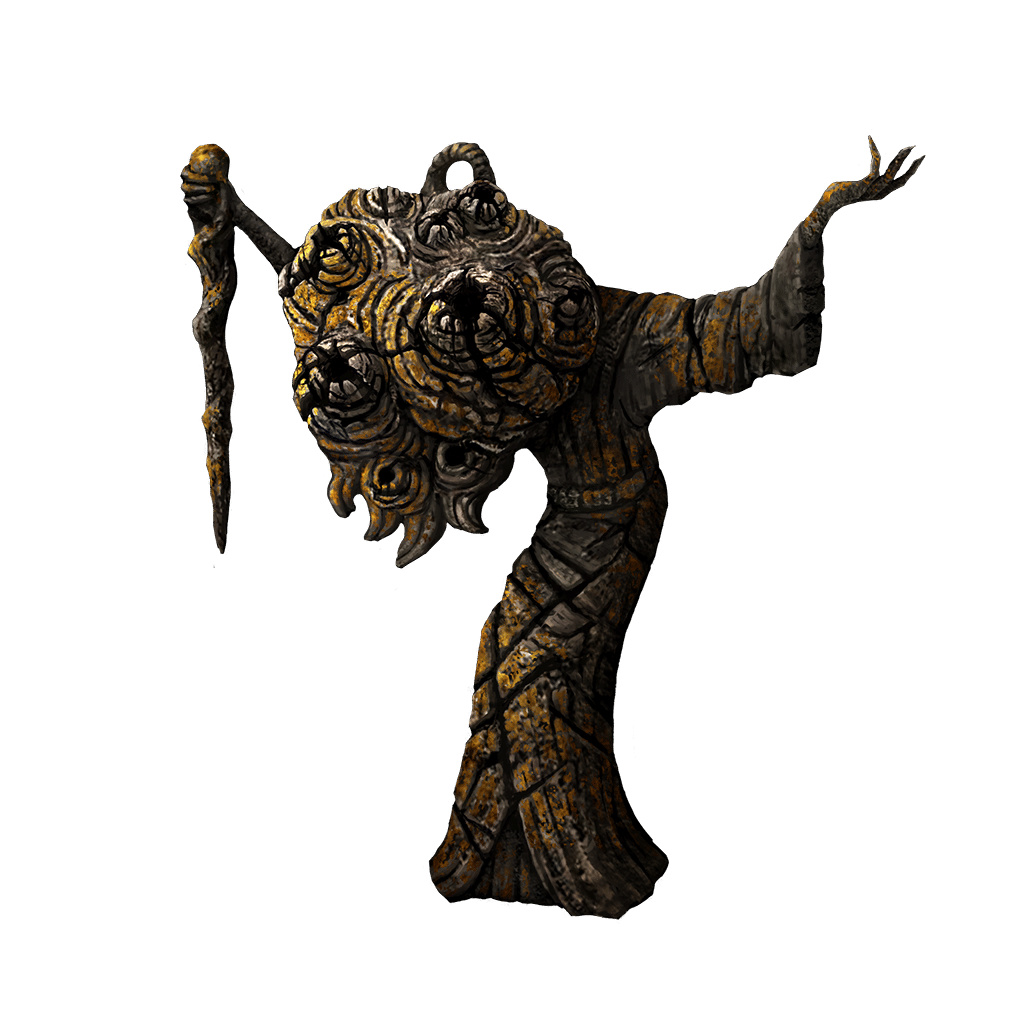
A talisman depicting the exultation of the aging untouchable, whose head resembles a sprig of ripe grapes.
Raises attack power when madness is triggered in the vicinity.
"Gift your madness to our Lord.
Bless our brethren with grapes.
Take care that they fully ripen."
Where to find
Aging Untouchable on the western path near Abandoned Church
Abyssal Woods
Starting Site of Grace: Church Ruins
Before you go
- Bring equipment with a parry skill.
- To enter the Realm of Shadow, defeat Starscourge Radahn and Mohg, Lord of Blood, then touch the withered arm in Mohg's arena at Mohgwyn Palace.
- For the main Shadow Keep approach, defeat the Golden Hippopotamus and activate Main Gate Plaza grace. Follow the left-hand route through the keep to the upper courtyard lined with burning boats. Watch for the Militiamen hiding beside them.
- At the southeastern end of the boat courtyard, find the ladder beside the outer railing and descend to the water. Walk behind the waterfall and take the second ladder down to the painting room.
- Strike the false wall beside the Domain of Dragons painting. Follow the revealed passage and rest in the stone coffin to arrive at Castle Watering Hole.
- Head south past Ruins of Unte, avoiding the active Furnace Golem. Follow the eastern, left-hand cliff beside the waterfall to Recluses' River Upstream grace.
- Continue south along the cliff ledges. Where the route changes sides, jump across to the western, right-hand bank and follow it down to Recluses' River Downstream grace. Clear nearby Man-Flies before attempting the drops.
- Use the large gravestones projecting from the cliff to descend to the river below, then continue south to the next descent. Take the lower gravestones one at a time to the wooded valley filled with stone coffins.
- Follow the valley's eastern cliff, keeping the wall on your left, to the catacomb doors marked by two pale flames. Enter Darklight Catacombs and ride the entrance lift to its grace. Bring a lantern or torch.
- From the dungeon grace, take the right-hand doorway beside the Yellow Fulgurbloom. Follow the descending stairs through the Imp rooms. At the lower doorway, deal with the cannon-mouthed Imp before crossing its line of fire.
- The passage behind the stairs leads to the first light-switch lever. Pull it to make the ledges easier to see, then return through the cannon Imp's doorway to the balcony.
- For the main route, take the balcony's left-hand doorway, pass the sorcerer room and descend the ramp to the first internal stone lift. Ride it down. This is separate from the lift at the dungeon entrance.
- In the next main room, take the stairs on the right and follow the left railing toward the next staircase. Look for the narrow broken section at the top of those stairs.
- Look down through the gap and drop carefully onto the thin ledge below. Turn back toward the doorway in the wall instead of dropping into the pit.
- Go through the doorway above the pit, clear the sorcerer on the right and take the ladder down beside him. Deal with the next sorcerer, then drop onto the main descending passage and ride the next stone lift to the lowest dungeon level.
- The enormous cannon Imp ahead fires explosive clusters. Move between cover toward the platform beneath it, dealing with the smaller imps rather than retreating into each delayed blast.
- Continue north to the doorway marked by two torches and pull the lever on the left. It lights the room and lowers the giant Imp's platform so you can reach the enemy.
- After clearing the lowered platform, drop to the chest area beneath it. Climb the ladder beyond the chest, pass the Lion Imp and drop into the connecting passage. Follow the passage to the final stone lift.
- Ride down to Jori, Elder Inquisitor and defeat him. Leave his arena through the opening into Forsaken Graveyard and activate its grace. This exit, rather than a cliff drop from Scadu Altus, leads into Abyssal Woods.
- Go south through the opening in the stone wall, then follow the woodland path south-southwest past the warning messages to Woodland Trail grace. Torrent becomes unavailable in these woods, so continue on foot.
- Follow the road south past the hostile Madding Hand, then southeast to Abandoned Church and Church Ruins grace. The talisman is carried by a particular Aging Untouchable in the woods near this church, rather than the Madding Hand on the road.
- Return northwest along the church trail to the rats, then turn west toward the warning messages and the first large yellow-headed Aging Untouchable. Use the grass beside the path to approach without drawing its gaze.
- Equip a parry skill and bait its close staff attack. Parry the attack as it reaches you, take the critical opening and finish the enemy once its protection breaks. Normal hits cannot remove that initial protection.
- Defeat this particular Untouchable for Aged One's Exultation. Other Untouchables have different rewards. You do not need to enter the manse or defeat Midra.
Notes
- Increases damage dealt by 20% for 30 seconds after Madness triggers nearby. Against other players, the increase is 12%. It weighs 0.9.
- Your own Madness can trigger it, but the meter must actually fill and the ailment must occur. Merely casting a frenzy spell or landing Fire damage on an immune enemy does not activate the talisman.
- Another nearby Madness trigger refreshes the duration rather than stacking another copy of this bonus. The buff improves damage, not Madness buildup.
- Self-inflicted Madness still damages you, drains FP and interrupts your actions. This talisman does not protect you from that cost. Leave time to recover before relying on the damage window.
- Madness affects players and susceptible human NPC opponents, while most ordinary enemies and bosses are immune. The Fire damage can still hurt an immune enemy, but the Madness burst will not trigger against it.
- Only the specific Aging Untouchable on the church-side woodland route carries it. The others do not provide more copies, and it is separate from Midra's boss rewards.
 Talismans