These values are for this piece. Your total also depends on your other armor and active effects.
Poise & status resistance
Higher resistance lets more buildup accumulate before a status triggers.
PoiseHelps resist staggering
3
ImmunityPoison and scarlet rot
13
RobustnessBlood loss and frostbite
8
FocusSleep and madness
25
VitalityDeath blight
30
Compare arms armor
The ten same-slot pieces closest in weight to Ansbach's Manchettes. Lower weight is lighter; higher poise, negation and resistance provide more protection. Negation differences are percentage points.
Wise Man's Mask gives a 5% bonus to qualifying Blood Oath and dynastic skill damage. The chest, manchettes and boots give 3% each, multiplying to about 14.74% together.
Qualifying skills include Blood Blade, Bloody Slash, Blood Tax, Corpse Piler, Reduvia Blood Blade, Dynast's Finesse and Dynastic Sickleplay. This improves eligible skill damage, not ordinary attacks, bleed buildup or the percentage-based Blood Loss burst.
Technical details
Armor effects
Entry 1:
attribute: Attack Power
conditions:
Entry 1: Unknown #132
model: multiplicative
type: positive
value: 1.03
Effects
Increases attack power by 3%. Requires: eligible Blood Oath and dynastic weapon skills.
Technical details
Attack Power
Increases attack power by 3%. Requires: Unknown #132.
attribute: Attack Power
conditions:
Entry 1: Unknown #132
model: multiplicative
type: positive
value: 1.03
In-game description
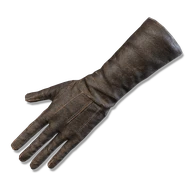
Manchettes of Sir Ansbach. Black leather adorned with gold embroidery.
Slightly enhances Blood Oath and dynastic skills.
Where to find
Final boss arena
Enir-Ilim
Starting Site of Grace: Divine Gate Front Staircase
Before you go
To enter the Realm of Shadow, defeat Starscourge Radahn and Mohg, Lord of Blood, then touch the withered arm in Mohg's arena at Mohgwyn Palace.
Give Ansbach the Secret Rite Scroll and keep him alive.
Defeat Promised Consort Radahn.
Enter the Realm of Shadow after defeating Starscourge Radahn and Mohg, Lord of Blood, by touching the withered arm in Mohg's arena.
At Three-Path Cross, speak to Redmane Freyja. Follow the western rocky passage to Main Gate Cross outside Belurat and speak to Sir Ansbach. Return to finish their new conversations after Miquella's great rune and charm break near Shadow Keep.
From Highroad Cross in Scadu Altus, follow the main road north to Shadow Keep's southern gate. Ride the entrance lift and activate Shadow Keep Main Gate grace.
Defeat Golden Hippopotamus in the plaza. This is the front-door route; the flooded Church District provides a different way into the keep.
From Main Gate Plaza, leave through the west-northwest doorway, pass through the armory and climb the stairs. Continue up the wooden steps to the dining hall, where two Black Knights guard the route.
Leave the dining hall through its southeastern exit to the upper rampart. Follow the rampart past the burning boats and watch for the small Shadow Militiamen hiding beside them.
Take the stairs leading north-northeast toward the large lift, passing the Fire Knight in front of it. Ride up and activate Storehouse, First Floor grace.
From Storehouse, First Floor, take the stairs beside the large horned specimen and follow the shelves toward the northern side. Before climbing to the next level, take the right-hand passage down into the side room with the altar and skeletons.
Ansbach is in the corner of this room. Finish his dialogue about his investigation, but hold on to Secret Rite Scroll until you have spoken to Freyja upstairs if you want her shield.
Return upstairs and follow the shelf-lined walkways up the next two levels. Watch for Shadow Militiamen beside the stairs and the Fire Knight on the third-floor walkway.
Continue southwest past that Fire Knight to the walkway corner where more militiamen approach. Find the large feet of the suspended specimen, climb onto it and follow its body upward.
Jump from the specimen's horns onto the balcony with the cross and activate Storehouse, Fourth Floor grace. The ordinary stair route does not directly replace this climb.
Leave the fourth-floor grace through the western doorway. Follow the outer balcony south, climb past the Fire Knight casting from the next stairs and continue east.
Before continuing up toward the next Storehouse entrance, take the stairs down on the left near the bats. Enter the lower room and collect Secret Rite Scroll beside the shelves at the far edge.
Keep the scroll for now if following Freyja. Picking it up is safe; handing it to Ansbach before discussing her investigation is the step that can make him leave too soon.
Return outside and climb the stairs past the turnoff for the scroll. Take the left doorway around the eastern corner to re-enter the Storehouse.
Follow the shelves northeast and north past the Fire Knight near the corner. Continue by the deer specimen and climb the stairs toward the sixth floor.
Keep taking the upward stairs, then turn west up the final flight to Storehouse, Seventh Floor grace. Freyja is reading beside the fireplace here. Finish her dialogue about the information she needs from Ansbach.
Fast travel to Storehouse, First Floor and return to Ansbach's lower side room. Tell him about Freyja's investigation before handing over Secret Rite Scroll, then finish his new dialogue.
Ask about Freyja again until he gives Letter for Freyja. If the option has not appeared, rest, return and finish the next conversation after both the scroll and her question have been discussed.
Return to Storehouse, Seventh Floor and give Freyja the letter. Speak again to receive Golden Lion Shield, then finish her dialogue. Pass on her response to Ansbach if he is still in his room.
Keep Ansbach alive. If Leda targets him after the earlier Hornsent confrontation or Messmer, choose the gold sign in Ansbach's former Storehouse room to help him. The red sign kills him and closes his final rewards. If helping Hornsent prevented this confrontation, continue Ansbach's investigation rather than waiting for signs that do not appear.
Defeat Messmer in Shadow Keep for his kindling and Romina at Church of the Bud in the Ancient Ruins of Rauh.
Finish the companion quest steps you want before burning the Sealing Tree behind Romina with Messmer's Kindling. This advances their quests and carries you to Enir-Ilim: Outer Wall.
From Outer Wall, climb northeast to the large balcony, then southwest up the next stairs. Turn southeast toward the Divine Bird Warrior and enter the building beyond it. Climb the broken ledges and cross the balcony to First Rise grace.
From First Rise, take the stairs upward through the building and use the southwest doorway toward the courtyard route. Continue through to the courtyard with the large patrolling inquisitor and the smaller enemies praying below.
Take the upward stairs on the courtyard's southeastern side, rather than the lower tree detour. Use the stone railings for cover from the inquisitors' rapid spells, then continue up beside the large tree to the Divine Beast Warrior.
Get past the warrior and climb northwest. Keep moving when the upper inquisitors cast attacks beneath your feet. Open the large double doors at the top of the stairs and activate Spiral Rise grace.
Climb the spiral stairs and leave through the window before the broken floor. Follow the roof southwest around the building, then jump west to the wider roof. Draw out the Gravebirds one at a time instead of fighting all three at the corner.
Continue northwest from the roofs onto the platform with another bird and stairs. Climb the northern stairs, then the next flight toward the frost-wielding Divine Beast Warrior. The drop over the railing is an optional Spirit Ash detour.
Get past the warrior. From the small structure northwest of it, go east to the corpse with Sunwarmth Stones and climb the roof beside it. Enter the tower through its southeastern windows.
Climb the stairs inside the tower and clear the inquisitors around the lift. This is the lift above the large altar, before the final wind-wielding warrior and Cleansing Chamber Anteroom.
Continue south-southwest up the tower's stairs and go outside. Get past the wind-wielding Divine Beast Warrior on the large platform and enter the building above it for Cleansing Chamber Anteroom grace. The lift down to the altar is an optional helmet detour.
Climb the stairs east from Cleansing Chamber Anteroom and enter the sandy chamber. Finish Leda's dialogue. Use any available gold ally signs if you want help, then interact with the red sign to begin the battle against her and her allies.
Defeat the group and return to your world. Loot the bodies left around the chamber before taking the eastern exit.
Go through the eastern exit after Leda's battle, climb to the lift and ride up. Speak to Ansbach by the exit if he is there, then climb to Divine Gate Front Staircase grace.
Defeat Promised Consort Radahn and search just inside the final arena's entrance. Loot Ansbach's seated body for his four regular clothing pieces, Obsidian Lamina and Furious Blade of Ansbach. His final-boss gold sign is optional help.
Red-sign confrontation in Ansbach's former Storehouse room
Shadow Keep
Starting Site of Grace: Storehouse, First Floor
Before you go
Leda targets Ansbach.
This branch kills Ansbach and forfeits his final rewards.
Enter the Realm of Shadow after defeating Starscourge Radahn and Mohg, Lord of Blood, by touching the withered arm in Mohg's arena.
At Three-Path Cross, speak to Redmane Freyja. Follow the western rocky passage to Main Gate Cross outside Belurat and speak to Sir Ansbach. Return to finish their new conversations after Miquella's great rune and charm break near Shadow Keep.
From Highroad Cross in Scadu Altus, follow the main road north to Shadow Keep's southern gate. Ride the entrance lift and activate Shadow Keep Main Gate grace.
Defeat Golden Hippopotamus in the plaza. This is the front-door route; the flooded Church District provides a different way into the keep.
From Main Gate Plaza, leave through the west-northwest doorway, pass through the armory and climb the stairs. Continue up the wooden steps to the dining hall, where two Black Knights guard the route.
Leave the dining hall through its southeastern exit to the upper rampart. Follow the rampart past the burning boats and watch for the small Shadow Militiamen hiding beside them.
Take the stairs leading north-northeast toward the large lift, passing the Fire Knight in front of it. Ride up and activate Storehouse, First Floor grace.
From Storehouse, First Floor, take the stairs beside the large horned specimen and follow the shelves toward the northern side. Before climbing to the next level, take the right-hand passage down into the side room with the altar and skeletons.
Ansbach is in the corner of this room. Finish his dialogue about his investigation, but hold on to Secret Rite Scroll until you have spoken to Freyja upstairs if you want her shield.
Return upstairs and follow the shelf-lined walkways up the next two levels. Watch for Shadow Militiamen beside the stairs and the Fire Knight on the third-floor walkway.
Continue southwest past that Fire Knight to the walkway corner where more militiamen approach. Find the large feet of the suspended specimen, climb onto it and follow its body upward.
Jump from the specimen's horns onto the balcony with the cross and activate Storehouse, Fourth Floor grace. The ordinary stair route does not directly replace this climb.
Leave the fourth-floor grace through the western doorway. Follow the outer balcony south, climb past the Fire Knight casting from the next stairs and continue east.
Before continuing up toward the next Storehouse entrance, take the stairs down on the left near the bats. Enter the lower room and collect Secret Rite Scroll beside the shelves at the far edge.
Keep the scroll for now if following Freyja. Picking it up is safe; handing it to Ansbach before discussing her investigation is the step that can make him leave too soon.
Return outside and climb the stairs past the turnoff for the scroll. Take the left doorway around the eastern corner to re-enter the Storehouse.
Follow the shelves northeast and north past the Fire Knight near the corner. Continue by the deer specimen and climb the stairs toward the sixth floor.
Keep taking the upward stairs, then turn west up the final flight to Storehouse, Seventh Floor grace. Freyja is reading beside the fireplace here. Finish her dialogue about the information she needs from Ansbach.
Fast travel to Storehouse, First Floor and return to Ansbach's lower side room. Tell him about Freyja's investigation before handing over Secret Rite Scroll, then finish his new dialogue.
Ask about Freyja again until he gives Letter for Freyja. If the option has not appeared, rest, return and finish the next conversation after both the scroll and her question have been discussed.
Return to Storehouse, Seventh Floor and give Freyja the letter. Speak again to receive Golden Lion Shield, then finish her dialogue. Pass on her response to Ansbach if he is still in his room.
For the earlier armor branch, Leda must be targeting Ansbach. This follows helping her against Hornsent, or leaving their confrontation alone and progressing through Messmer. Speak to her at Highroad Cross until she names Ansbach.
Return to Ansbach's former lower Storehouse room and use the red sign to assist Leda against him. Defeat him to receive his four regular armor pieces and longbow. This permanently ends his quest and forfeits Obsidian Lamina and Furious Blade of Ansbach.
Notes
Weighs 1.7 and provides 3 poise.
Wise Man's Mask gives a 5% bonus to qualifying Blood Oath and dynastic skill damage. The chest, manchettes and boots give 3% each, multiplying to about 14.74% together.
Qualifying skills include Blood Blade, Bloody Slash, Blood Tax, Corpse Piler, Reduvia Blood Blade, Dynast's Finesse and Dynastic Sickleplay. This improves eligible skill damage, not ordinary attacks, bleed buildup or the percentage-based Blood Loss burst.
It does not boost Blood Oath incantations, including Furious Blade of Ansbach, Swarm of Flies, Bloodboon and Bloodflame Talons. Sharing the blood theme or Ansbach's name does not make a spell a qualifying weapon skill.
Bloodboon Ritual, Bloodblade Dance and Bloodfiends' Bloodboon are also excluded. The bonus applies to the supported skills rather than every attack associated with Mohg.
The eligible skill-damage increase can combine with Shard of Alexander. With all four pieces and the shard, the combined increase is about 31.95% to an attack covered by both, without increasing its status buildup.
The altered attire keeps its 3% skill bonus. Tailoring lowers chest weight from 5.1 to 4.1 and poise from 12 to 10, with reduced protection and some resistances.
Only the chest can be altered. The change costs 500 runes at a grace and is reversible; the mask, manchettes and boots have no tailoring variants.
The pieces work individually and give no additional matching-outfit bonus. You do not gain extra Faith, Arcane or skill uses by completing the outfit.
Keeping Ansbach alive through his investigation allows his final body to supply the armor, Obsidian Lamina and Furious Blade of Ansbach after Radahn. The earlier red-sign branch gives the armor and bow at the cost of those later rewards.
If you want Golden Lion Shield as well, speak to Freyja on the seventh floor and discuss her with Ansbach before handing him Secret Rite Scroll.
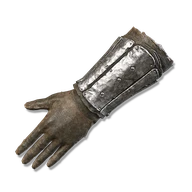
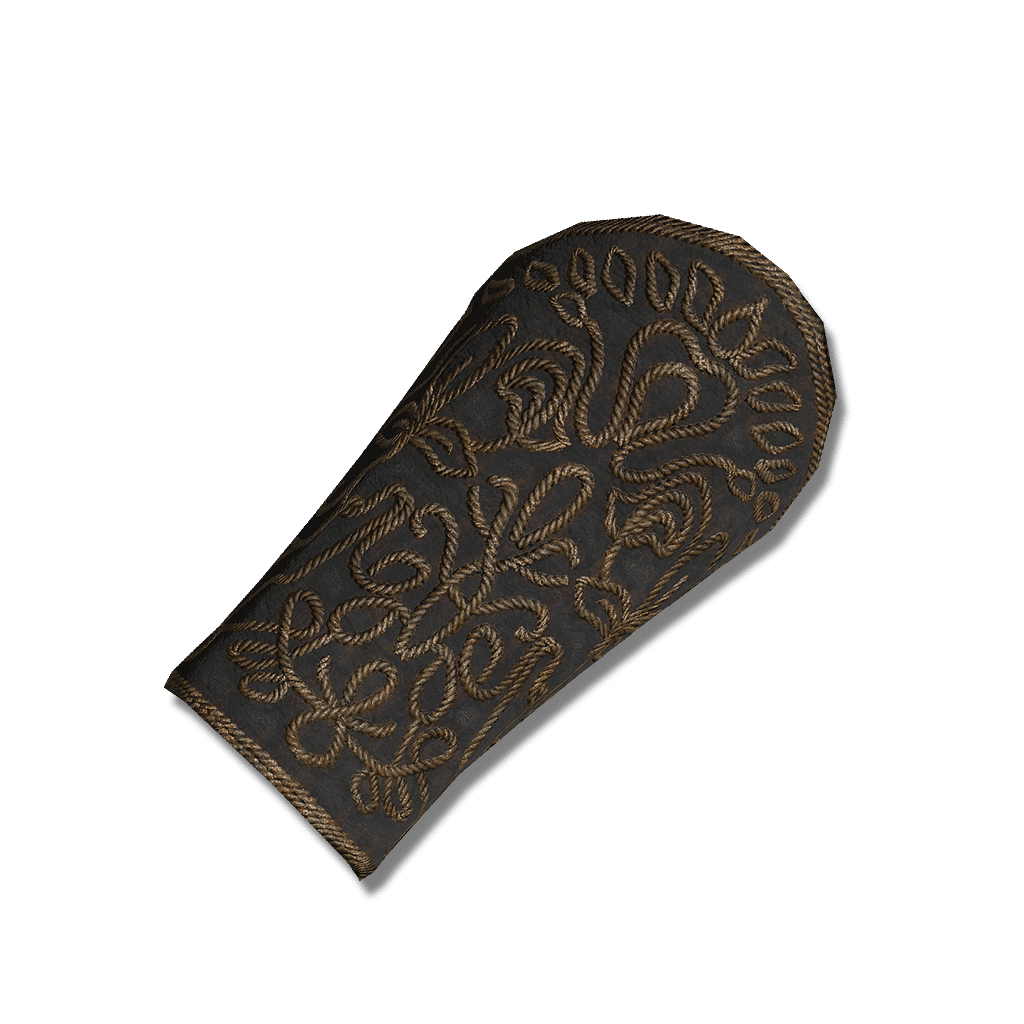 Arms
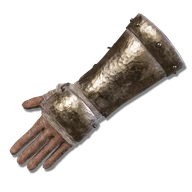
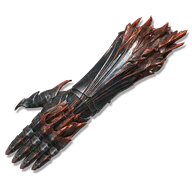
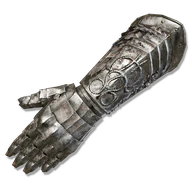
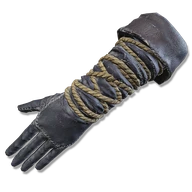
 Ansbach's ManchettesThis piece
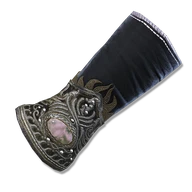 Queen's Bracelets
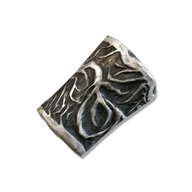 Godskin Noble Bracelets
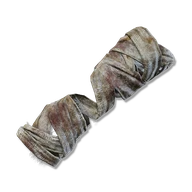 Bandit Manchettes
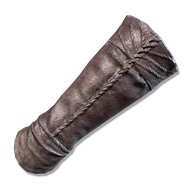 Traveler's Manchettes
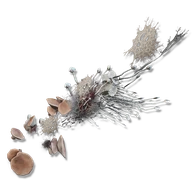 Mushroom Arms
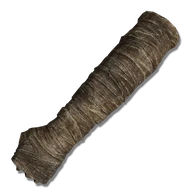 Dryleaf Arm Wraps
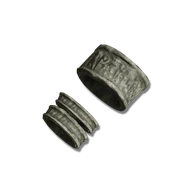 Gravebird Bracelets
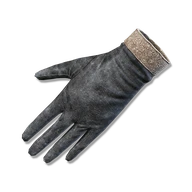 Traveling Maiden Gloves
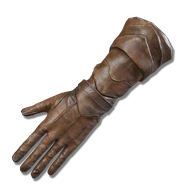 Leontiel's Leather Gloves
 Perfumer Gloves