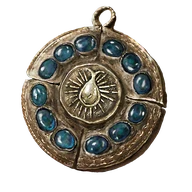
Reference values
- Type
- Talismans
- Weight
- 1.3
Effects
Brings eligible sorcery and incantation casting speed to its effective cap, but makes you take 30% more damage. The penalty applies while the talisman is equipped, rather than only during a cast.
Only parts of a spell's animation respond to casting speed. It does not remove every windup or recovery animation, and it does not make every spell instant.
It gives no separate spell-damage bonus, FP discount or faster weapon skill animation.
Technical details
Absorption
- Value
- 0.7
- Calculation
- multiplicative
- Effect type
- negative
Casting Speed
- Value
- 99
- Calculation
- additive
- Effect type
- positive
In-game description
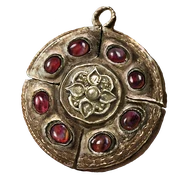
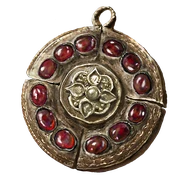
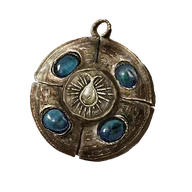
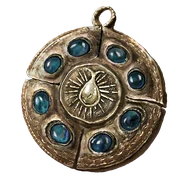
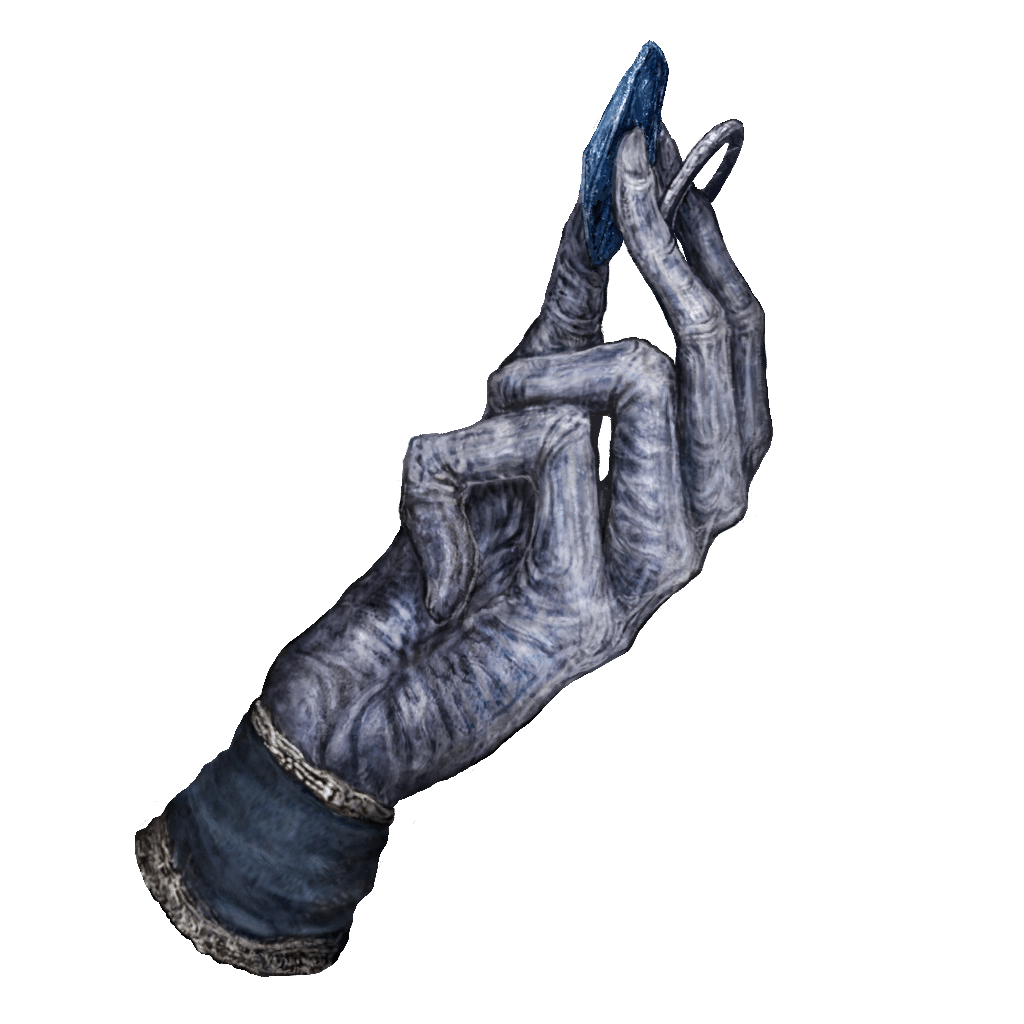
A talisman depicting a wizened hand gently gripping a glintstone.
Shortens casting speed for sorcery and incantations by the utmost, but increases damage taken.
Count Ymir was known for his recitations.
"One need only envision the romance of the stars above with adoration for stardust in one's heart to become a great sorcerer. Do so, and you will know love."
Where to find
Count Ymir at the Cathedral of Manus Metyr
Scadu Altus
Starting Site of Grace: Cathedral of Manus Metyr
Before you go
- Obtain the Hole-Laden Necklace from Count Ymir.
- Sound the bell at the Finger Ruins of Rhia.
- To enter the Realm of Shadow, defeat Starscourge Radahn and Mohg, Lord of Blood, then touch the withered arm in Mohg's arena at Mohgwyn Palace.
- From Highroad Cross in Scadu Altus, follow the road east to Moorth Ruins and activate the grace beside the cross.
- Pass through the large stone arch east-southeast of the grace. At the house ahead, turn left toward the leaning tower. Avoid the large open shaft behind the house, which is too deep for a direct drop.
- Find the smaller gap between the broken building and the rock wall in front of the leaning tower. Drop onto the balcony-like ledge, turn right past the dogs and follow the cave inward.
- In the open chamber at the end, take the back-left ledges down onto the lower roof. Look for the small shrine guarded by three Inquisitors and collect Golden Arcs from the chest inside.
- To continue east, drop from the lower roof to the ground and take the cave beside the building on the left. Follow it to the long ladder and climb out of the well at Bonny Village grace.
- Go east through Bonny Village, watching for the large cleaver-wielding villagers, and cross the two suspension bridges. The second brings you to Bridge Leading to the Village grace.
- Follow the road north through the woods and around its bend to Church District Highroad grace. The northern road continues toward Shadow Keep; your destination is the cathedral south of this junction.
- Follow the road south through the woods to the large cathedral in the lake. Enter through its main doors and activate Cathedral of Manus Metyr grace.
- Speak to Count Ymir on the throne and accept his guidance. He gives you the Hole-Laden Necklace and first Ruins Map. You do not need to buy a spell to receive them.
- From Castle Front, ride south to the crossroads, turn east and follow the road to the next fork. Take the right-hand dirt track, then the left fork downhill toward the southeast.
- Pass the bloodfiends and descend into the shallow poison area. Follow the lower path down toward the river rather than climbing toward the fort; watch for militia and poison traps along the descent.
- At the bottom is a shallow pool with a giant crab. Turn southwest into the opening in the cliff, continue through the cave past the Revered Spirit Ash chamber and activate Ellac River Cave grace.
- Leave by the southern cave exit and turn south along the river. Use Torrent to cross the successive rock ledges beside the waterfall, landing on the nearby rocks rather than jumping to the valley floor.
- Continue down the ledge path past the stone birds, watching for the living ones to attack. Drop down the short rock steps to Ellac River Downstream grace.
- From Downstream, continue south beside the lower falls. Cross the long rock pillar toward the east and use its far side to reach the lower water safely.
- The lower basin opens toward a Furnace Golem. Its fight is optional for reaching the coast, the friendly forager or the lightning-flower pond.
- Head through the eastern wooded side of the basin, then follow the passage southwest through the cliffs to Cerulean Coast grace. The blue-flowered field beyond confirms you have reached the coast.
- Ride south through the blue-flowered field past the huge stone coffins. Circle the Ghostflame Dragon rather than fighting if you only want the map.
- Continue south toward Cerulean Coast Cross. Before the cross, look northeast for the descending rock ledges toward the beach below, where giant Fingercreepers gather. Use the ledges rather than jumping straight from the high cliff.
- Follow the beach east to the huge stone coffin wedged between the cliffs. Ride up its sloping surface, turn left at the top and activate Finger Ruins of Rhia grace.
- Descend through the finger-shaped stones toward the hanging bell in the middle of the ruins. The wormlike enemies fire purple projectiles that bind you in place; keep the stone fingers between you and their shots as you move.
- With the Hole-Laden Necklace in your inventory, interact with the bell using Sound hanging bell. Crimson Seed Talisman +1 is awarded immediately. No boss fight is required.
- Return to Ymir at the cathedral and finish his new dialogue. Receive Beloved Stardust and Ruins Map (2nd); the talisman is his follow-up reward, separate from the Crimson Seed reward at Rhia.
Notes
- Brings eligible sorcery and incantation casting speed to its effective cap, but makes you take 30% more damage. The penalty applies while the talisman is equipped, rather than only during a cast.
- Only parts of a spell's animation respond to casting speed. It does not remove every windup or recovery animation, and it does not make every spell instant.
- It gives no separate spell-damage bonus, FP discount or faster weapon skill animation.
- Cannot be equipped with Radagon Icon. Dexterity and other casting-speed equipment cannot push eligible casting past the same cap, so their speed benefit is redundant once this talisman has reached it.
- You still need a staff or seal, the spell's required attributes and enough FP to cast. The casting-speed effect does not add real Dexterity for meeting equipment requirements or scaling weapon damage.
- The reward is for returning to Ymir after the first hanging bell at Rhia. It is not the talisman given directly by that bell, and finishing the later Metyr fight is not required.
 Talismans