Reference values
- Type
- Talismans
- Weight
- 0.8
Effects
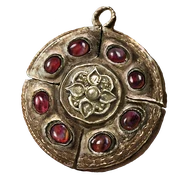
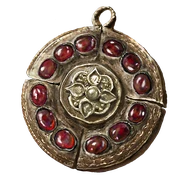
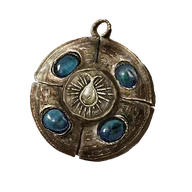
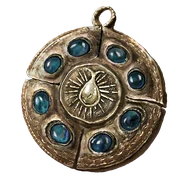
Doubles incoming physical, Magic, Fire, Lightning and Holy damage while equipped. A hit that would otherwise deal 500 damage deals 1,000 with the same remaining protections. The talisman weighs 0.8.
It gives no attack-power bonus to offset the penalty. This is equipment for an additional challenge, rather than a hidden damage boost or a reward you should automatically equip.
Compatible damage penalties multiply. Crucible Feather Talisman's 30% penalty combined with this one makes ordinary incoming damage 2.6 times as large. Unequip Daedicar's Woe to remove its effect.
Technical details
Absorption
- Value
- 0
- Calculation
- multiplicative
- Effect type
- negative
In-game description
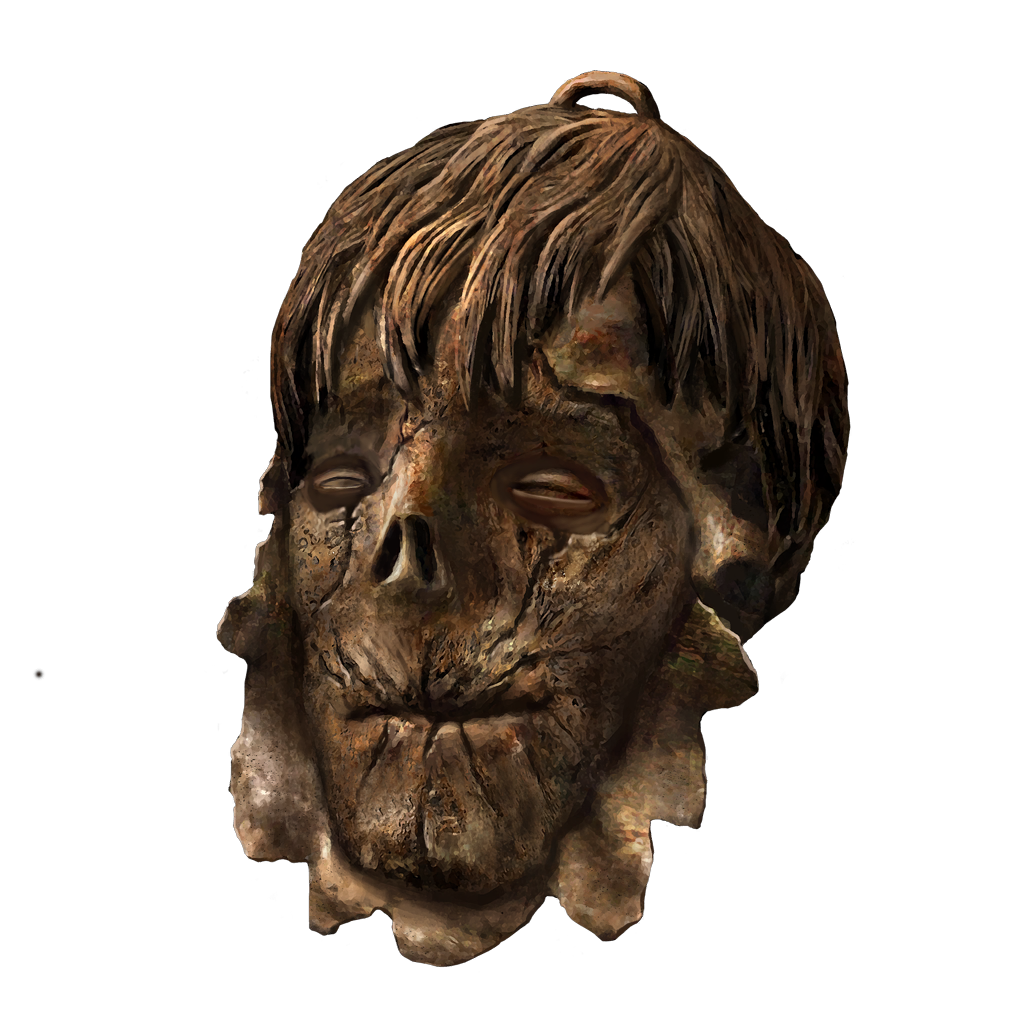
Disturbing likeness of a woman whose skin was flayed.
She smiles with a serene tenderness.
Increases damage taken.
It is said that this woman, named Daedicar, indulged in every form of adultery and wicked pleasure imaginable, giving birth to a myriad of grotesque children.
Where to find
Rya's hidden room, or the manor drawing room on the tonic branch
Mt. Gelmir
Starting Site of Grace: Temple of Eiglay
Before you go
- Advance Rya's quest before defeating Rykard.
- At Scenic Isle in southern Liurnia, head east toward the stone gazebo near the telescope. Speak to Rya about her stolen necklace before entering Volcano Manor, which ends this early meeting.
- Ride northwest across the shallow lake to Boilprawn Shack. Talk to Boggart beside the cooking pot, ask for the necklace and choose Deal to open the purchase.
- Buy Rya's Necklace for 1,000 runes. Buying it keeps Boggart alive and opens his prawn shop; purchase at least one Boiled Prawn if you want his later move and crab stock.
- Return to Rya in the gazebo and give her the necklace. Finish her dialogue to receive Volcano Manor Invitation.
- Reach Altus Plateau through the Grand Lift of Dectus with the medallion halves from Fort Haight and Fort Faroth, or by defeating Magma Wyrm Makar at Ruin-Strewn Precipice. Rya waits at the top of Dectus for lift arrivals, or by Lux Ruins near Erdtree-Gazing Hill for the precipice route. Speak to her and accept her hand to travel to Volcano Manor.
- At the manor, join Tanith to receive the Drawing-Room Key. Open the room with Rya and Bernahl and collect the first Letter from Volcano Manor from the table.
- Travel north from Warmaster's Shack on Stormhill toward the colosseum. Use the red invasion sign at the marked location to fight Old Knight Istvan. Defeat him and report to Tanith for Magma Shot.
- Speak to Rya about the strange noises, then rest to reload the manor. Enter the room across the corridor to meet her serpent form. Finish her dialogue, speak to Tanith about her form, and return to Rya after another rest.
- Collect the second main letter from the drawing-room table. Find Rileigh the Idle's red sign in the lower canyon leading toward Shaded Castle, north of Old Altus Tunnel. Invade and defeat him, then report to Tanith for Serpentbone Blade.
- Speak to Rya again about the figure she saw entering the next room. Keep Rykard alive, and leave the third main target, Juno Hoslow, until after the conversations about her origins and the tonic.
- If you have not entered the dungeon yet, speak to Tanith in Volcano Manor and accept her invitation to get the Drawing-Room Key. Open the first room on the right in the corridor. Roll into or strike the illusory wall in the back-right corner to reveal a passage. Follow it downstairs, past the snails and Bloodhound Knight, to the Prison Town Church grace.
- Leave the church through its large doors and take the path downhill to the right. Follow the outer wall, watching for the Abductor Virgin. When the path splits at the stairs, cross the bridge toward the large building guarded by a Man-Serpent. Its front door is locked, so go around the right side to the ladder.
- From the roof, go south and look over the western edge for the balcony with an open doorway and lantern. Drop onto it and enter the room with the Omenkiller.
- Clear the Omenkiller, leave through the southern door and climb the ladder on the left. Follow the balcony left and drop onto the adjoining roof. Continue through the side entrance into the building and open its main door as a shortcut.
- Go southeast down the interior stairs. At the bottom, follow the corridor into the room on the right and activate Guest Hall grace.
- Return to the lower corridor and leave through its large northeastern door. Climb down the ladder on the right to the lava-side ground.
- Use the solid ground and the sloping roof of the building east of you to cross toward the northeastern rooftops. Follow the rampart toward the western building, then turn southeast to the stairs guarded by a Man-Serpent.
- At the top, use the cage lift that takes you upward toward the temple. The other lift descends toward an optional Magma Wyrm and is not the route to the Godskin Noble.
- Pass the Blackflame Monk on the upper stairs. Before entering the temple, turn left and activate the bridge mechanism to raise the shortcut back toward Prison Town Church.
- Enter Temple of Eiglay and defeat the Godskin Noble. Activate Temple of Eiglay grace afterward. Rykard is not required for this part of the dungeon.
- Take Serpent's Amnion from the altar inside Temple of Eiglay. Return to Rya, tell her about the hidden dungeon if that dialogue remains, then give her the amnion and finish her conversation.
- Rest to reload the manor. Rya leaves her room. Speak to Tanith about her absence to obtain the Tonic of Forgetfulness if you want it; taking the vial does not force you to use it.
- Take the lift on the right inside Temple of Eiglay and go out onto its upper balcony. Drop over the barrier onto the solid ground beside the lava rather than into the pool.
- Follow the narrow volcanic path past the fire slugs. Before the corpse at its end, drop left onto the lower ledge, then follow it around and uphill toward the larger lava pool.
- Cross toward the western building, avoid the Abductor Virgin, and enter through the open window around its right side. The ladder inside descends to the prison and is not needed for Rya or the ashes.
- Open the forward door, pass the Man-Serpent and climb the stairs on the right. Use the doorway on the left at the top to reach the shortcut lift.
- Ride that lift down and step off into the intermediate doorway just below the top landing. Cross the small room to its western window.
- Look for the building directly opposite across the lava. Cross to it and turn left to its doorway. Rya is in the small room inside, away from the main hall leading to the sending gate.
- When Rya asks you to kill her, leave her alive and do not give her the tonic. Finish any other manor business before defeating Rykard.
- After defeating Rykard, return to this same hidden room. Finish Rya's dialogue and decline the tonic again if offered the choice. Rest or reload, then return for Zorayas's Letter and Daedicar's Woe where she was sitting.
- Giving Rya the tonic instead leads to a later drawing-room pickup after Rykard and the manor residents' departure. Killing her at the final meeting gives the talisman immediately. Those alternatives do not give the departure letter.
Notes
- Doubles incoming physical, Magic, Fire, Lightning and Holy damage while equipped. A hit that would otherwise deal 500 damage deals 1,000 with the same remaining protections. The talisman weighs 0.8.
- It gives no attack-power bonus to offset the penalty. This is equipment for an additional challenge, rather than a hidden damage boost or a reward you should automatically equip.
- Compatible damage penalties multiply. Crucible Feather Talisman's 30% penalty combined with this one makes ordinary incoming damage 2.6 times as large. Unequip Daedicar's Woe to remove its effect.
- All three endings of Rya's final choice can give the talisman. Killing her is unnecessary: sparing her without the tonic lets her leave it with Zorayas's Letter after Rykard and her final dialogue.
- If you give her the Tonic of Forgetfulness, the later pickup moves to the manor drawing room after Rykard and the residents' departure. Speak to her there and reload. This branch does not give the departure letter.
- Advance the first two contracts, her serpent-form conversation, the hidden-dungeon discovery and Serpent's Amnion before defeating Rykard. Request any desired tonic dialogue before finishing Juno Hoslow's contract.
 Talismans