Reference values
- Type
- Talismans
- Weight
- 1
Effects
Increases incantation damage by 8% and weighs 1.0. The bonus covers eligible physical and elemental incantations, rather than only Holy spells or a particular seal.
Does not improve direct healing, ordinary buff strength or status buildup amounts. It also does not strengthen a weapon skill or a sorcery merely because the attack resembles an incantation.
Can be equipped with Faithful's Canvas Talisman. Their bonuses multiply to 12.32% more incantation damage, rather than adding to a flat 12%.
Technical details
Attack Power
- Value
- 1.08
- Calculation
- multiplicative
- Effect type
- positive
- Conditions
- Affects Incantations / Spell Power Boost
In-game description
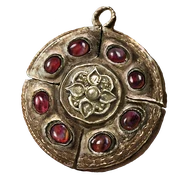
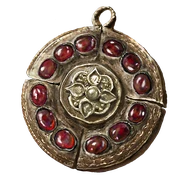
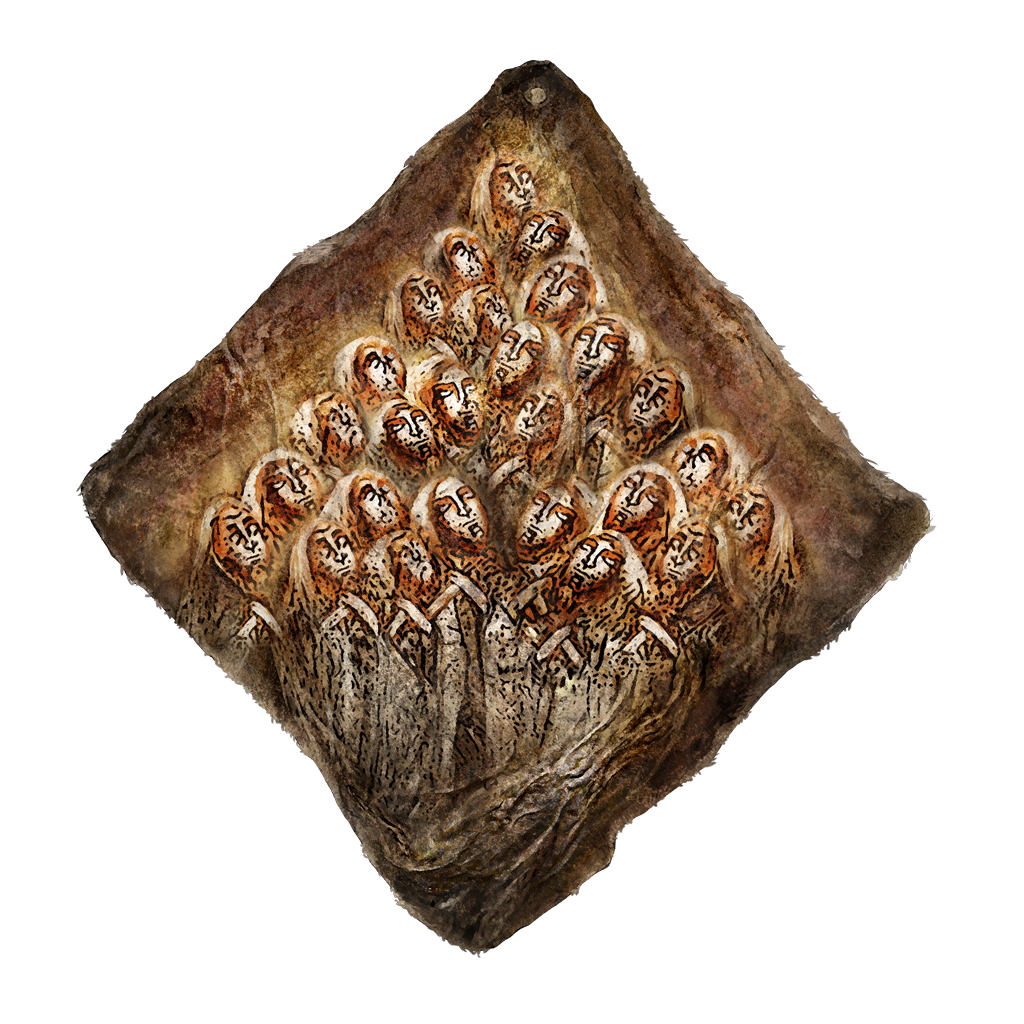
A talisman bearing an icon that depicts a mass of masked figures.
Greatly raises potency of incantations.
The figures represent the flock at prayer, their firm belief in the intangible inspiring even the solitary founder of their religion.
What is faith if not an affirmation?
Where to find
Gowry's Shack after Millicent's final outcome
Caelid
Starting Site of Grace: Southern Aeonia Swamp Bank
Before you go
- Complete Millicent's final assistance or challenge encounter.
- From Southern Aeonia Swamp Bank, follow the road north through Sellia Gateway. Watch for the giant throwing rocks above the gateway. Gowry's wooden shack is off the road on the right, before the town.
- Speak to Gowry and agree to help Millicent. Keep the large dog away from the shack so its attacks do not interrupt the conversation.
- Go west into the Swamp of Aeonia toward the clearing enclosed by large pale branches. Activate Inner Aeonia nearby and defeat Commander O'Neil in the Heart of Aeonia for the broken Unalloyed Gold Needle.
- Return the needle to Gowry and finish his dialogue. He gives Sellia's Secret and needs time to repair the needle. Rest or reload, then speak to him again for the repaired version.
- Continue north into Sellia, Town of Sorcery. Activate Sellia Under-Stair on the southwestern edge and follow the main street north, watching for sorcerers appearing beside the buildings.
- Climb the stairs at the far end toward the golden sapling and the sealed upper gate. The large roots beside these steps provide the way onto the roofs.
- Near the sapling, look southwest through the broken railing for a root leading toward the nearest candle tower. Follow it, climb the tower ladder and interact with the flame at the top.
- Return to the upper steps and use the root again, this time stepping onto the adjoining roofs. Work south and east across the roofs and branches toward the eastern tower. Use Torrent's double jump for the gaps and climb the ladder to light its flame.
- From that eastern roof route, head back across the connecting roots and roofs toward the southern tower on the western side. The narrow approach has a corpse with a Stonesword Key. Climb the ladder and light the third flame.
- Take the now-open upper gate beside the golden sapling to Sellia Backstreets grace. Follow the uphill road beyond town, watching for the rolling boulders and the enemies on the bends.
- At the top, go to Church of the Plague on the eastern cliff. Watch for the two Kindred of Rot outside, enter through the broken wall and activate the grace.
- Give Millicent the repaired Unalloyed Gold Needle. Rest at Church of the Plague, then speak to her after she recovers and finish her dialogue to receive Prosthesis-Wearer Heirloom.
- Return to Gowry's Shack and speak to Millicent when she visits. Reload and speak to Gowry when he returns; his first three sorceries become available during these early handovers.
- Reach Altus Plateau through the Grand Lift of Dectus with both medallion halves, or by defeating Magma Wyrm Makar at Ruin-Strewn Precipice. Find Millicent on the hill just north of Erdtree-Gazing Hill grace and finish her conversation.
- From Erdtree-Gazing Hill in Altus Plateau, ride east down into the valley, then follow it north between the cliffs. Stay on the lower ground rather than climbing toward Mt. Gelmir's campsites.
- Continue through the narrow gap until the Shaded Castle appears in its poison swamp. Use the rocks beside the broken southern wall to climb inside, then follow the wall right to Shaded Castle Ramparts grace.
- Drop into the lower courtyard and head toward the center, keeping out of the poison where you can. At the next open area, climb the ladder on the raised platform to the right, beside a Wraith Caller.
- At the top of the courtyard ladder, follow the rampart left toward the western side of the castle. Continue to the northwestern room guarded by a Cleanrot Knight rather than dropping through the gap toward Inner Gate.
- Draw the knight out or defeat it, then open the chest in its room for the prosthesis. Elemer is farther inside the castle and does not need to be defeated.
- Return to Millicent north of Erdtree-Gazing Hill and give her Valkyrie's Prosthesis. It is the quest arm from the chest, rather than either Dexterity talisman.
- Return to Gowry if you want Pest Threads. Giving Millicent the arm unlocks this later spell; buying it and speaking to Gowry again also opens his related dialogue.
- Reach Altus Plateau with the Dectus Medallion halves from Fort Haight and Fort Faroth, or defeat Magma Wyrm Makar at the top of Ruin-Strewn Precipice.
- From Altus Highway Junction, follow the road north past the map monument to Forest-Spanning Greatbridge. The waygate beside that grace brings you to the northern end of the broken bridge.
- Leave the northern bridge end and follow the road east across northern Altus, toward the windmills. At the village junction, take the uphill path through the wooden entrance arch and activate Windmill Village grace.
- Follow Dominula's main path uphill past the dancing celebrants to the highest windmill. Defeat the Godskin Apostle, then activate Windmill Heights.
- Rest or reload and speak to Millicent beside Windmill Heights. Keep her alive to continue the assistance route. Killing her here gives Millicent's Prosthesis but closes the later assistance rewards.
- Defeat Morgott in Leyndell and receive the Rold Medallion from Melina. Follow the eastern capital exit through Forbidden Lands to the Grand Lift of Rold and hoist the ordinary medallion.
- Follow the Mountaintops route past Zamor Ruins and the long narrow bridge. Speak to Millicent beside Ancient Snow Valley Ruins grace and finish her dialogue before continuing toward the Haligtree.
- Obtain the right Haligtree Secret Medallion half from Albus in the Village of the Albinaurics. He is disguised as a pot on the uphill path, before the bridge leading toward the Omenkiller.
- Obtain the left half from the tower beyond Commander Niall at Castle Sol in the northern Mountaintops. After winning, continue behind his arena, ride the lift and loot the rooftop corpse.
- Return to Grand Lift of Rold with both halves and switch to the secret-medallion prompt. The ordinary Rold Medallion sends you to a different destination.
- Take the main stairs through Hidden Path to the Haligtree and leave into Consecrated Snowfield. Continue north through the blizzard, following the road toward Inner Consecrated Snowfield, then on to Ordina, Liturgical Town.
- Activate Ordina's grace and find the evergaol seal toward the back of town. Enter it to light the four statues. Invisible assassins patrol the streets and Albinauric archers fire from the rooftops.
- From the evergaol seal, go left down the stairs and left again to light the street-level statue. Head toward the second stairs leading toward the town grace, but take the path around the building on their right instead of going down.
- Climb the ladder around that building and the next ladder to its rooftop statue. After lighting it, drop from the eastern side onto the red roof, cross the connected rooftops and climb the next pair of ladders to another statue.
- Go down those ladders and return to the evergaol courtyard. Pass the right side of the building, drop to the snowy ground and head west around the next building to the last pair of ladders. Light the fourth statue to lift the seal.
- Back in ordinary Ordina, climb the long northern staircase and use the sending gate at its top. Activate Haligtree Canopy when you arrive.
- From Haligtree Canopy, head east along the branch, climb over the pink mushroom near the envoy and turn south at the junction. Continue past the patrolling envoy to the next junction, then follow its northeastern branch to the end and look southeast for the branch below.
- Drop onto that branch. The larger envoy is to the east; return west toward your landing and look south for the mushroom cluster with a corpse. Descend onto the mushrooms, keeping clear of the edges and using them as cover from bubbles.
- Go north along the branch past the envoys to the ant patrol. Draw the ants onto a wider section before fighting, then turn back south and take the first broad branch east-southeast.
- At its next junction, turn southwest uphill. Just beyond the smaller branch on your left, drop south onto the broad branch below. At the fork, use the southern branch, then turn right onto the thin branch before its far tip.
- Follow the thin branch over the next branch, turn northeast onto that one and climb as it curves north. Pass the envoy and turn southeast toward the next envoy, then return west to the large junction.
- Take the northwestern mushroom ledge with the Preserving Boluses corpse. Drop southwest onto the mushrooms below, then southwest again onto the main branch.
- Head north-northeast. Beyond the branch sticking vertically up on your left, use the mushroom patch on the right to drop onto the branch beneath. Follow it to the larger branch, turn left and continue north-northeast, then northwest at the junction toward the huge envoy firing bubbles.
- Near that huge envoy, drop onto the broad branch below. Follow it north through the rot flowers to the trunk. The stone platform on its left has a ladder; descend it and take the stairs to Haligtree Town grace.
- From Haligtree Town, go northwest down the stairs past the Misbegotten. Continue toward the building below, watching for the enemies waiting beside the doorway and under its stairs.
- Inside, go down the stairs to the lower room. From its northern side, jump north-northeast to the next platform, then turn left across the wooden bridge. Go through the building and out its window.
- Cross the pavilion, keeping clear of the large Misbegotten, and enter the building southwest. Leave southwest across the wooden bridge to Haligtree Town Plaza grace.
- Go south from the plaza and jump to the roof. Cross to its northeastern side, drop onto the branch and continue toward the ants. Turn back toward the building beside that branch and enter it.
- Leave southeast and watch for Spiritcaller Snails around the outside. Their Crystalian summons disappear when their snail dies. Continue southeast and jump to the next roofs, then use the ladders at their eastern side to reach the lower walkway.
- Enter the building southeast of the lower ladder and pass the two Misbegotten. Across the bridges ahead, two battlemages guard the way; use the buildings for cover and draw them apart.
- Cross east to the next building. Its northwestern bridge leads to a lift back up to Haligtree Town. Ride it once to open the shortcut, then return down for a much shorter boss run.
- From the lower lift landing, cross southeast, then turn left onto the northeastern bridge to Loretta's arena. Defeat Loretta, Knight of the Haligtree. The spirit named Royal Knight Loretta in Caria Manor does not unlock this armor.
- After Loretta, activate Haligtree Promenade and leave through its northern gateway. Follow the stairs winding down beside the trunk, then descend the long ladder.
- Enter the tower below and ride its lift down. Cross the bridge past the Cleanrot Knight and activate Prayer Room grace inside.
- Find Millicent in Prayer Room and finish her dialogue about Malenia. If she has not arrived, return to her earlier meeting places and finish any remaining conversations.
- Leave Prayer Room through the northeastern doorway and follow the outside walkway down its stairs. At the railing corner with a corpse hanging over it, jump onto the sloping stone support below and across to the platform with a gazebo.
- From the northern corner of the gazebo platform, jump northwest to the next stone support and climb left onto the upper ledge. The room immediately beside you has a chest; continue northwest outside, around the curve to the corpse sitting in a chair.
- Drop northwest from this ledge onto the branch, then south onto the platform below. Continue around the corner, drop southeast and enter the room with the two Cleanrot Knights.
- Use the southeastern doorway, turn left over the railing onto the sloping support and drop to the balcony below. Go inside and down the dark stairs, using a light so you can see the lower landing.
- Halfway down the next stairs, drop from the right side to the ledge with a seated corpse. Drop into the room below, where three Crystalians guard treasure, and leave through the doorway in its northern corner.
- Face northwest along the lower street and pass the Revenant toward the ladder leading up to a balcony. Climb it, then wait for the Cleanrot patrol inside to move away before entering the building.
- Leave through the northwestern doorway and take the stairs east to the ballista operators. From their left side, climb the sloping stone support west and jump west-northwest onto the balcony with an open door.
- From the upper room, drop west from its ledge, then turn left, south, to activate Elphael Inner Wall. This reaches the grace behind the Avatar without requiring you to defeat it.
- From Elphael Inner Wall, go south down the stairs and turn right into the long hall. Climb the large root running up through a hole in the eastern wall, then follow it down into the rot-filled interior.
- Cross the rot toward the dry broken masonry on the southeastern side. Pests hide among the flowers and smaller ones gather in the liquid; clear a route from dry ground if you can. The small central island offers a place to stop, but is not free of enemies.
- From the far dry ledge, drop southwest onto the root below. Follow it southeast, descend to the next root and continue onto solid ground. Enter the doorway on the right, go down the ladder and follow the tunnel east to Drainage Channel grace.
- From Drainage Channel, backtrack west through the tunnel and climb the ladder. Leave through the western doorway, then turn right up the northwestern slope and clear the pest at its crest.
- Turn south-southwest onto the large root crossing the pit. Drop from its end toward the isolated Scarlet Rot pool. An Ulcerated Tree Spirit appears when you approach; this is the enemy needed for Millicent's final signs.
- Defeat the Tree Spirit, rest and return to the high ground above the pool's northwestern edge. The gold sign helps Millicent against her four sisters; the nearby red sign challenges her instead. Read the prompt before confirming.
- Use the gold sign and help Millicent defeat her four sisters. Keep her alive throughout the fight to receive Rotten Winged Sword Insignia.
- Back in your world, approach Millicent beside the pool on foot. Do not jump onto her or attack her. Finish her dialogue, rest or reload, and collect the returned Unalloyed Gold Needle from her body.
- Return to Gowry's Shack south of Sellia after Millicent's final scene. Finish his grieving dialogue. At this final stage, killing him gives Flock's Canvas Talisman and Gowry's Bell Bearing.
- If you chose the red challenge sign instead, return to find his final drops at the shack. Early attacks before the quest resolves can reveal a replaceable Pest and do not follow this completed-quest route.
Notes
- Increases incantation damage by 8% and weighs 1.0. The bonus covers eligible physical and elemental incantations, rather than only Holy spells or a particular seal.
- Does not improve direct healing, ordinary buff strength or status buildup amounts. It also does not strengthen a weapon skill or a sorcery merely because the attack resembles an incantation.
- Can be equipped with Faithful's Canvas Talisman. Their bonuses multiply to 12.32% more incantation damage, rather than adding to a flat 12%.
- Godfrey Icon can add a separate bonus to an eligible charged incantation, while a matching seal can provide its own school bonus. The spell must qualify for each effect individually.
- Gowry provides it after Millicent's final outcome. Helping her through the gold sign allows you to return and kill the grieving Gowry; choosing the red challenge leaves his drops at the shack instead.
- You do not have to kill Millicent or defeat Malenia for this talisman. The assistance branch can preserve Rotten Winged Sword Insignia and the recovered needle before you return to Gowry.
- Buy any desired spells and obtain the dialogue gesture before ending Gowry's role. His bell bearing transfers unlocked spell stock, but does not reproduce his quest conversations.
 Talismans