Reference values
- Type
- Talismans
- Weight
- 1.2
Effects
Reduces incoming Magic, Fire, Lightning and Holy damage by 11% against enemies or 5% against other players. The smaller player-versus-player value applies against player attacks, rather than using the enemy reduction everywhere.
Physical damage remains unaffected. This also does not raise Immunity, Robustness, Focus or Vitality, so elemental protection is separate from status-buildup resistance.
Can work alongside a damage-specific drake talisman for additional protection against that element. Two Pearldrake variants cannot be equipped together.
Technical details
Elemental Absorption
- Value
- 1.11
- Calculation
- multiplicative
- Effect type
- positive
- PvP value
- 1.05
In-game description
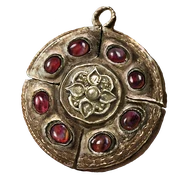
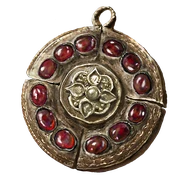
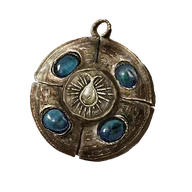
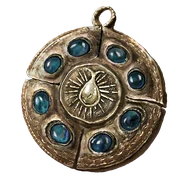
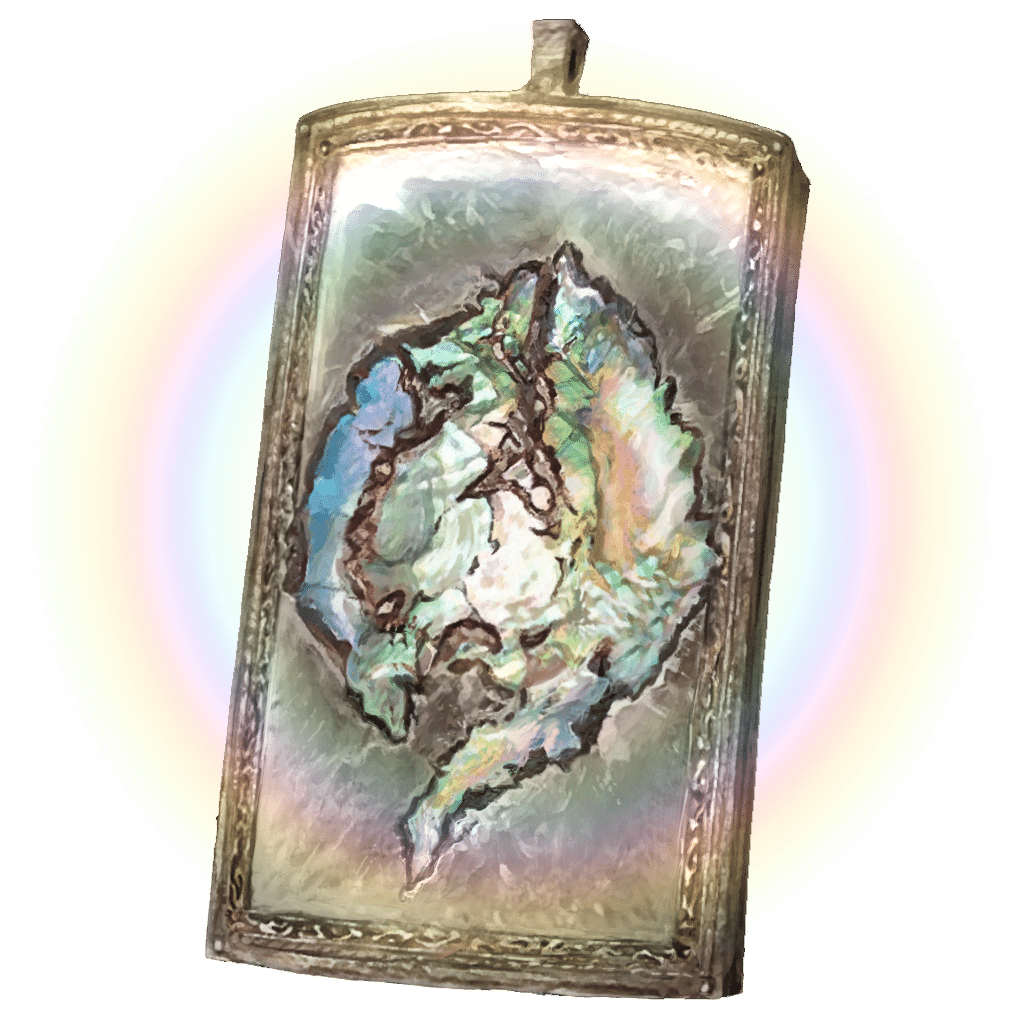
Talisman with a large depiction of a pearlescent ancient dragon.
Boosts non-physical damage negation by the utmost.
The ancient dragons, who ruled in the prehistoric era before the Erdtree, would protect their lord as a wall of living rock.
And so it is that the shape of the dragon has become symbolic of all manner of protections.
Where to find
Specimen Storehouse hanging specimen
Shadow Keep
Starting Site of Grace: Storehouse, Fourth Floor
Before you go
- Operate the Storehouse specimen lever.
- Enter the Realm of Shadow after defeating Starscourge Radahn and Mohg, Lord of Blood, by touching the withered arm in Mohg's arena.
- From Highroad Cross in Scadu Altus, follow the main road north to Shadow Keep's southern gate. Ride the entrance lift and activate Shadow Keep Main Gate grace.
- Defeat Golden Hippopotamus in the plaza. This is the front-door route; the flooded Church District provides a different way into the keep.
- From Main Gate Plaza, leave through the west-northwest doorway, pass through the armory and climb the stairs. Continue up the wooden steps to the dining hall, where two Black Knights guard the route.
- Leave the dining hall through its southeastern exit to the upper rampart. Follow the rampart past the burning boats and watch for the small Shadow Militiamen hiding beside them.
- Take the stairs leading north-northeast toward the large lift, passing the Fire Knight in front of it. Ride up and activate Storehouse, First Floor grace.
- Inside the storehouse, use the stairs behind the central specimen to climb through the book-lined galleries. Stay on the ascending route rather than taking the side lift toward West Rampart.
- On the third-floor walkway, get past the Fire Knight and the small ambushers. Jump onto the feet of the large hanging specimen, climb along its body and jump from the head to the balcony with Storehouse, Fourth Floor grace.
- Leave the fourth-floor room through its open window-door, turn left and climb the outside stairs. Follow the balcony past the bats and go back inside through the next doorway.
- Follow the inner gallery around the bookshelves and climb the stairs past the Fire Knights and shadow scholars to Storehouse, Seventh Floor grace, in the room where Freyja can appear.
- Leave that grace room and cross the northeastern wooden bridge. Follow the walkway to the hanging bull, then reach the lower gallery beside it and pull the lever that moves the central specimens.
- Return to Storehouse, Fourth Floor. Turn back toward the eastern railing and look down at the moved specimen.
- Jump from the railing to the specimen's feet below. Make sure you are aiming at its solid body rather than the floor far beneath it.
- Walk across its back toward the head and drop to the lower position beside its beard.
- Loot the talisman from the specimen. Messmer is not required, but moving the specimens with the lever is.
Notes
- Reduces incoming Magic, Fire, Lightning and Holy damage by 11% against enemies or 5% against other players. The smaller player-versus-player value applies against player attacks, rather than using the enemy reduction everywhere.
- Physical damage remains unaffected. This also does not raise Immunity, Robustness, Focus or Vitality, so elemental protection is separate from status-buildup resistance.
- Can work alongside a damage-specific drake talisman for additional protection against that element. Two Pearldrake variants cannot be equipped together.
- Its protection is active while worn, without a block, full-HP condition or timed trigger. Pearl Shield Talisman is the different item focused on guarding.
- With 25% existing negation for a covered damage type, its 11% enemy reduction gives 33.25% total negation. It is not an extra 11 percentage points added directly to the armor display.
- This is the strongest Pearldrake version. Move the hanging specimens with the Storehouse lever before attempting the Fourth Floor jump to the pickup.
- Messmer does not have to be defeated. The specimen has to be in the moved position so its body provides the correct landing and route to the beard.
- Weighs 1.2. Its protection stays active while equipped; it does not need FP, a casting tool or an attribute requirement.
 Talismans