Reference values
- Type
- Utility
- FP cost
- 0
- Maximum held
- 1
- Maximum stored
- 600
- Consumed when used
- No
Effects
While transformed, reduces all damage taken by 7% and adds 70 to each status resistance. The form requires empty armor slots and lasts until death. Its second-use Dragon Cult empowerment is separate from these permanent form bonuses.
Technical details
Absorption
While transformed, reduces all damage taken by 7% and adds 70 to each status resistance. The form requires empty armor slots and lasts until death. Its second-use Dragon Cult empowerment is separate from these permanent form bonuses.
- attribute: Absorption
- model: multiplicative
- type: positive
- value: 1.07
Focus
- attribute: Focus
- model: additive
- type: positive
- value: 70
Immunity
- attribute: Immunity
- model: additive
- type: positive
- value: 70
Robustness
- attribute: Robustness
- model: additive
- type: positive
- value: 70
Vitality
- attribute: Vitality
- model: additive
- type: positive
- value: 70
In-game description
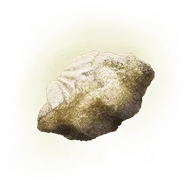
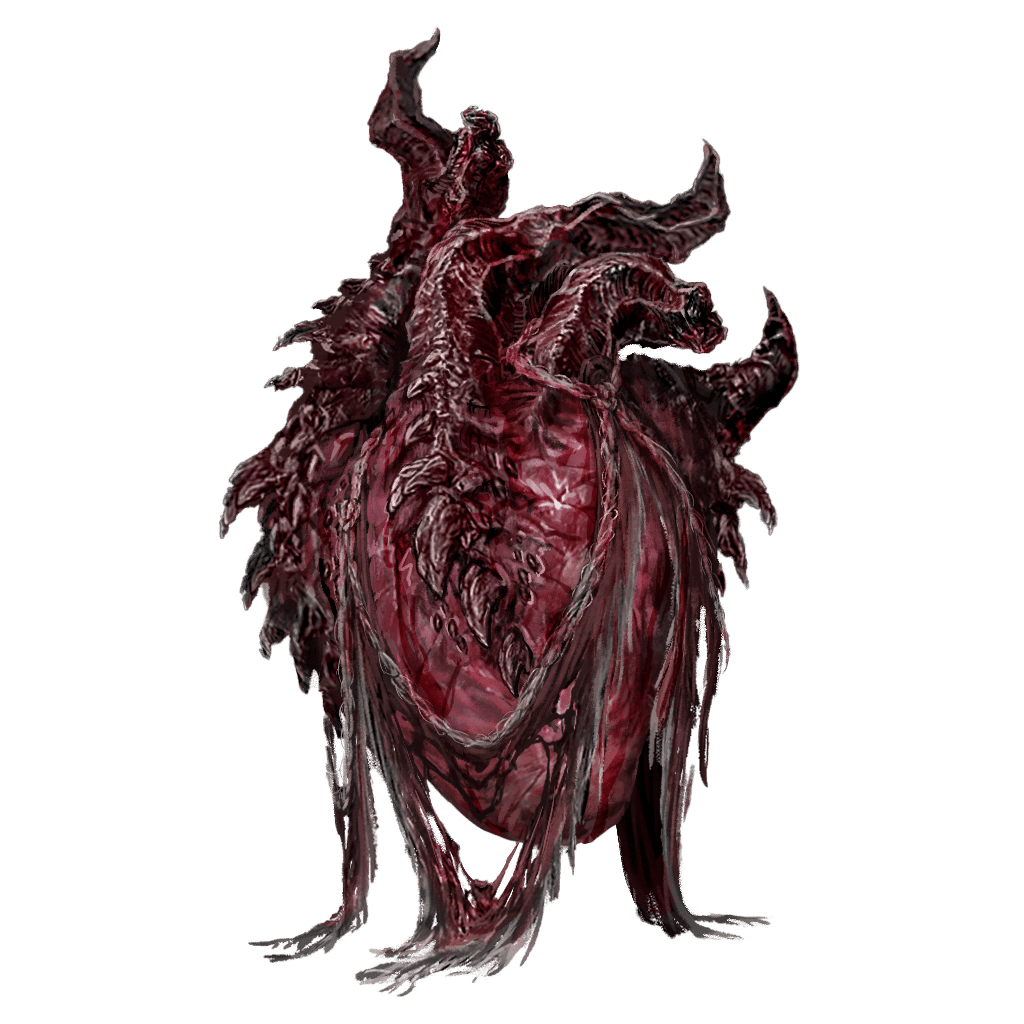
The stone heart of a Dragon Communion priestess.
Use while disrobed to turn one's human flesh into an ancient dragon.
The change cannot be undone except by death.
Using this heart while already transformed temporarily boosts incantations of the capital's ancient dragon cult.
The priestess was once an ancient dragon herself, but sacrificed that form for feeble flesh to aid in the destruction of Bayle the Dread.
Where to find
Dragon Communion Priestess's former position
Foot of the Jagged Peak
Starting Site of Grace: Grand Altar of Dragon Communion
Before you go
- Do not give Thiollier's Concoction to the priestess before Bayle.
- From Castle Front, follow the road southeast toward Pillar Path Waypoint. At the fork, use the lower road toward Igon rather than climbing to the Suppressing Pillar.
- Continue south-southwest past the broken dragon statues. An Ancient Dragon-Man invades along this approach. The cave entrance is on the left near the end of the path, marked by a fire.
- Activate Dragon's Pit grace and follow the lit passage down. Watch for skeletons below the first ledge and around the next corner. Strike their glowing remains after knocking them down to stop them getting back up.
- In the large cavern with the pillars, follow the left-hand ledge down and take the passage beside the distant crossbow skeleton. Continue onto the sloping stairs in the next chamber.
- Take the downward route toward the large altar and pit. The stairs going up lead to an optional Magma Wyrm; that fight is not needed to reach the exit.
- At the bottom, approach the message beside the deep chasm. Walk straight off this lowest ledge into the pit to land safely by the boss mist. Do not jump from the higher rooms or aim toward the side walls.
- Defeat the Ancient Dragon-Man behind the mist. Open the large doors at the back of the arena instead of using the return-to-entrance exit, then follow the tunnel to Dragon's Pit Terminus grace.
- Leave Dragon's Pit Terminus and descend to the lake bed with a Jagged Peak Drake. You can ride past the drake; follow the southern canyon toward the enormous dead dragon.
- Pass the dragon statues and emerge beside the ruined structure north of Grand Altar of Dragon Communion. The huge stone bowl and dead dragon identify the altar.
- Speak to the Dragon Communion Priestess and agree to pursue Bayle. Leave Thiollier's Concoction unused if you want her heart and weapon outcome.
- Return to Dragon's Pit Terminus. From the drake basin, the northeastern archway begins the mountain ascent, while the southern canyon returns to the altar.
- Continue along the narrow cliff path until you reach a spiritspring on the east side. This is the first spiritspring on the ascent, before the bridge to Foot of the Jagged Peak.
- Use the spiritspring to jump east, then cross the bridge south-southeast and activate Foot of the Jagged Peak grace.
- Follow the southern uphill path over the rocks to the two fighting drakes. You can skirt their arena to continue east without defeating them.
- Take the eastern canyon, climb using the next two spiritsprings and follow the valley uphill. Two boulders roll down the slope ahead; use the rocks on the right for cover before continuing.
- At the top of the boulder slope, turn east-northeast toward Ancient Dragon Senessax. You can ride past the dragon and take the northern uphill exit instead of fighting.
- Climb past the dead dragons to Jagged Peak Mountainside grace. Lightning strikes along the upper mountain, so move away from the marks that appear on the ground.
- From Jagged Peak Mountainside, climb southwest through the dead dragons to the spiritspring on the left and jump south. Follow the high cliff path southwest, then southeast, using jumps across the breaks rather than dropping to the lower painting viewpoint.
- Use the next spiritspring to jump east. Continue east uphill into the canyon, then turn back and take the right-hand uphill branch toward the third spiritspring. Jump east again and activate Jagged Peak Summit before entering Bayle's arena.
- Enter Bayle's arena from Jagged Peak Summit and defeat Bayle the Dread to receive his heart. This reward does not depend on summoning Igon.
- Return to Grand Altar of Dragon Communion after defeating Bayle. The priestess is gone; collect Priestess Heart and Flowerstone Gavel from her former position.
Notes
- Remove all four armor pieces before using the heart. It transforms you into a humanoid dragon, prevents wearing armor and lasts until death; resting does not restore human form.
- Weapons and talismans remain usable. The form gives 7% damage reduction across Physical and elemental damage, but does not supply armor poise.
- Adds 70 to Immunity, Robustness, Focus and Vitality. These resist Poison and rot, Blood Loss and Frostbite, Sleep and Madness, and Death Blight respectively; they are not immunity to those effects.
- Use the heart again while transformed for 20% more damage from Dragon Cult incantations for 60 seconds. The transformation and this timed attack bonus are separate effects.
- The bonus applies to the Dragon Cult spell family, rather than every Lightning attack or weapon skill. Flowerstone Gavel's Lightning skill does not become a boosted incantation.
- Gravel Stone Seal's 15% school bonus combines with the heart's 20% for 38% more eligible incantation damage before other bonuses. A seal's casting scaling still determines the underlying spell damage.
- The timed school bonus can coexist with Golden Vow and compatible body buffs. Reusing the heart refreshes the same bonus instead of adding another 20% each time.
- The tool is reusable and costs no FP. Its 60-second attack effect needs another use when it expires, even while the dragon appearance remains.
- This is the awake-priestess outcome after Bayle. Giving her Thiollier's Concoction before the fight replaces the heart and gavel with her spell and Spirit Ash branch.
- Rock Heart gives a different form and strengthens Dragon Communion instead. You cannot switch between the two forms simply by using the other heart while transformed.
 Utility