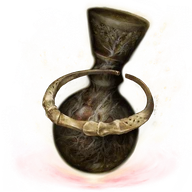
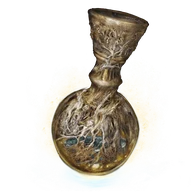
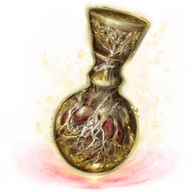
Reference values
- Type
- Essential
- FP cost
- 0
- Maximum held
- 1
- Maximum stored
- 600
- Consumed when used
- Yes
About this item
Completely restores HP and clears status ailments and buildup. It does not prevent a new status from being applied afterward.
It is consumed on use and does not refill when you rest. You can carry one at a time, with spare copies kept in storage.
Other fixed copies are found behind Fort of Reprimand and awarded by the Hinterland Tree Sentinels. The supply is limited per journey.
Technical details
- category: Essential
- dlc:
- effects: None recorded
- fp cost: 0
- id: 2000900
- is consumed: Yes
- max held: 1
- max stored: 600
In-game description
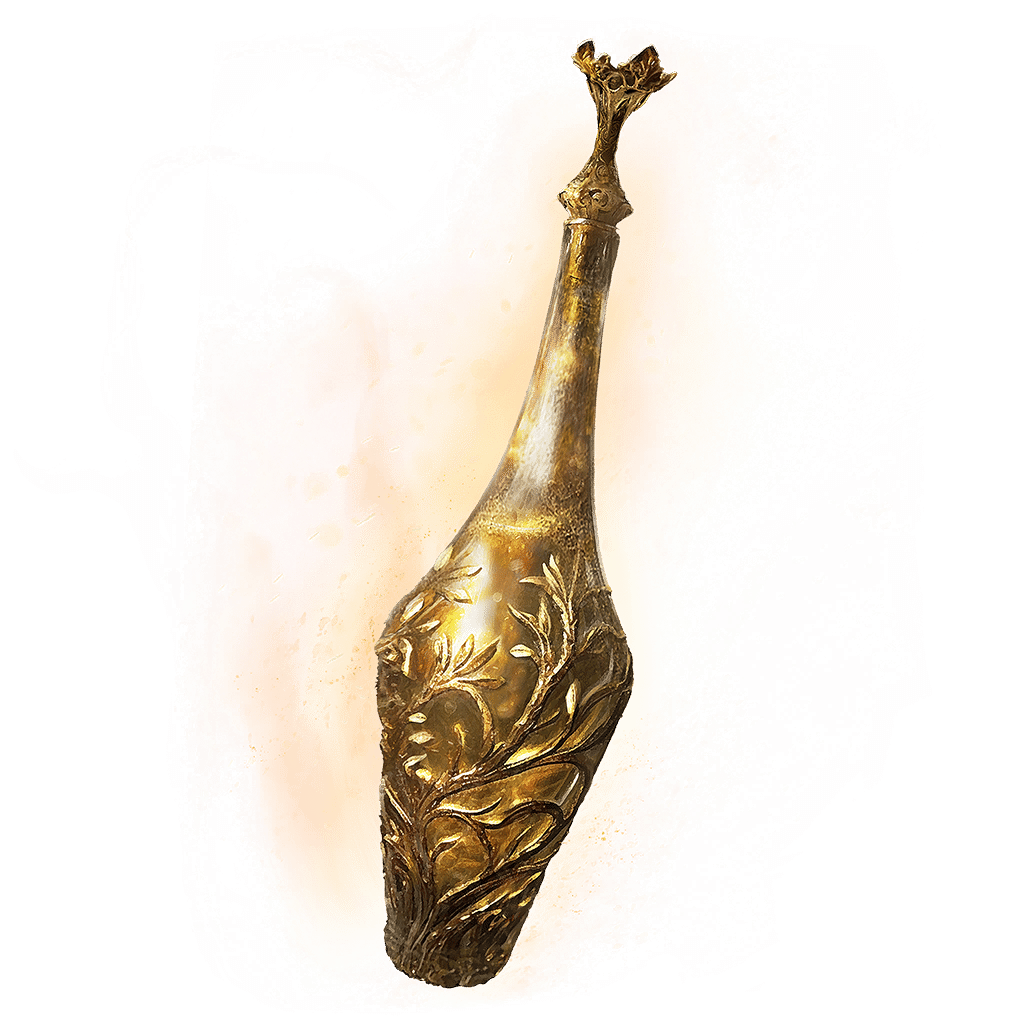
A special physick blessed by Marika, the queen of the Erdtree.
Completely restores HP and heals all ailments.
Marika once created several of these physicks for Messmer's sake.
But never again.
Where to find
Cave behind the Church of Consolation
Gravesite Plain
Starting Site of Grace: Gravesite Plain
Before you go
- Enter the Realm of Shadow.
- From Gravesite Plain, ride east toward the road leading to Church of Consolation, then follow it southeast to the ruined church. The Black Knight and Scadutree Fragment pickup inside are separate from the blessing.
- Circle around the church's northwestern side and look beside the waterfall for the small cave opening. Watch for the soldier carrying a bright red torch.
- Enter the shallow cave and loot the body among the dead soldiers for Blessing of Marika. The church itself has no grace to activate.
Eastern cliff behind Fort of Reprimand
Scadu Altus
Starting Site of Grace: Moorth Highway, South
- From Moorth Ruins in Scadu Altus, follow the highway south. Ride around the soldiers fighting the Ghostflame Dragon and continue through the passage at the southern end of their battlefield.
- Activate Moorth Highway, South near the fort. Stay outside and follow the fort's eastern wall toward the rear cliff, watching for the two Abductor Virgins.
- Loot the corpse near the cliff edge for Blessing of Marika. Do not jump off the plateau, and do not enter Black Knight Edredd's arena for this pickup.
Two Tree Sentinels beyond the secret passage
Hinterland
Starting Site of Grace: Hinterland
Before you go
- O Mother gesture and access to Shadow Keep, Back Gate.
- From Highroad Cross in Scadu Altus, follow the road east to Moorth Ruins and activate the grace beside the cross.
- Pass through the large stone arch east-southeast of the grace. At the house ahead, turn left toward the leaning tower. Avoid the large open shaft behind the house, which is too deep for a direct drop.
- Find the smaller gap between the broken building and the rock wall in front of the leaning tower. Drop onto the balcony-like ledge, turn right past the dogs and follow the cave inward.
- At the open chamber, use the back-left ledges to reach the lower roof. The shrine below is a landmark; its chest is optional.
- To continue east, drop from the lower roof to the ground and take the cave beside the building on the left. Follow it to the long ladder and climb out of the well at Bonny Village grace.
- Go east through Bonny Village, watching for the large cleaver-wielding villagers, and cross the two suspension bridges. The second brings you to Bridge Leading to the Village grace.
- Follow the road north through the woods to Church District Highroad grace. Take the northwestern road through the entrance tunnel and activate Church District Entrance inside Shadow Keep. This eastern entrance leads to the flooded district, rather than the main-gate Hippopotamus arena.
- Jump from the entrance ledge onto the first roof below. Follow its northwestern edge and jump from the raised roof section to the stone wall opposite, rather than taking the southwestern log platforms toward different loot.
- Follow the wall around and climb its northeastern rise. Jump to the next roof northwest, where a Fire Knight patrols. Clear it or make enough room to continue safely.
- Cross toward the next large church and jump onto the sloping stone support on your left. Walk southwest up that support to the high roof, then use the broken roof opening to drop onto the central beam below.
- Follow the beam to the adjoining upper corridor and drop through the opening in its floor onto the raised church passage. Stay above the water and continue northwest; the Prayer Room door is a separate side destination.
- Pass the small side room holding a Rune of an Unsung Hero and continue into the corridor patrolled by two Fire Knights. The first left exit leads toward the drainage wheel, while the later left exit leads to the Storehouse lift.
- Take the later left exit in the Fire Knight corridor, cross to the lift and ride it up into the rear storehouse. Use the doorway on the left to reach Storehouse, Back Section grace. The earlier left exit goes to the drainage wheel instead.
- Go west across the small wooden bridge and climb the ladder on its right. At the top, go east up the stone stairs, watching the Fire Knight above.
- Continue northeast past the bookshelves toward the room with Fire Serpent. Use the hole in the southern wall, turn right outside and climb the wooden walkway and stairs to Storehouse, Loft grace.
- From Storehouse, Loft, ride the small northern lift up to the rafters. Go west-northwest across the beams toward the ladder, clearing the bat before you climb.
- At the upper level, follow the beams southwest around the central support, then look east toward the huge suspended wooden gear. Clear the next bat before lining up the drop.
- Drop onto the huge suspended gear, then make a running jump to the adjoining beam and climb its ladder. The spell on the gear is optional; do not jump toward the distant floor below.
- Clear the Fire Knight by the upper lift platforms. Instead of using the opposite-moving interior cages for the hidden Spirit Ash, find the nearby ladder on the western side and climb down.
- At the bottom, go around the corner toward the second ladder northeast of the first. Clear the bat before climbing down, then go through the doorway to the outside.
- Take the exterior lift on the right down. Follow the wooden walkway and stairs southeast to the large stone lift, then ride it down to Shadow Keep, Back Gate grace.
- If you still need O Mother, return to Bonny Village. Cross the dry riverbed into its eastern half and go north to the headless statue beneath the tree near the cliff. Collect the gesture from the corpse at its base, then return to Back Gate.
- At Back Gate, enter the small room southeast of the grace rather than walking out into the Gaius arena. Perform O Mother directly in front of Marika's statue. It moves to reveal the passage to Hinterland grace.
- Activate Hinterland grace and follow the road east toward the mounted Tree Sentinels. Approach carefully so that you can fight one without both attacking at once.
- Defeat both Tree Sentinels and collect their separate Blessings of Marika. Each is a one-time boss reward, and neither Commander Gaius nor Messmer is required for this route.
Notes
- Completely restores HP and clears status ailments and buildup. It does not prevent a new status from being applied afterward.
- It is consumed on use and does not refill when you rest. You can carry one at a time, with spare copies kept in storage.
- Other fixed copies are found behind Fort of Reprimand and awarded by the Hinterland Tree Sentinels. The supply is limited per journey.
- Mimic Tear can use the blessing if it is equipped when you summon the mimic, without consuming your own copy.
- There are four fixed servings in a journey: the church cave, the cliff behind Fort of Reprimand and one from each of the two Hinterland Tree Sentinels.
- It restores HP and clears ailments at the moment of use. It does not refill FP, remove an NPC quest decision or make you immune to the next Poison, Rot or Blood Loss application.
- It has no attribute requirement and costs no FP. Raising Faith or improving a sacred seal does not improve the full-health restoration.
- Only one can be carried, so a stored second blessing is not available for immediate repeated use during the same fight. Restock before the next attempt.
- Mimic Tear must have access to the equipped quick item when summoned. Having a spare somewhere in storage is not the same as giving it that item, and its AI chooses when to use it.
 Essential