Reference values
- Type
- Incantation
- FP cost
- 12
- Memory slots
- 1
- Stamina cost
- 21
- Damage types
- fire
- Requires
- 13Fai15Arc
- Spell school
- Blood Oath incantations
In-game description
A Blood Oath incantation, granted by the Lord of Blood.
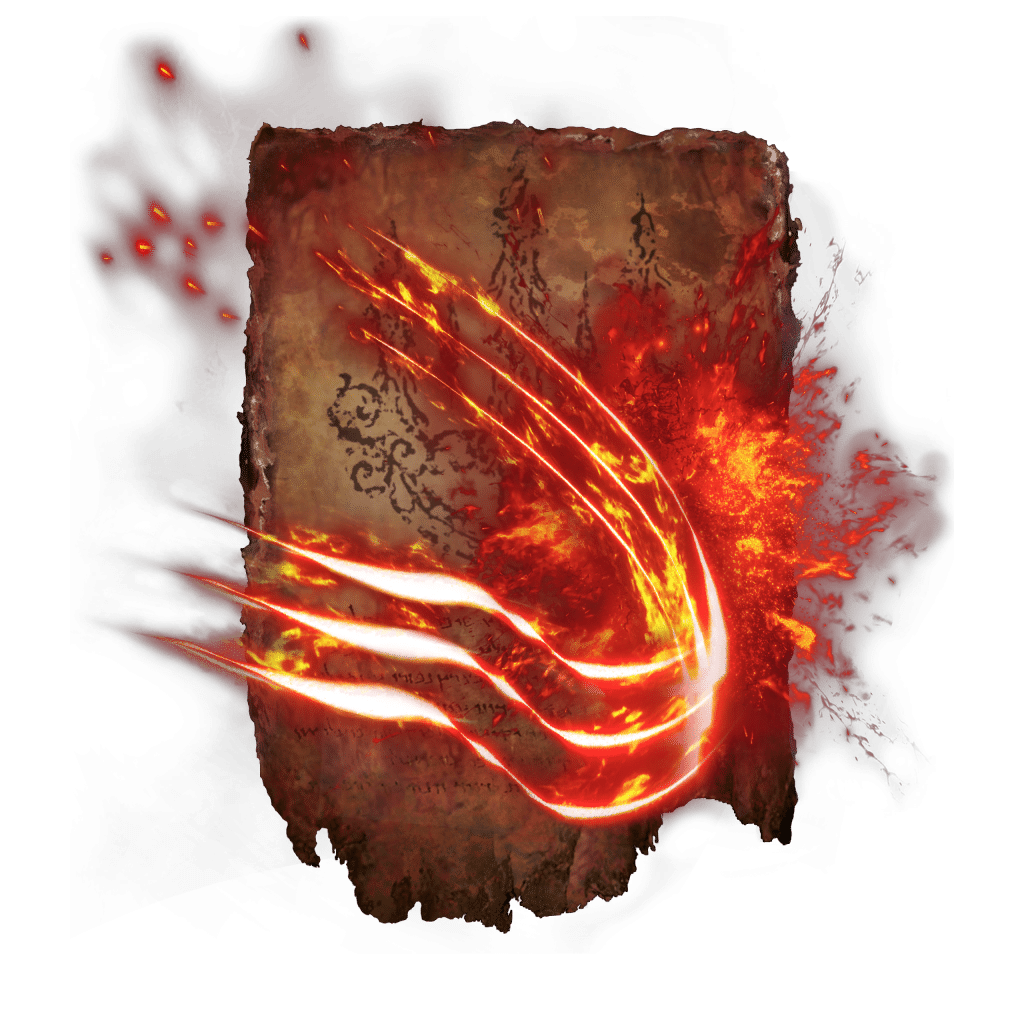
Creates bloodflame lacerations before the caster, which explode in an instant.
This incantation can be cast repeatedly.
After dealing damage, bloodflame continues to build up onset of blood loss for a very short time.
Where to find
Cathedral of the Forsaken
Subterranean Shunning-Grounds
Starting Site of Grace: Forsaken Depths
- In Leyndell, Royal Capital, start at Avenue Balcony. Descend the northwestern stairs and go through the door. Follow the railing west, then drop left onto the lower rooftops.
- Drop off the right side of the roof, turn back north and find the well behind the broken wall. Climb its ladder, open the gate in the lower passage and take the next ladder down.
- Follow the damp corridor northeast into the rat-filled sewer entrance. Go through the southeastern doorway and descend the ladder into the large Omen hallway.
- Head northeast along the hallway and enter the first room on the left, opposite the summoning statue. Activate Underground Roadside grace.
- Leave Underground Roadside and go northeast along the Omen hallway to the open floor grate. Drop into it, follow the rat tunnel northwest and take the side pipe on the right rather than the flower-filled route to Dung Eater's cell.
- Follow the slug-filled pipe. Drop through its first floor opening into the dark room, leave through the door on the left and follow the next tunnel. At the slug-blocked bend, go left and drop through the next opening beside the corpse with Rainbow Stone Arrows.
- In the lower chamber, watch for the ambusher near your landing and the Revenant farther inside. Use the tunnel in the western corner, continue through the open metal gate and follow the bends past the slugs to the square room with an Omen and ladder.
- Climb the ladder and turn right to pull the lever, opening a shortcut back to Underground Roadside. Watch for two more Omen by the statue. Take the nearby doorway into the broken spiral-stair chamber.
- Turn left and drop to the lower section of the curved stairs. Follow the short flight down and enter the passage on the right. Farther along, the downward ladder by the ledge leads to Nomad Ashes; continue into the other pipe route for Mohg.
- In the Basilisk pipes, pass the first right turn with a door that opens from the other side. Take the next right into the Omen's room. Climb its ladder, cross the wooden bridge past the Imp and open the doors back toward Underground Roadside.
- From that opened bridge, climb onto the upper pipe and follow it to the end. Drop onto the lower pipe and reach the wooden walkway by the corpse with Golden Rune (10). Enter the doorway and kick down the ladder to make another shortcut.
- Drop onto the pipe below this platform, then through the opening in its top. Inside, take the northeastern direction from your landing. Follow the pipe as it bends southeast, then northeast to the fork beside Golden Rune (11).
- Take the left fork and drop through its floor opening after the small rat. The route straight toward the giant rat loops to an earlier area. The correct lower landing is beside a Commoner and Smithing Stone (5).
- Open the nearby gate for a shortcut, then follow the passage northeast. Climb down the ladder to the room with living jars and take its lift down to Forsaken Depths grace.
- From Forsaken Depths, continue down the stairs into Mohg, the Omen's arena. Defeat him and activate Cathedral of the Forsaken grace. His direct reward is Bloodflame Talons; the chest by the altar contains Erdtree's Favor +1.
Notes
- Cast with a sacred seal. Requires 13 Faith and 15 Arcane, uses one memory slot and costs 12 FP per cast. It cannot be charged.
- The hand motion leaves a claw-shaped mark in front of you, which explodes after a short delay. The initial swipe does not deal damage; place the mark where the enemy will be when it bursts.
- The explosion deals Fire damage and leaves bloodflame that builds 100 blood loss over two seconds. The bleed is applied in small ticks after contact, rather than as one immediate 100-point hit.
- Fire damage uses your seal's Incantation Scaling. Faith improves that on ordinary Faith-scaling seals; a hybrid seal can use its own supported attributes. The fixed bloodflame buildup does not increase with Arcane, even through Dragon Communion Seal.
- You can cast it repeatedly with a quicker follow-up motion. Separate successful hits can overlap their short bloodflame effects, so repeated contact keeps pressure on the bleed bar.
- An enemy immune to blood loss can still take Fire damage, but will not bleed. Fire protection and blood-loss resistance are different defenses.
- Fire-damage and incantation-damage bonuses improve the explosion. Godfrey Icon does not apply because the spell has no charged version; damage bonuses do not increase the fixed bleed buildup.
- Once the mark has formed, the explosion can still occur if you are interrupted. The short range and delay nevertheless leave openings, so do not treat it as an instant protective barrier.
- Defeating Mohg, the Omen in the sewers awards this spell. The chest behind him contains a talisman, and Mohg, Lord of Blood has different rewards in Mohgwyn Palace.
 Incantation