Reference values
- Type
- Incantation
- FP cost
- 28
- Memory slots
- 2
- Stamina cost
- 32
- Additional stamina cost
- 10
- Hold action
- Charge
- Damage types
- lightning
- Requires
- 47Fai
- Spell school
- Dragon Cult incantations
Effects
Each confirmed mist contact applies 30 Death Blight buildup. Contact applications must be at least 0.2 seconds apart for the same cloud and target. Death Blight works only on eligible Tarnished targets, not ordinary enemies or bosses. Charging changes the cloud coverage; it does not guarantee more hits. Leaving the cloud stops further applications.
Technical details
Deathblight Buildup
Each confirmed mist contact applies 30 Death Blight buildup. Contact applications must be at least 0.2 seconds apart for the same cloud and target. Death Blight works only on eligible Tarnished targets, not ordinary enemies or bosses. Charging changes the cloud coverage; it does not guarantee more hits. Leaving the cloud stops further applications.
- attribute: Deathblight Buildup
- duration: 3
- model: additive
- target: opponent
- type: positive
- value: 30
In-game description
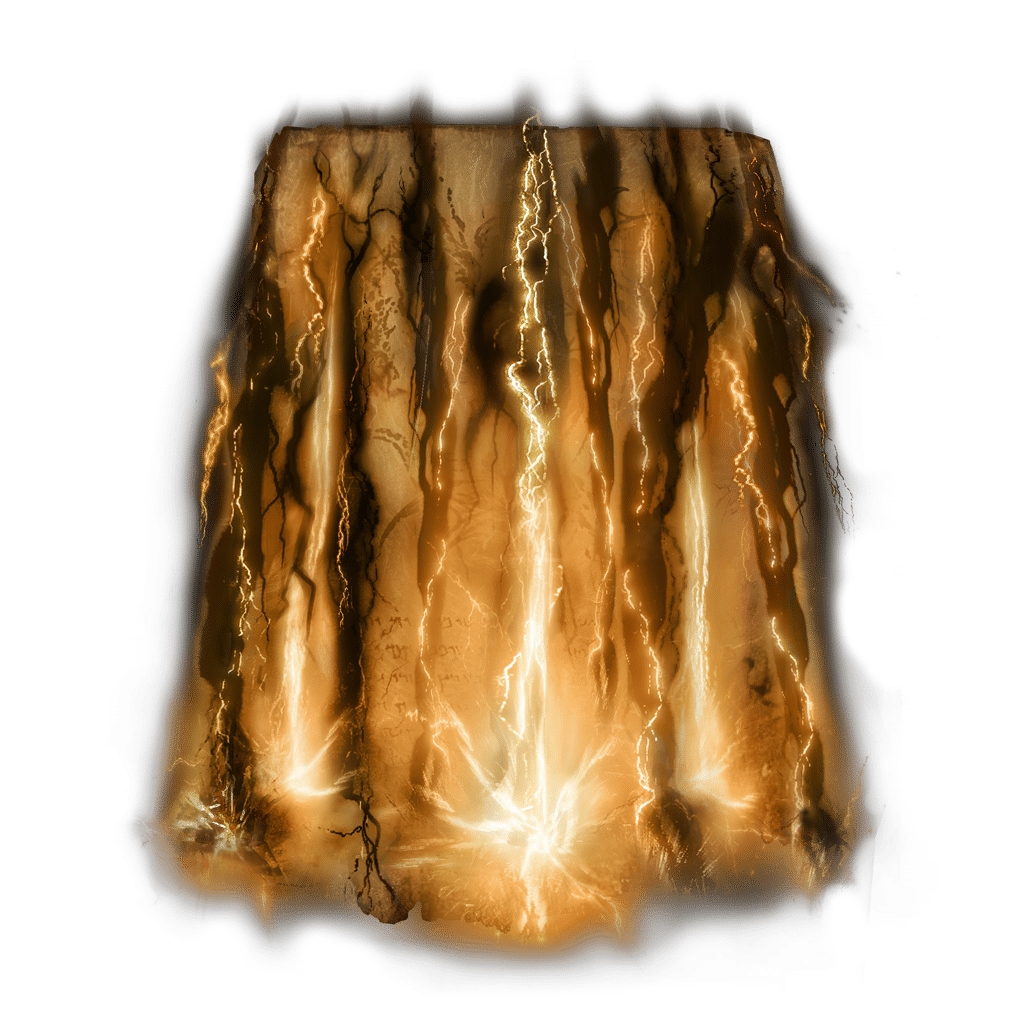
Incantation that channels the power of the ancient dragon Fortissax, now corrupted by Death.
Strikes surroundings with a storm of Death lightning.
Inflicts Death blight upon foes.
Charging extends duration of the storm.
It said that this golden lightning was wielded by Godwyn, who befriended Fortissax.
Where to find
Lichdragon Fortissax, then Roundtable Hold
Deeproot Depths
Starting Site of Grace: Across the Roots
Before you go
- Progress Ranni's quest through obtaining the Carian Inverted Statue.
- Keep Fia alive and give her the Cursemark of Death.
- Reach the western Liurnia road and follow it north through Kingsrealm Ruins. Strike the illusory wall blocking the road at the northern end, then continue past Iji at Road to the Manor.
- Ride toward the large manor while avoiding the magical strikes falling along the approach. Activate Main Caria Manor Gate grace at the entrance.
- Inside, follow the courtyard path northwest toward the building in the far corner. Fingercreepers hide among the plants and beneath the ground; do not stop on a buried hand.
- Enter the building with the seated spirit and climb its stairs to Manor Lower Level grace.
- Take the elevated walkways east and continue straight along the main route at the first junction. Spectral soldiers appear along the bridges. Reach the far building and take its lift up to Manor Upper Level.
- Leave the upper grace, pass the wolves in the garden and climb the main stone stairway toward the Troll Knight and sorcerers.
- Continue up the stairs beyond the troll and Pages to the large circular courtyard. Defeat Royal Knight Loretta, then activate Royal Moongazing Grounds grace.
- Leave through the rear exit into Three Sisters. Ranni's Rise is the western tower; climb to Ranni and agree to serve her.
- Speak to the servant projections downstairs, including Seluvis, then return to finish Ranni's conversation. Go to Seluvis's Rise, the tower southwest of hers.
- Defeat Starscourge Radahn at the Radahn Festival in Redmane Castle. His defeat opens the starfall crater in Limgrave; it is not the sealed Siofra River overlook reached from the Four Belfries.
- Return to the Mistwood near Fort Haight and find the new crater marked by floating rocks. Use the descending ledges and openings to enter Nokron, Eternal City.
- Follow the rooftops down into Nokron's streets, then continue to the Mimic Tear boss. Defeat it and cross the long bridge beyond the arena.
- Leave the bridge on the left where it opens into woodland. Follow the western cliff to Ancestral Woods grace, overlooking the lower rooftops.
- From beside the grace, drop to the roof below. Follow the roofs and narrow building ledges, fighting or avoiding the Silver Tears, until you can cross the broken stone arch into the large church.
- Descend to the church's lower floor and watch the enormous rolling ball. Leave through the main doorway and go down to Night's Sacred Ground grace.
- Follow the lower street past the Silver Tears toward the enormous seated skeleton. Climb the stairs below its throne and open the chest for Fingerslayer Blade. The nearby locked side room for Mimic Tear Ashes is not needed for this chest.
- Finish Seluvis's optional rewards before giving away the blade. Return to Ranni's Rise and hand her Fingerslayer Blade to receive Carian Inverted Statue.
- Follow Liurnia's eastern plateau south from the Artist's Shack toward the large round building north of Jarburg. Enter Carian Study Hall and activate Study Hall Entrance grace.
- Place the statue on the celestial-globe pedestal in the entrance room to turn the hall upside down.
- Go up the entrance stairs toward the now-empty lift shaft. Walk off onto the ledge just below, circle the opening and pass through the upside-down window. Do not drop down the open central shaft.
- Clear the three small Fingercreepers beyond the window. Miriam is on the inverted arch across the next chamber and can shoot while you move along its edges.
- Keep close to the wall while descending toward the inverted arch. Watch for Fingercreepers and spectral soldiers rather than running straight across the exposed middle.
- Continue along the arch and right-hand route to Miriam's final platform. Defeat her if her shots are making the narrow route unsafe; her reward here is Lucidity.
- At the far end, look below for the suspended chandeliers. Drop onto the nearby chandelier, then onto the next lower support and wooden beams. Line up each landing before leaving the edge.
- Clear the rats on the beams and work inward toward the large central lift. Drop onto its platform and step on the panel to ride to the tower exit.
- Open the doors and activate Liurnia Tower Bridge grace outside. The Godskin Noble on the bridge is a separate encounter from Miriam.
- Cross the bridge toward the Divine Tower. The Godskin Noble can be defeated for his outfit or passed if you can reach the tower safely.
- Open the tower doors, ride the lift up and climb the final stairs. Loot the summit corpse for Stargazer Heirloom and Cursemark of Death.
- Return to Ancestral Woods grace in Nokron with the cursemark. Continue from the upper woodland beside that grace.
- From the upper woodland, go toward the trees beside Hallowhorn Grounds and the Spirit Jellyfish along the northern cliff. Use the lower ledge below the edge, then follow the descending path into the cave to Aqueduct-Facing Cliffs grace. You do not need to light the ancestor pillars.
- Leave the cave toward the aqueduct. Drop onto the stone support leading to the building, then onto the lower ledge. A Crucible Knight patrols nearby, so wait for an opening before moving across.
- Continue toward the building with water pouring out. Another Crucible Knight stands by the waterfall. Go north through the water channel, turn into the area on the right and climb the stairs through the arch. D's twin sits near this approach to the boss.
- Defeat both Valiant Gargoyles. Afterward, activate Great Waterfall Basin grace and rest in the coffin beside the waterfall to reach Deeproot Depths.
- From Great Waterfall Crest, head west onto the huge roots. Use the root descending on the left to cross the gap, then continue west past the giant ants to Deeproot Depths grace beside the Finger Reader. The Erdtree Avatar and the ant cave are optional detours.
- Head north into the shallow water and ruins. The map is in the gazebo. Continue west beneath the large root and past the ghostly soldiers to The Nameless Eternal City grace beside an arch.
- Climb onto the partly sunken buildings east of that grace, then onto the roots above them. Take the right fork, continue past the tower toward the northeastern cliff and drop right to Across the Roots grace.
- Go through the root opening into the large clearing beneath Godwyn. Defeat all three waves of Fia's Champions. The final wave has three opponents together; you can use a Spirit Ash here. Fia's Mist is the direct reward.
- Speak to Fia after the champions. Choose No, I want to be held, then use her private conversation options. Do not attack her.
- While Fia holds you, finish her private dialogue and give her the cursemark. Keep talking until her conversation repeats. Rest at the nearby grace and return for her later dialogue; repeat until she is asleep.
- Touch the sleeping Fia to enter the Deathbed Dream. Defeat Lichdragon Fortissax, then collect Mending Rune of the Death-Prince from her body when you return.
- Return to Enia at Roundtable Hold and exchange Remembrance of the Lichdragon for Death Lightning. Fortissax’s Lightning Spear is a different reward.
Notes
- Requires 47 Faith, two memory slots and a sacred seal. Costs 28 FP; stamina rises from 32 to 42 when charged.
- Calls scattered Lightning strikes around you. Each main bolt deals 513% of Incantation Scaling before defenses, or 564% when charged.
- Charging extends the storm and gives more strikes across a wider area. Its main bolts deal 5 stance damage normally or 9.25 charged, but only bolts that actually connect count.
- The strikes and lingering clouds build Death Blight on susceptible player-type targets. Ordinary enemies and bosses are immune to that status, even though they can still take Lightning damage.
- Gravel Stone Seal adds 15% to this Dragon Cult incantation while actively held; two copies give 32.25% together. Death Knight armor adds its separate 2% per-piece bonus.
- Godfrey Icon improves charged damage. Lightning bonuses strengthen the direct hits, rather than increasing Death Blight buildup or making an immune boss vulnerable to it.
- Small targets can stand between strikes, and a low roof can interfere with the cast. A large damage figure on one bolt is not a guaranteed whole-cast result.
- Fortissax’s Lightning Spear is the other remembrance reward. Keep Fia alive and finish her cursemark dialogue to reach the encounter.

 Incantation