Reference values
- Type
- Incantation
- FP cost
- 24
- Memory slots
- 1
- Stamina cost
- 20
- Additional stamina cost
- 6
- Hold action
- Charge
- Damage types
- physical
- Requires
- 28Fai
- Spell school
- Storm incantations
In-game description
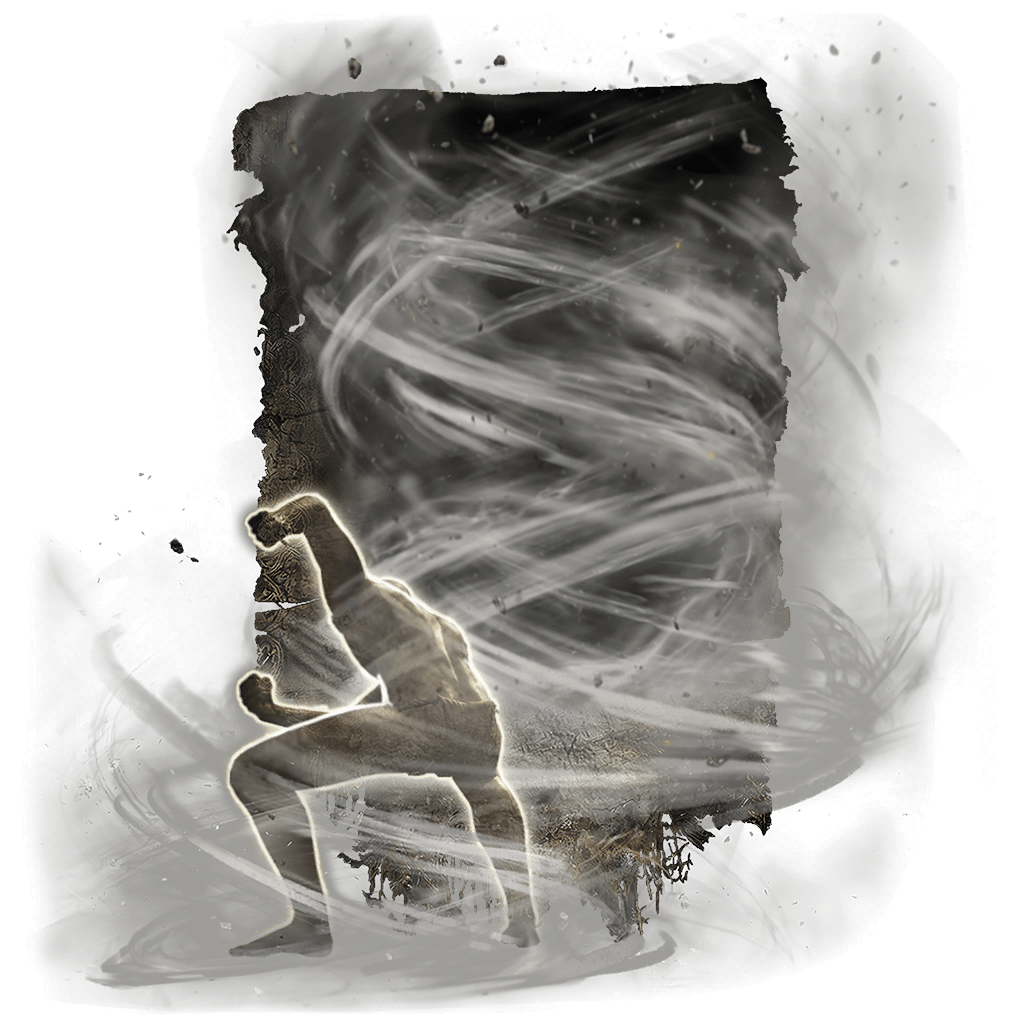
The tempest of the Dancing Lion, wielded as an incantation.
A whirlwind-like twist of the body summons a storm, launching a tornado forward.
Charging enhances potency.
The majority of divine beasts were gored and hung upon Messmer's spears, then burned in his flame. Those who witnessed the deed likened it to a funeral pyre for the tower itself.
Where to find
Second Divine Beast Dancing Lion arena
Ancient Ruins of Rauh
Starting Site of Grace: Ancient Ruins, Grand Stairway
Before you go
- To enter the Realm of Shadow, defeat Starscourge Radahn and Mohg, Lord of Blood, then touch the withered arm in Mohg's arena at Mohgwyn Palace.
- Enter the Realm of Shadow after defeating Starscourge Radahn and Mohg, Lord of Blood, by touching the withered arm in Mohg's arena.
- From Highroad Cross in Scadu Altus, follow the main road north to Shadow Keep's southern gate. Ride the entrance lift and activate Shadow Keep Main Gate grace.
- Defeat Golden Hippopotamus in the plaza. This is the front-door route; the flooded Church District provides a different way into the keep.
- From Main Gate Plaza, leave through the west-northwest doorway, pass through the armory and climb the stairs. Continue up the wooden steps to the dining hall, where two Black Knights guard the route.
- Leave the dining hall through its southeastern exit to the upper rampart. Follow the rampart past the burning boats and watch for the small Shadow Militiamen hiding beside them.
- Take the stairs leading north-northeast toward the large lift, passing the Fire Knight in front of it. Ride up and activate Storehouse, First Floor grace.
- At Storehouse, First Floor, take the western side passage and lift down to the lower jar rooms. This is the West Rampart branch, rather than the stairs climbing toward Messmer.
- Follow the hallway through the rooms with living jars and the larger jar-filled ward. Watch for the smaller enemies waiting beside doorways, then use the western exit and stairs to reach West Rampart grace.
- Cross the long bridge west toward the Ancient Ruins of Rauh. Salza waits at the far end and calls down fire as you approach. Use the bridge's sheltered sections to interrupt his view, or ride Torrent to close the distance.
- Defeat Salza at the western gate to receive Rain of Fire and Salza's Hood together. Messmer and Romina are not required for this selected route.
- Go through the doorway behind Salza. Take the doorway on the right, follow the stairs to the lift and ride down to Viaduct Minor Tower grace.
- Leave by the southwestern stairs and follow the path west as it curves downhill. Turn northwest between the lit braziers and large pillars to enter the covered ruins. This is the upper ruin route, separate from Rauh Base below.
- Watch for the Curseblade beside the pillar near the pot-carrying shadow enemy. Continue northwest, look right for the large double doors and open them.
- Descend the stairs into the scorpion chamber. Draw the large scorpion away from the smaller ones dropping from the ceiling, then clear the next corner. More scorpions drop beside the corpse there.
- Continue west, then southwest down the ramp to the next chamber. Open the second set of double doors on its southwestern wall.
- Pass the fixed material pickup behind the doors and follow the corridor northwest past the snails. Drop through the large square opening over the spiritspring; this is the intended descent into the lower hall.
- From the lower landing, go northwest to the statue junction, then continue southwest rather than taking the northeastern root room. Pass under the arch and follow the corridor as it bends southeast.
- Watch for the caster behind you near the northwestern side. Continue southeast through the arches toward daylight. A Crucible Knight waits on the rocks outside; circle past for now to reach Rauh Ancient Ruins, East grace beside the cross.
- From Rauh Ancient Ruins, East, head west and drop onto the broad bridge. A Furnace Golem wakes at its far end; keep moving and use the bridge rather than dropping into the valley.
- Cross southwest and drop from the right near the far end onto the lower path. Continue southwest up the stairs, then turn left and ride south past the golem. Rauh Ancient Ruins, West grace is just southeast beyond the low rise.
- From Rauh Ancient Ruins, West, enter the temple southwest of the grace. Follow the left route through the interior and take the lift up.
- At the upper level, turn left onto the thin stone walkways. Drop onto the second set of walkways below and follow them to the small room marked by two lit pillars. Take its lift to Ancient Ruins, Grand Stairway.
- Go down the long ruined stairs toward the giant archer. Continue to their broken end and drop onto the rocks and lower bridge section beneath it.
- Follow the lower bridge to its end, then cross to the isolated temple platform on the southeast side. Defeat the Divine Beast Dancing Lion there for Divine Beast Tornado.
- This is the second lion in Rauh, not the remembrance boss at Belurat. Its platform cannot be reached directly from Temple Town Ruins below.
Notes
- Requires 28 Faith, uses one memory slot and costs 24 FP. It launches a Physical tornado forward after the caster turns to gather the wind.
- Charging raises base attack power from 220% to 275% of Incantation Scaling and lets the main hit launch many lighter enemies. Stamina increases from 20 to 26.
- An enemy near the tornado's endpoint can be hit by both the traveling portion and its lingering end. A target only crossed along the path may receive less damage.
- The tornado deals 8 stance damage per connecting main contact. The small starting wind contributes 3, but is not strong enough to make casting beside an aggressive enemy safe.
- Enraged Divine Beast improves this storm attack by 10%. Divine Beast Head gives 5% or Divine Beast Helm gives 4%; the two headpieces cannot be worn together.
- Godfrey Icon improves the charged version. Physical damage and incantation bonuses also apply. Spiraltree Seal does not boost it merely because the spell comes from a divine beast.
- It has no reliable protection from interruption during its preparation. Cast from an opening or distance instead of relying on the starting wind to stop every attack.
- The second Divine Beast Dancing Lion in Rauh gives this spell directly. The remembrance lion at Belurat gives different rewards.
- The isolated arena is reached from the upper ruins and Grand Stairway's lower bridge. Temple Town Ruins in the valley below does not provide a direct climb into it.
 Incantation