Development preview — content and features are still being refined.
 Armor Sets
 · Armor Sets
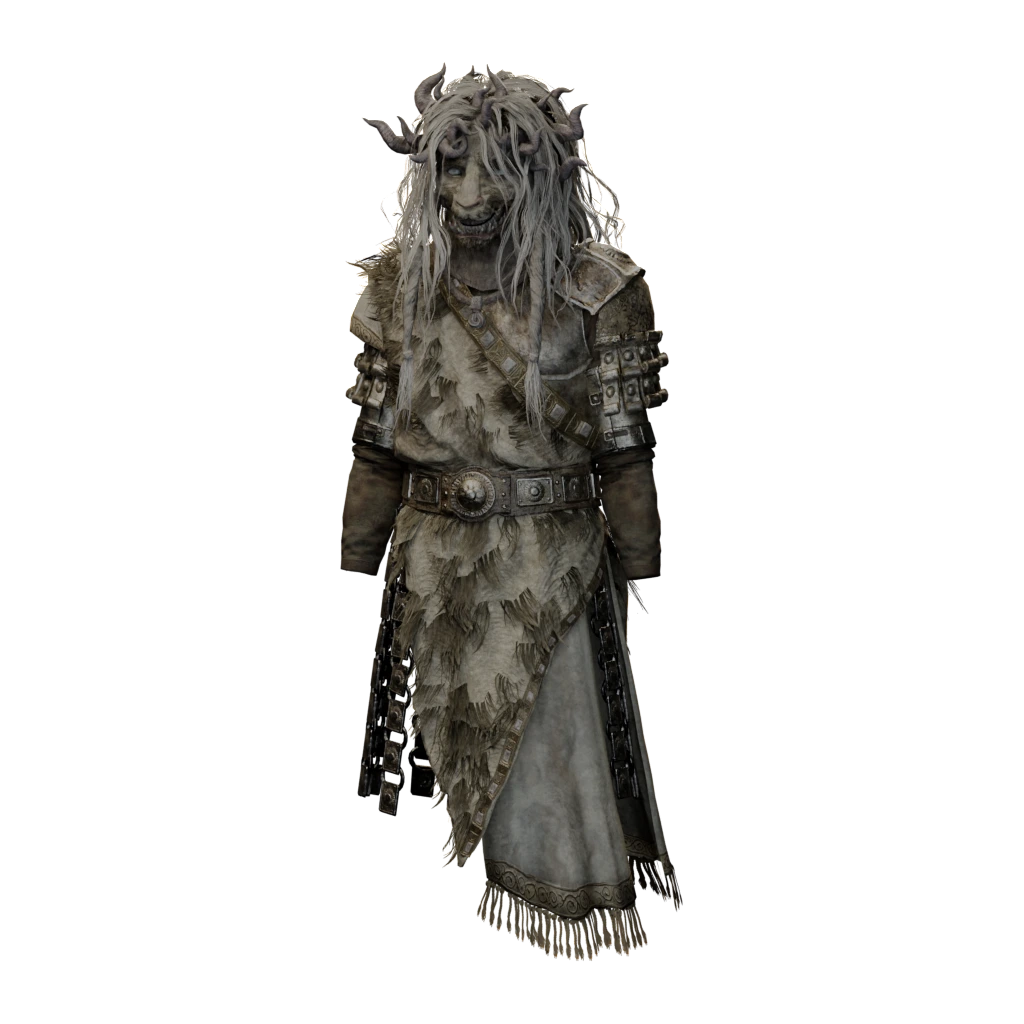
Divine Beast Warrior Set
Armor Sets
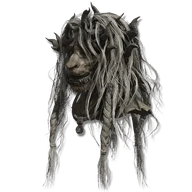
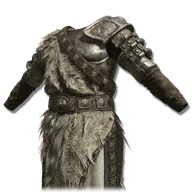
With Divine Beast Helm, Divine Beast Warrior Armor and the shared Horned Warrior limbs, the outfit weighs 25.6 and provides 48 poise. Replacing the smaller helm with the large Divine Beast Head brings it to 31.1 weight and 53 poise.
Reference values
- Type
- Armor Sets
About this set
With Divine Beast Helm, Divine Beast Warrior Armor and the shared Horned Warrior limbs, the outfit weighs 25.6 and provides 48 poise. Replacing the smaller helm with the large Divine Beast Head brings it to 31.1 weight and 53 poise.
Divine Beast Helm adds 3 Strength and 3 Dexterity and increases eligible storm damage by 4%. It reduces Crimson Flask healing by 9% and Sleep and Madness resistance by 45.
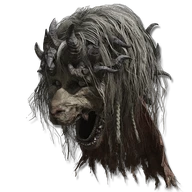
The large Divine Beast Head instead adds 4 Strength and 4 Dexterity and increases storm damage by 5%, with an 11% Crimson Flask penalty and 60-point Sleep and Madness resistance penalties.
Linked equipment
Where to find
Stairs above the opening courtyard
Enir-Ilim
Starting Site of Grace: Spiral Rise
- Enter the Realm of Shadow after defeating Starscourge Radahn and Mohg, Lord of Blood, by touching the withered arm in Mohg's arena. Defeat Messmer in Shadow Keep for his kindling and Romina at Church of the Bud in the Ancient Ruins of Rauh.
- Finish the companion quest steps you want before burning the Sealing Tree behind Romina with Messmer's Kindling. This advances their quests and carries you to Enir-Ilim: Outer Wall.
- From Outer Wall, climb northeast to the large balcony, then southwest up the next stairs. Turn southeast toward the Divine Bird Warrior and enter the building beyond it. Climb the broken ledges and cross the balcony to First Rise grace.
- From First Rise, take the stairs upward through the building and use the southwest doorway toward the courtyard route. Continue through to the courtyard with the large patrolling inquisitor and the smaller enemies praying below.
- Take the upward stairs on the courtyard's southeastern side, rather than the lower tree detour. Use the stone railings for cover from the inquisitors' rapid spells, then continue up beside the large tree to the Divine Beast Warrior.
- Get past the warrior and climb northwest. Keep moving when the upper inquisitors cast attacks beneath your feet. Open the large double doors at the top of the stairs and activate Spiral Rise grace.
- For the repeatable farm, rest at Spiral Rise and return down the stairs toward the Divine Beast Warrior beside the large tree. Defeat it and check its loot for the smaller Divine Beast Helm and its chest armor.
- Return to Spiral Rise, rest and repeat. These two pieces are random drops. The large Divine Beast Head from Belurat's Dancing Lion is a different item, and the final wind warrior's greatsword is a separate reward.
Divine Beast Dancing Lion arena
Belurat, Tower Settlement
Starting Site of Grace: Stagefront
- To enter the Realm of Shadow, defeat Starscourge Radahn and Mohg, Lord of Blood, then touch the withered arm in Mohg's arena at Mohgwyn Palace.
- From Three-Path Cross, follow the western route through the rocky passage to Main Gate Cross outside Belurat.
- Climb the entrance stairs and open the large doors. Pass the giant scorpions and the room of smaller scorpions, then continue upstairs to Belurat, Tower Settlement grace.
- The large doors ahead are shut. Take the path right into the small square with the waterfall, then turn left toward the elevated bridge where shadow casters fire down at you.
- Pass beneath the elevated bridge and enter the open doorway on the left. Clear the shadow enemies and climb the building's stairs to Small Private Altar grace.
- Leave through the northern doorway and climb the stairs on the right. The Horned Warrior with two curved swords patrols just above the grace.
- Past the patrolling Horned Warrior, take the narrow alley on the right to get around the broken bridge. Watch the corners for shadow enemies and continue toward the shallow channel at the top of the waterfall.
- Enter the room beside the channel and climb its ladder. The corpse at the top holds Storeroom Key. For the boss, leave through the upper doorway and take the stairs on the right.
- At the next fork, the left route leads toward the scorpion room and the shortcut lift. For Stagefront, take the right-hand route across the rooftops with Gravebirds. Clear the birds and the caster near the far end before crossing.
- Return to the street and cross the covered bridge. A pot-carrying shadow runs here, and a Horned Warrior waits beyond it. Keep the fight away from the narrow bridge if you need room.
- Continue to the courtyard with the large tree and praying shadows. Cross to the large doorway and enter the upper level of the scorpion hall.
- Climb the spiral staircase, watching for the Curseblade's spinning attacks. Continue up the final stairs and activate Stagefront grace before opening the boss doors.
- Defeat Divine Beast Dancing Lion. Activate Theatre of the Divine Beast grace and collect the large Divine Beast Head from the arena floor before leaving. The remembrance is a separate direct boss reward.
Horned Warriors supplying the shared gauntlets and greaves
Belurat, Tower Settlement
Starting Site of Grace: Small Private Altar
- From Three-Path Cross, follow the western route through the rocky passage to Main Gate Cross outside Belurat.
- Climb the entrance stairs and open the large doors. Pass the giant scorpions and the room of smaller scorpions, then continue upstairs to Belurat, Tower Settlement grace.
- The large doors ahead are shut. Take the path right into the small square with the waterfall, then turn left toward the elevated bridge where shadow casters fire down at you.
- Pass beneath the elevated bridge and enter the open doorway on the left. Clear the shadow enemies and climb the building's stairs to Small Private Altar grace.
- Leave through the northern doorway and climb the stairs on the right. The Horned Warrior with two curved swords patrols just above the grace.
- Defeat it and check its loot. Each armor piece and the sword have separate random rolls, so one victory does not guarantee the outfit. Rest at Small Private Altar and repeat as needed. The Dancing Lion boss and both dungeon keys are unnecessary for this farm.
Notes
- With Divine Beast Helm, Divine Beast Warrior Armor and the shared Horned Warrior limbs, the outfit weighs 25.6 and provides 48 poise. Replacing the smaller helm with the large Divine Beast Head brings it to 31.1 weight and 53 poise.
- Divine Beast Helm adds 3 Strength and 3 Dexterity and increases eligible storm damage by 4%. It reduces Crimson Flask healing by 9% and Sleep and Madness resistance by 45.
- The large Divine Beast Head instead adds 4 Strength and 4 Dexterity and increases storm damage by 5%, with an 11% Crimson Flask penalty and 60-point Sleep and Madness resistance penalties.
- The chest, gauntlets and greaves add no storm or attribute bonus. There is no extra effect for equipping all matching pieces.
- The smaller helm and chest are separate random drops from eligible Divine Beast Warriors in Enir-Ilim, each with a 5% base chance at 100 Discovery. Higher Discovery improves the rolls, rather than guaranteeing a full outfit from one enemy.
- The arm and leg pieces are Horned Warrior Gauntlets and Horned Warrior Greaves. They can be farmed from the earlier Horned Warrior near Small Private Altar and do not need a later boss reward.
- Belurat's Dancing Lion provides only the large alternative headpiece from this outfit grouping, not the chest and limbs. Its remembrance is a separate reward.
- None of these armor pieces can be altered. The smaller helm is a separate item and cannot be made by tailoring the large head.
Related Armor Sets
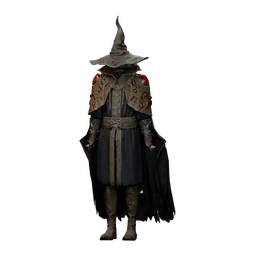
Armor Sets
Alberich's Set
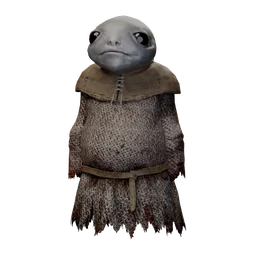
Armor Sets
Albinauric Set
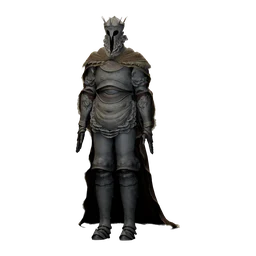
Armor Sets
All-Knowing Set
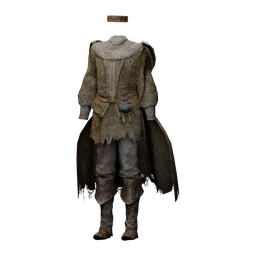
Armor Sets
Aristocrat Set
Armor Sets
Astrologer Set
Armor Sets