Reference values
- Type
- Throwable
- FP cost
- 15
- Maximum held
- 10
- Maximum stored
- 600
- Consumed when used
- Yes
Effects
Restores 35 HP per supplied 1-second recovery tick while the recipient stays inside the active area. The area lasts 30 seconds. The calculation requires its measured first-tick offset and the recipient's position state; it does not assume that everyone stays in range. Healing requires the recipient to have inherited the Frenzied Flame. The madness inflicted on other recipients is separate and remains held pending its contact checks.
Some additional effect mechanics are still being verified and are not included in calculations.
Technical details
Health Points
Restores 35 HP per supplied 1-second recovery tick while the recipient stays inside the active area. The area lasts 30 seconds. The calculation requires its measured first-tick offset and the recipient's position state; it does not assume that everyone stays in range. Healing requires the recipient to have inherited the Frenzied Flame. The madness inflicted on other recipients is separate and remains held pending its contact checks.
- attribute: Health Points
- conditions:
- Entry 1: Inside Affected Area
- Entry 2: Frenzied Flame Inherited
- duration: 30
- model: additive
- tick interval: 1
- type: positive
- value: 35
Madness Buildup
Not verified. Excluded from calculations.
- attribute: Madness Buildup
- conditions:
- Entry 1: Not a Chaos Follower
- duration: 30
- model: additive
- type: negative
- value: 15
In-game description
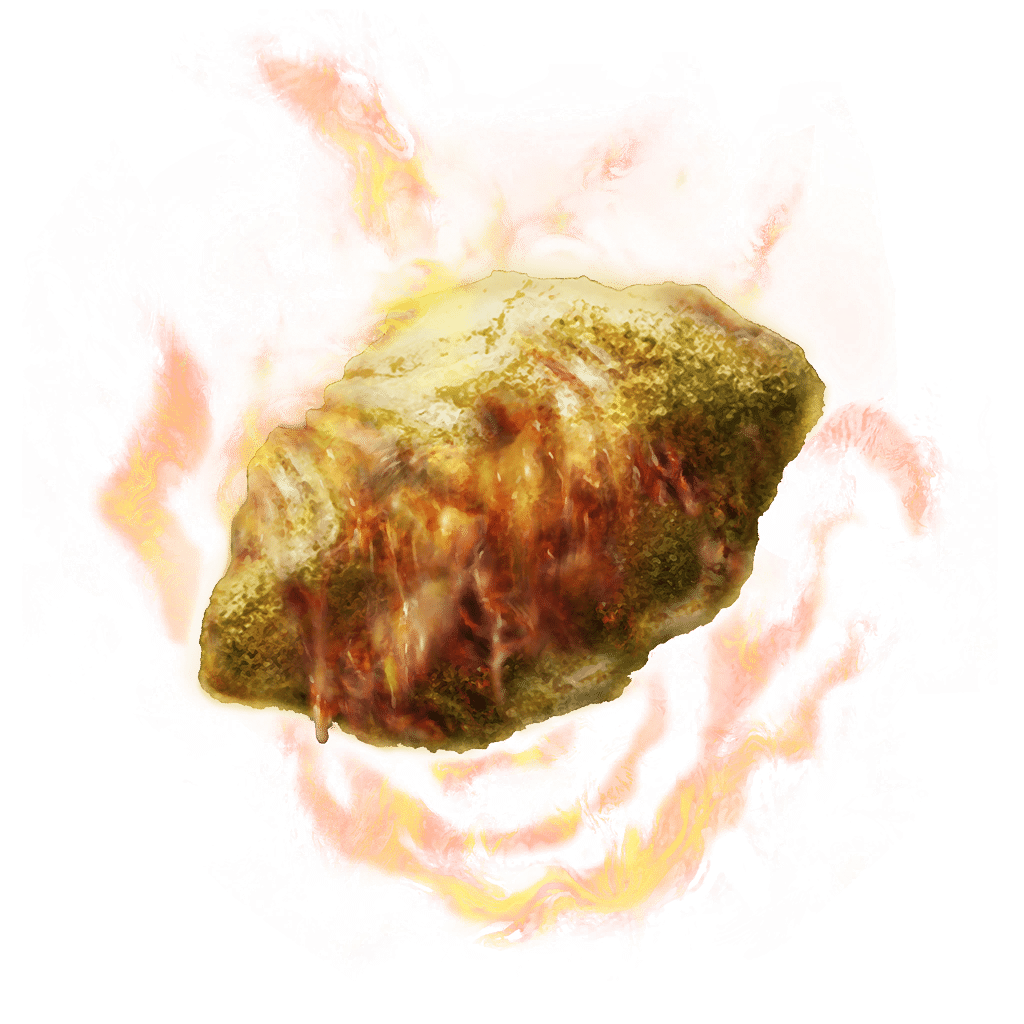
Ruin Fragment blessed with an incantation of the Three Fingers. Craftable item.
Uses FP to generate warmth, continuously restoring the HP of those who host the frenzied flame.
Confers madness upon those who have not adopted the flame. Take care not to mistake this for its gentler cousin.
Where to find
Crafting after obtaining Frenzied's Cookbook [2]
Subterranean Shunning-Grounds
Starting Site of Grace: Cathedral of the Forsaken
Before you go
- Crafting Kit
- Frenzied's Cookbook [2]
- Ingredients per batch: 1 Yellow Ember and 1 Sanctuary Stone
- Defeat Mohg, the Omen
- Defeat Morgott to pass the seal behind the cathedral.
- In Leyndell, Royal Capital, start at Avenue Balcony. Descend the northwestern stairs and go through the door. Follow the railing west, then drop left onto the lower rooftops.
- Drop off the right side of the roof, turn back north and find the well behind the broken wall. Climb its ladder, open the gate in the lower passage and take the next ladder down.
- Follow the damp corridor northeast into the rat-filled sewer entrance. Go through the southeastern doorway and descend the ladder into the large Omen hallway.
- Head northeast along the hallway and enter the first room on the left, opposite the summoning statue. Activate Underground Roadside grace.
- Leave Underground Roadside and go northeast along the Omen hallway to the open floor grate. Drop into it, follow the rat tunnel northwest and take the side pipe on the right rather than the flower-filled route to Dung Eater's cell.
- Follow the slug-filled pipe. Drop through its first floor opening into the dark room, leave through the door on the left and follow the next tunnel. At the slug-blocked bend, go left and drop through the next opening beside the corpse with Rainbow Stone Arrows.
- In the lower chamber, watch for the ambusher near your landing and the Revenant farther inside. Use the tunnel in the western corner, continue through the open metal gate and follow the bends past the slugs to the square room with an Omen and ladder.
- Climb the ladder and turn right to pull the lever, opening a shortcut back to Underground Roadside. Watch for two more Omen by the statue. Take the nearby doorway into the broken spiral-stair chamber.
- Turn left and drop to the lower section of the curved stairs. Follow the short flight down and enter the passage on the right. Farther along, the downward ladder by the ledge leads to Nomad Ashes; continue into the other pipe route for Mohg.
- In the Basilisk pipes, pass the first right turn with a door that opens from the other side. Take the next right into the Omen's room. Climb its ladder, cross the wooden bridge past the Imp and open the doors back toward Underground Roadside.
- From that opened bridge, climb onto the upper pipe and follow it to the end. Drop onto the lower pipe and reach the wooden walkway by the corpse with Golden Rune (10). Enter the doorway and kick down the ladder to make another shortcut.
- Drop onto the pipe below this platform, then through the opening in its top. Inside, take the northeastern direction from your landing. Follow the pipe as it bends southeast, then northeast to the fork beside Golden Rune (11).
- Take the left fork and drop through its floor opening after the small rat. The route straight toward the giant rat loops to an earlier area. The correct lower landing is beside a Commoner and Smithing Stone (5).
- Open the nearby gate for a shortcut, then follow the passage northeast. Climb down the ladder to the room with living jars and take its lift down to Forsaken Depths grace.
- From Forsaken Depths, continue down the stairs into Mohg, the Omen's arena. Defeat him and activate Cathedral of the Forsaken grace. His direct reward is Bloodflame Talons; the chest by the altar contains Erdtree's Favor +1.
- Strike the altar behind the chest to reveal the passage. If Morgott's seal blocks it, defeat Morgott in the capital before continuing. Mohg, Lord of Blood in Mohgwyn Palace is a different boss.
- Enter the chamber of merchant bodies and cross the first narrow wooden beam to the lower level. Keep the nearby living merchant alive until you have opened the tent.
- The clothing tent is optional. Continue down the stairs to the next level with another living merchant and more tents. The second tent contains Eye of Yelough, rather than the cookbook.
- Go around to the next wooden beam and cross toward the alcove with Golden Rune (11). From the middle of the beam, line up the lower beam and drop onto it.
- Follow that lower beam to the northern alcove and loot Frenzied's Cookbook (2). The corpse with three Hefty Beast Bones is at its other end. You can leave with the book without attempting the coffin descent or opening the Three Fingers' door.
- Buy the Crafting Kit from Kale at the Church of Elleh if Item Crafting is still unavailable.
- Collect 1 Yellow Ember and 1 Sanctuary Stone. Outside combat, open Item Crafting and select Frenzyflame Stone. One batch makes 1.
Notes
- Spends 15 FP and consumes one stone to create a 30-second area. Eligible recipients recover 35 HP per second, for roughly 1,050 HP over the full duration if they remain nearby and need the healing.
- For a player to receive its healing, they must currently host the Frenzied Flame inherited from the Three Fingers. Wearing frenzy-related armor or equipping a Madness weapon is not enough.
- Using Miquella's Needle to remove the Frenzied Flame also removes this healing eligibility. Keeping the seal or yellow-eye equipment does not preserve the benefit.
- Human opponents without the Frenzied Flame build up Madness in the area instead. This is not a general healing item for an ordinary co-op group, and it does not make every creature vulnerable to Madness.
- Eligible frenzy-afflicted enemies can also benefit. The area stays where you place it, so moving into it with an enemy can give both of you a chance to recover.
- Stacks with Warming Stone for 60 HP per second, or Sunwarmth Stone for 65 HP per second, for an eligible recipient standing within both areas. Several copies of the same stone do not create an unlimited healing stack.
- Its healing is fixed rather than Faith-scaled. It does not require a sacred seal or a memory slot, but using one still needs the FP payment.
- Can carry 10. Crafting uses Frenzied's Cookbook [2], one Yellow Ember and one Sanctuary Stone per stone. The recipe can be collected without opening the Three Fingers' door, although the healing condition is separate.
- Inheriting the Frenzied Flame affects Melina and locks out other ending choices until the flame is removed through Miquella's Needle. The healing benefit comes with that same progression choice.
 Throwable