Development preview — content and features are still being refined.
Game data · App / Regulation 1.17
Body
Armor · Body
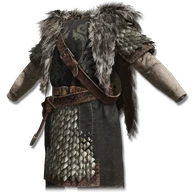
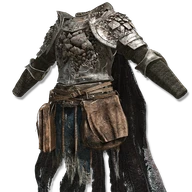
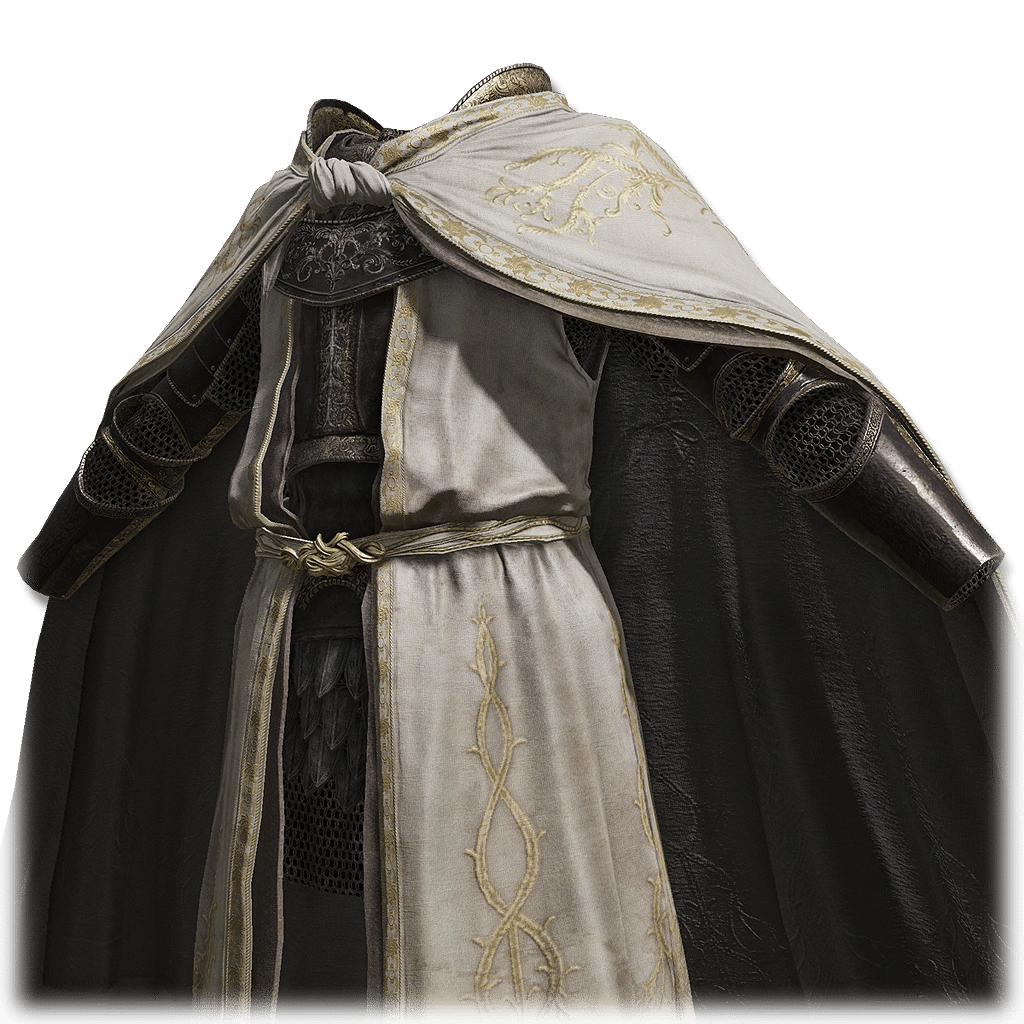
Leda's Armor
Body
Increases eligible running attacks and attacks made from a roll or backstep by 10% against enemies and 5% against other players. These are the specific weapon moves, rather than a timed bonus to every attack after dodging.
These values are for this piece. Your total also depends on your other armor and active effects.
Poise & status resistance
Higher resistance lets more buildup accumulate before a status triggers.
PoiseHelps resist staggering
21
ImmunityPoison and scarlet rot
29
RobustnessBlood loss and frostbite
52
FocusSleep and madness
22
VitalityDeath blight
21
Compare body armor
The ten same-slot pieces closest in weight to Leda's Armor. Lower weight is lighter; higher poise, negation and resistance provide more protection. Negation differences are percentage points.
Increases eligible running attacks and attacks made from a roll or backstep by 10% against enemies and 5% against other players. These are the specific weapon moves, rather than a timed bonus to every attack after dodging.
It does not increase movement speed, improve dodge invulnerability or strengthen a skill merely because its animation includes a dash.
Can combine with Lacerating Crossed-Tree for running attacks and Retaliatory Crossed-Tree for qualifying roll or backstep attacks. Those talismans affect their own move types rather than every follow-up.
Technical details
Armor effects
Entry 1:
attribute: Attack Power
conditions:
Entry 1: Rolling or Backstep
Entry 2: Running Attack
model: multiplicative
tick interval: 0.5
type: positive
value: 1.1
value pvp: 1.05
In-game description
Chest armor of Needle Knight Leda.
Slightly strengthens attacks following a dodge roll or backstep, as well as dash attacks.
Embroidered with a golden crossed-tree motif, the chalk white cloak and surcoat symbolize the honor of the Needle Knights.
"Kindly Miquella fashioned us as his needles to quell all, to ward away all."
Where to find
Leda's body after the group battle
Enir-Ilim
Starting Site of Grace: Cleansing Chamber Anteroom
Before you go
Defeat Messmer and Romina, burn the Sealing Tree and reach Enir-Ilim.
To enter the Realm of Shadow, defeat Starscourge Radahn and Mohg, Lord of Blood, then touch the withered arm in Mohg's arena at Mohgwyn Palace.
Enter the Realm of Shadow after defeating Starscourge Radahn and Mohg, Lord of Blood, by touching the withered arm in Mohg's arena. Defeat Messmer in Shadow Keep for his kindling and Romina at Church of the Bud in the Ancient Ruins of Rauh.
Finish the companion quest steps you want before burning the Sealing Tree behind Romina with Messmer's Kindling. This advances their quests and carries you to Enir-Ilim: Outer Wall.
From Outer Wall, climb northeast to the large balcony, then southwest up the next stairs. Turn southeast toward the Divine Bird Warrior and enter the building beyond it. Climb the broken ledges and cross the balcony to First Rise grace.
From First Rise, take the stairs upward through the building and use the southwest doorway toward the courtyard route. Continue through to the courtyard with the large patrolling inquisitor and the smaller enemies praying below.
Take the upward stairs on the courtyard's southeastern side, rather than the lower tree detour. Use the stone railings for cover from the inquisitors' rapid spells, then continue up beside the large tree to the Divine Beast Warrior.
Get past the warrior and climb northwest. Keep moving when the upper inquisitors cast attacks beneath your feet. Open the large double doors at the top of the stairs and activate Spiral Rise grace.
Climb the spiral stairs and leave through the window before the broken floor. Follow the roof southwest around the building, then jump west to the wider roof. Draw out the Gravebirds one at a time instead of fighting all three at the corner.
Continue northwest from the roofs onto the platform with another bird and stairs. Climb the northern stairs, then the next flight toward the frost-wielding Divine Beast Warrior. The drop over the railing is an optional Spirit Ash detour.
Get past the warrior. From the small structure northwest of it, go east to the corpse with Sunwarmth Stones and climb the roof beside it. Enter the tower through its southeastern windows.
Climb the stairs inside the tower and clear the inquisitors around the lift. This is the lift above the large altar, before the final wind-wielding warrior and Cleansing Chamber Anteroom.
Continue south-southwest up the tower's stairs and go outside. Get past the wind-wielding Divine Beast Warrior on the large platform and enter the building above it for Cleansing Chamber Anteroom grace. The lift down to the altar is an optional helmet detour.
Climb the stairs east from Cleansing Chamber Anteroom and enter the sandy chamber. Finish Leda's dialogue. Use any available gold ally signs if you want help, then interact with the red sign to begin the battle against her and her allies.
Defeat the group and return to your world. Loot the bodies left around the chamber before taking the eastern exit.
Loot Leda's body for her armor and sword before leaving the chamber. Her Oathseeker helm and limbs are a separate Church of Benediction pickup.
Notes
Increases eligible running attacks and attacks made from a roll or backstep by 10% against enemies and 5% against other players. These are the specific weapon moves, rather than a timed bonus to every attack after dodging.
It does not increase movement speed, improve dodge invulnerability or strengthen a skill merely because its animation includes a dash.
Can combine with Lacerating Crossed-Tree for running attacks and Retaliatory Crossed-Tree for qualifying roll or backstep attacks. Those talismans affect their own move types rather than every follow-up.
Weighs 10.6 and provides 21 poise. It cannot be altered to remove the cloak while keeping this chest piece's effect.
Leda wears it with Oathseeker Knight Helm, Gauntlets and Greaves. Those three pieces are found separately beside Church of Benediction; the ordinary Oathseeker Knight Armor is also a different chest and lacks this attack bonus.
Loot Leda's body after winning her final group encounter. Helping or opposing her during an earlier companion invasion does not replace this later armor pickup.
 Body
 Leda's ArmorThis piece
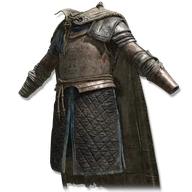 Vagabond Knight Armor
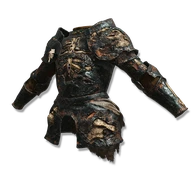 Royal Remains Armor
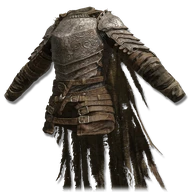 Bloodhound Knight Armor
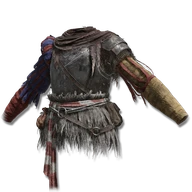 Eccentric's Armor
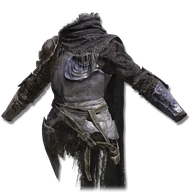 Fingerprint Armor
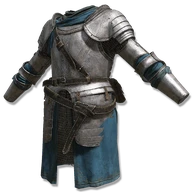 Knight Armor
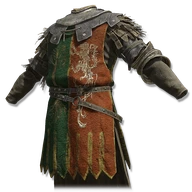 Tree-and-Beast Surcoat
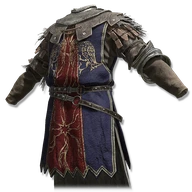 Cuckoo Surcoat
 Erdtree Surcoat
 Redmane Surcoat