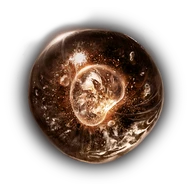
Reference values
- Type
- Crystal Tear
- FP cost
- 0
- Maximum held
- 1
- Maximum stored
- 1
- Consumed when used
- No
About this item
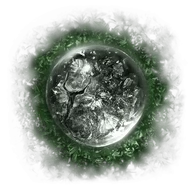
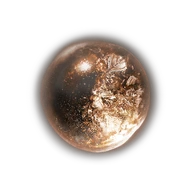
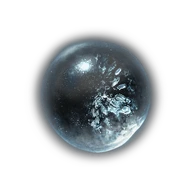
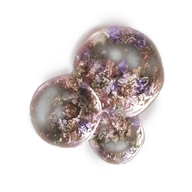
Drinking a flask containing this tear starts a short delay, then causes an explosion around you.
The explosion hurts you as well as nearby enemies. Do not use it as an ordinary recovery flask when your HP is low.
There are two pickups. Equipping both changes the explosion and increases the self-damage, so a double mixture needs more care.
Technical details
- category: Crystal Tear
- dlc:
- effects: None recorded
- fp cost: 0
- id: 11017
- is consumed: No
- max held: 1
- max stored: 1
In-game description
A crystal tear formed slowly over the ages where the Erdtree's bounty falls to the ground.
Can be mixed in the Flask of Wondrous Physick.
Causes the resulting concoction to explode.
A defective crystal tear which possesses absolutely no medicinal qualities. A lesson said to be learned the hard way for some; faith can be a volatile matter, after all.
Where to find
Southwestern Minor Erdtree
Liurnia of the Lakes
Starting Site of Grace: Converted Tower
- Reach the Converted Tower on the southwestern side of Liurnia. Stay on the raised western bank rather than dropping into the lake.
- Follow the ground north toward the Minor Erdtree and fight the Erdtree Avatar at its base.
- Defeat it to receive one Cerulean Crystal Tear and one Ruptured Crystal Tear. Both are automatic boss rewards.
Minor Erdtree east of Ordina
Consecrated Snowfield
Starting Site of Grace: Ordina, Liturgical Town
Before you go
- Both halves of the Haligtree Secret Medallion are required for the normal route.
- Collect the Haligtree Secret Medallion's right half from Albus in the Village of the Albinaurics and its left half beyond Commander Niall in Castle Sol.
- At the Grand Lift of Rold, switch the prompt to Hoist Secret Medallion. Pass through the Hidden Path to the Haligtree and continue through the Snowfield to Ordina.
- From Ordina, head east toward the Minor Erdtree. You do not need to enter the evergaol or solve the town's puzzle for this tree.
- Defeat the Putrid Avatar beneath it. The reward includes Thorny Cracked Tear and the second Ruptured Crystal Tear.
Notes
- Drinking a flask containing this tear starts a short delay, then causes an explosion around you.
- The explosion hurts you as well as nearby enemies. Do not use it as an ordinary recovery flask when your HP is low.
- There are two pickups. Equipping both changes the explosion and increases the self-damage, so a double mixture needs more care.
- The blast deals holy damage to enemies. It is separate from the ordinary damage of your equipped weapon.
- Rest at a Site of Grace and choose Mix Wondrous Physick to use this tear. Drinking the flask uses its charge; resting refills it without consuming the tear.
- The two copies are separate ingredients for the flask. Mixing both gives up the other slot you could have used for healing or protection, so plan around the self-damage as well as the blast.
- One tear produces an 800-Holy-attack-power explosion and costs 300 HP. Both tears produce 1,750 Holy attack power and cost 700 HP, rather than simply doubling both values.
- The explosion happens roughly three seconds after drinking. One version is slightly faster than the other, so do not treat the drink animation as the exact detonation moment.
- Holy damage bonuses can strengthen the outward blast. Normal damage negation does not reduce its fixed self-damage, so protective armor is not a substitute for enough HP.
- The blast deals 10 stance damage with one tear or 15 with both. It is not a weapon skill or charged spell, so Shard of Alexander and Godfrey Icon do not apply.
- Surviving the blast launches you into the air. Do not use this as a general promise of safe falls or rely on it to protect you through an enemy’s whole combo.
 Crystal Tear