Reference values
- Type
- Throwable
- FP cost
- 13
- Maximum held
- 10
- Maximum stored
- 600
- Consumed when used
- Yes
About this item
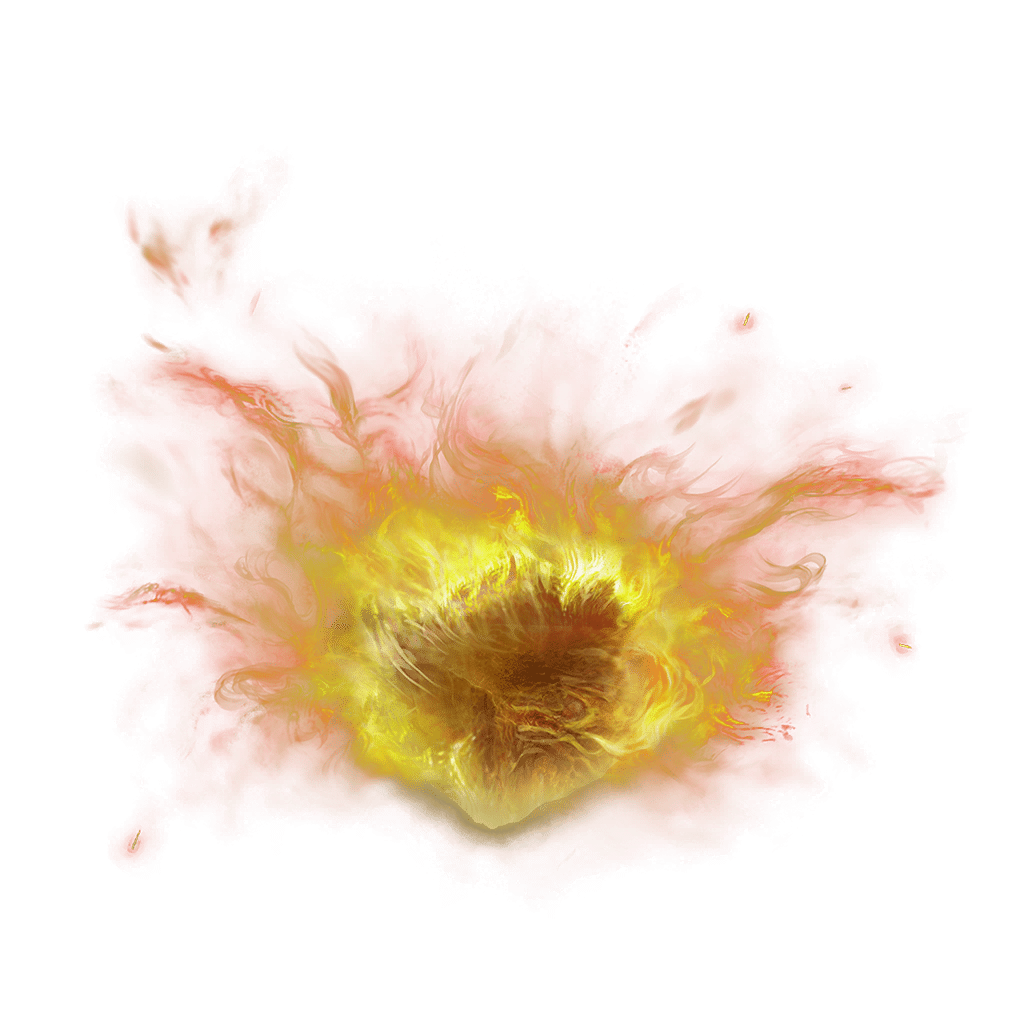
Costs 13 FP and one finished item to place a stone that releases frenzied flames. Place it where an approaching enemy will move into its attacks, rather than after a fast target has already run past.
The flames deal Fire damage and apply 40 Madness buildup per hit to susceptible targets. Multiple flames need to connect to build the meter; placing the stone is not an automatic Madness trigger.
Madness affects players and susceptible human NPC opponents, while most ordinary enemies and bosses are immune. The Fire damage can still hurt an immune enemy, but the Madness burst will not trigger against it.
Technical details
- category: Throwable
- dlc:
- effects: None recorded
- fp cost: 13
- id: 2003160
- is consumed: Yes
- max held: 10
- max stored: 600
In-game description
Spiritgrave stone burned by frenzied flame.
Craftable item.
Uses FP to place a stone on the ground, where it spews frenzied flames.
Spirits are eternal, and yet frenzied flame melts them away regardless. No wonder the hornsent forbid the flame's use.
Where to find
Crafting after collecting Mad Craftsman's Cookbook (3)
Midra's Manse
Starting Site of Grace: Midra's Library
Before you go
- Crafting Kit
- Mad Craftsman's Cookbook [3]
- One Spiritgrave Stone and one Swollen Grape
- To enter the Realm of Shadow, defeat Starscourge Radahn and Mohg, Lord of Blood, then touch the withered arm in Mohg's arena at Mohgwyn Palace.
- For the main Shadow Keep approach, defeat the Golden Hippopotamus and activate Main Gate Plaza grace. Follow the left-hand route through the keep to the upper courtyard lined with burning boats. Watch for the Militiamen hiding beside them.
- At the southeastern end of the boat courtyard, find the ladder beside the outer railing and descend to the water. Walk behind the waterfall and take the second ladder down to the painting room.
- Strike the false wall beside the Domain of Dragons painting. Follow the revealed passage and rest in the stone coffin to arrive at Castle Watering Hole.
- Head south past Ruins of Unte, avoiding the active Furnace Golem. Follow the eastern, left-hand cliff beside the waterfall to Recluses' River Upstream grace.
- Continue south along the cliff ledges. Where the route changes sides, jump across to the western, right-hand bank and follow it down to Recluses' River Downstream grace. Clear nearby Man-Flies before attempting the drops.
- Use the large gravestones projecting from the cliff to descend to the river below, then continue south to the next descent. Take the lower gravestones one at a time to the wooded valley filled with stone coffins.
- Follow the valley's eastern cliff, keeping the wall on your left, to the catacomb doors marked by two pale flames. Enter Darklight Catacombs and ride the entrance lift to its grace. Bring a lantern or torch.
- From the dungeon grace, take the right-hand doorway beside the Yellow Fulgurbloom. Follow the descending stairs through the Imp rooms. At the lower doorway, deal with the cannon-mouthed Imp before crossing its line of fire.
- The passage behind the stairs leads to the first light-switch lever. Pull it to make the ledges easier to see, then return through the cannon Imp's doorway to the balcony.
- For the main route, take the balcony's left-hand doorway, pass the sorcerer room and descend the ramp to the first internal stone lift. Ride it down. This is separate from the lift at the dungeon entrance.
- In the next main room, take the stairs on the right and follow the left railing toward the next staircase. Look for the narrow broken section at the top of those stairs.
- Look down through the gap and drop carefully onto the thin ledge below. Turn back toward the doorway in the wall instead of dropping into the pit.
- Go through the doorway above the pit, clear the sorcerer on the right and take the ladder down beside him. Deal with the next sorcerer, then drop onto the main descending passage and ride the next stone lift to the lowest dungeon level.
- The enormous cannon Imp ahead fires explosive clusters. Move between cover toward the platform beneath it, dealing with the smaller imps rather than retreating into each delayed blast.
- Continue north to the doorway marked by two torches and pull the lever on the left. It lights the room and lowers the giant Imp's platform so you can reach the enemy.
- After clearing the lowered platform, drop to the chest area beneath it. Climb the ladder beyond the chest, pass the Lion Imp and drop into the connecting passage. Follow the passage to the final stone lift.
- Ride down to Jori, Elder Inquisitor and defeat him. Leave his arena through the opening into Forsaken Graveyard and activate its grace. This exit, rather than a cliff drop from Scadu Altus, leads into Abyssal Woods.
- Go south through the opening in the stone wall, then follow the woodland path south-southwest past the warning messages to Woodland Trail grace. Torrent becomes unavailable in these woods, so continue on foot.
- From Woodland Trail, head due west off the main church road. Descend the small slope near the rats and continue west through the grass to Abyssal Woods grace. This avoids the first Aging Untouchables near the church.
- Head south, then southwest to the large tree. Turn west into the fog and keep near the left rock wall, using trees and grass to break the Aging Untouchables' view. Avoid the rattling plants that alert them.
- A corpse with Clarifying Boluses is a useful landmark along this fog route. Continue to its far end, then turn northwest toward the waterfalls and rats. Activate Divided Falls grace north of the water.
- From Divided Falls, head southwest past the first Inquisitors. Continue south past the next candle-carrying enemy toward the channel leading to the mansion.
- Stay on the main route toward the mansion, descend the low ledge and continue south along the water. Keep near the right edge to avoid drawing the entire final group of Inquisitors.
- Open the large double doors of Midra's Manse. Climb the entrance stairs and activate Manse Hall grace.
- Strike the large painting opposite the locked door at Manse Hall to reveal the passage. Follow the hall past the first Horned Warrior to the dining room, watching for frenzied stones thrown from above.
- Take the southeastern doorway past the dining table and the second Horned Warrior. Follow the winding passage to the lever at its end and pull it.
- Backtrack to the connecting corridor and use the newly opened southeastern room. Climb its ladder, watching for the shade immediately behind you at the top.
- Continue along the upper passage past the enemy throwing frenzied stones, then climb the next ladder. Cross the beams above the entry hall carefully and activate Midra's Library grace at the far end.
- Return a short way along the beams and enter the dark side room beside them. Clear the rats and the giant rat before looting the corpse for Mad Craftsman's Cookbook (3).
- You do not need to descend into the lower library, move its later bookcase or defeat Midra for this book. Those are later parts of the mansion route.
- Buy the Crafting Kit from Kale if needed. Collect one Spiritgrave Stone and one Swollen Grape, then make Surging Frenzied Flame through Item Crafting outside combat. The rats in this side room can drop more grapes after resting.
Notes
- Costs 13 FP and one finished item to place a stone that releases frenzied flames. Place it where an approaching enemy will move into its attacks, rather than after a fast target has already run past.
- The flames deal Fire damage and apply 40 Madness buildup per hit to susceptible targets. Multiple flames need to connect to build the meter; placing the stone is not an automatic Madness trigger.
- Madness affects players and susceptible human NPC opponents, while most ordinary enemies and bosses are immune. The Fire damage can still hurt an immune enemy, but the Madness burst will not trigger against it.
- Fire damage scales with Strength, Dexterity, Intelligence and Faith. At equal attribute values their scaling contributions are equal; Arcane does not improve the Fire damage or Madness buildup.
- Mad Craftsman's Cookbook (3) unlocks the recipe. One craft makes one from one Spiritgrave Stone and one Swollen Grape. It uses no pot or perfume container, but the stone and grape are consumed.
- Swollen Grapes can be farmed from the rats beside Midra's Library. The corpses and Aging Untouchable rewards are finite, so use the rat drops when you need a repeatable supply.
- You can carry up to 10. Jar, Greatjar and Companion Jar do not give their throwing-pot bonuses to this placed stone.
 Throwable