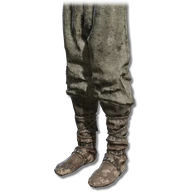
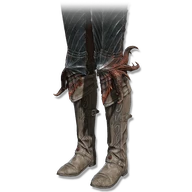
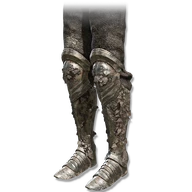
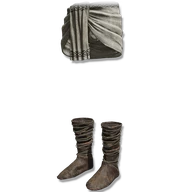
These values are for this piece. Your total also depends on your other armor and active effects.
Poise & status resistance
Higher resistance lets more buildup accumulate before a status triggers.
PoiseHelps resist staggering
28
ImmunityPoison and scarlet rot
56
RobustnessBlood loss and frostbite
66
FocusSleep and madness
22
VitalityDeath blight
31
Compare legs armor
The ten same-slot pieces closest in weight to Verdigris Greaves. Lower weight is lighter; higher poise, negation and resistance provide more protection. Negation differences are percentage points.
There is no hidden damage, attribute or Scarlet Rot bonus on these armor pieces. The matching outfit adds no separate effect, and none of its pieces can be altered.
The complete outfit weighs 61.6 and provides 100 poise. That is a large load before adding the shield or other weapons; staying below the heavy-load threshold still depends on your total equipment and maximum load.
In-game description
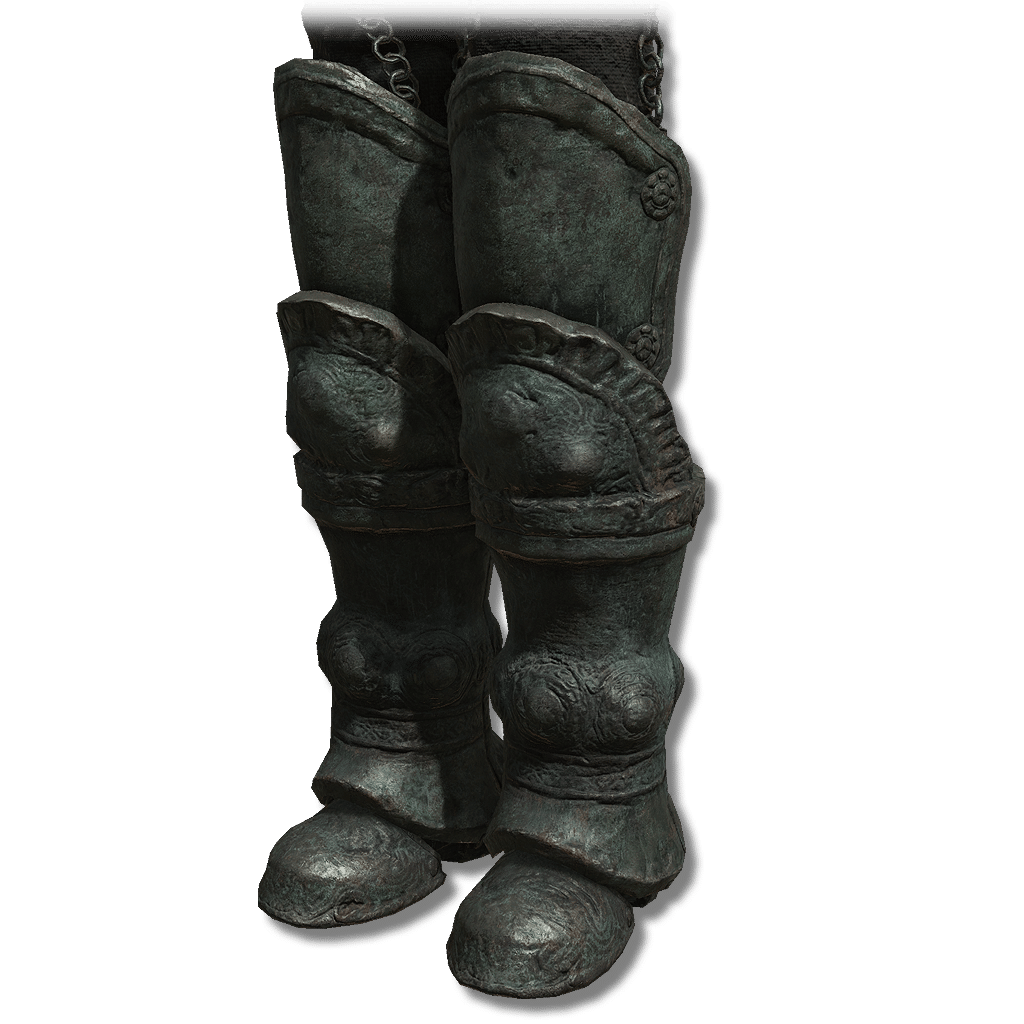
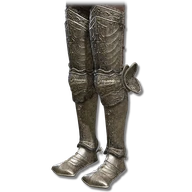
Greaves made from an unusual metal known as verdigris.
Verdigris is said to be the gift of an outer god.
Possessed of an enormously hefty yet supple strength thanks to its rusted nature.
Where to find
Moore beside the northern Church of the Crusade forager
Scadu Altus
Starting Site of Grace: Highroad Cross
Before you go
Choose Remain sad forever after the great rune and charm break.
To enter the Realm of Shadow, defeat Starscourge Radahn and Mohg, Lord of Blood, then touch the withered arm in Mohg's arena at Mohgwyn Palace.
From Three-Path Cross in Gravesite Plain, take the western road through the rocky passage toward Belurat. Activate Main Gate Cross and speak to Moore, the heavily armored merchant sitting near the cross.
Finish any shopping, Black Syrup business and friendly Forager Brood cookbook collection you want before deciding his outcome. Approaching Shadow Keep breaks Miquella's great rune and charm, which makes the later conversation available.
Return to Moore after the charm-breaking message. If you want more time, answer I do not know or leave the choice unanswered; the other answers lead to his two different final locations.
Choose Remain sad forever. Rest or travel away so the area reloads; this choice ends his friendly role rather than moving his shop to another camp.
From Highroad Cross, ride northwest uphill toward Church of the Crusade, west of the main road to Shadow Keep. If Fire Knight Queelign invades near the church, deal with the invasion before trying to rest or travel.
Go around the church's northern side toward the cliff edge. Look for the curled-up Forager Brood member near the small pools; Moore's body is beside it after he moves.
Loot his body for Verdigris Helm, Verdigris Armor, Verdigris Gauntlets, Verdigris Greaves, Verdigris Greatshield and his bell bearing. No fight with Moore is needed on this branch.
Moore after the battle with Leda and her allies
Enir-Ilim
Starting Site of Grace: Cleansing Chamber Anteroom
Before you go
Choose Put it behind you and reach the Enir-Ilim confrontation.
To enter the Realm of Shadow, defeat Starscourge Radahn and Mohg, Lord of Blood, then touch the withered arm in Mohg's arena at Mohgwyn Palace.
From Three-Path Cross in Gravesite Plain, take the western road through the rocky passage toward Belurat. Activate Main Gate Cross and speak to Moore, the heavily armored merchant sitting near the cross.
Finish any shopping, Black Syrup business and friendly Forager Brood cookbook collection you want before deciding his outcome. Approaching Shadow Keep breaks Miquella's great rune and charm, which makes the later conversation available.
Return to Moore after the charm-breaking message. If you want more time, answer I do not know or leave the choice unanswered; the other answers lead to his two different final locations.
Choose Put it behind you. Moore later joins Leda's opposing group in Enir-Ilim rather than leaving his equipment beside the northern forager.
Enter the Realm of Shadow after defeating Starscourge Radahn and Mohg, Lord of Blood, by touching the withered arm in Mohg's arena. Defeat Messmer in Shadow Keep for his kindling and Romina at Church of the Bud in the Ancient Ruins of Rauh.
Finish the companion quest steps you want before burning the Sealing Tree behind Romina with Messmer's Kindling. This advances their quests and carries you to Enir-Ilim: Outer Wall.
From Outer Wall, climb northeast to the large balcony, then southwest up the next stairs. Turn southeast toward the Divine Bird Warrior and enter the building beyond it. Climb the broken ledges and cross the balcony to First Rise grace.
From First Rise, take the stairs upward through the building and use the southwest doorway toward the courtyard route. Continue through to the courtyard with the large patrolling inquisitor and the smaller enemies praying below.
Take the upward stairs on the courtyard's southeastern side, rather than the lower tree detour. Use the stone railings for cover from the inquisitors' rapid spells, then continue up beside the large tree to the Divine Beast Warrior.
Get past the warrior and climb northwest. Keep moving when the upper inquisitors cast attacks beneath your feet. Open the large double doors at the top of the stairs and activate Spiral Rise grace.
Climb the spiral stairs and leave through the window before the broken floor. Follow the roof southwest around the building, then jump west to the wider roof. Draw out the Gravebirds one at a time instead of fighting all three at the corner.
Continue northwest from the roofs onto the platform with another bird and stairs. Climb the northern stairs, then the next flight toward the frost-wielding Divine Beast Warrior. The drop over the railing is an optional Spirit Ash detour.
Get past the warrior. From the small structure northwest of it, go east to the corpse with Sunwarmth Stones and climb the roof beside it. Enter the tower through its southeastern windows.
Climb the stairs inside the tower and clear the inquisitors around the lift. This is the lift above the large altar, before the final wind-wielding warrior and Cleansing Chamber Anteroom.
Continue south-southwest up the tower's stairs and go outside. Get past the wind-wielding Divine Beast Warrior on the large platform and enter the building above it for Cleansing Chamber Anteroom grace. The lift down to the altar is an optional helmet detour.
Climb the stairs east from Cleansing Chamber Anteroom and enter the sandy chamber. Finish Leda's dialogue. Use any available gold ally signs if you want help, then interact with the red sign to begin the battle against her and her allies.
Defeat the group and return to your world. Loot the bodies left around the chamber before taking the eastern exit.
After winning the group battle, search Moore's body in the chamber for all four Verdigris armor pieces, Verdigris Greatshield and his bell bearing.
Notes
Weighs 16 and provides 28 poise.
There is no hidden damage, attribute or Scarlet Rot bonus on these armor pieces. The matching outfit adds no separate effect, and none of its pieces can be altered.
The complete outfit weighs 61.6 and provides 100 poise. That is a large load before adding the shield or other weapons; staying below the heavy-load threshold still depends on your total equipment and maximum load.
High poise helps you withstand some hits without flinching, but does not stop damage or guarantee that every attack can be traded through safely.
The four pieces and greatshield are collected together. Remain sad forever places them beside the forager north of Church of the Crusade; Put it behind you places them in the later battle against Leda's allies.
Moore can also drop the equipment if defeated during his invasion after you kill two friendly brood members. That route costs their quest rewards and does not provide his bell bearing.
Collect the friendly brood books and Moore's related seventh cookbook before ending his role. Owning his armor or handing in his bearing does not replace those conversations.
 Legs
 Verdigris GreavesThis piece
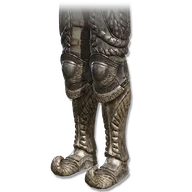 Bull-Goat Greaves
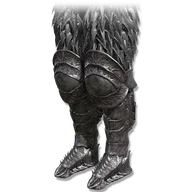 Fire Prelate Greaves
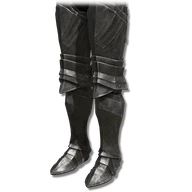 Greaves of Solitude
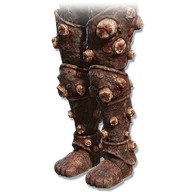 Omen Greaves
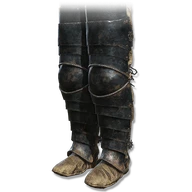 Lionel's Greaves
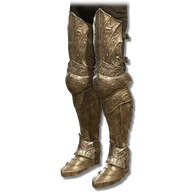 Tree Sentinel Greaves
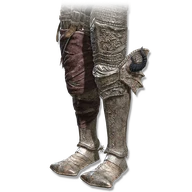 Veteran's Greaves
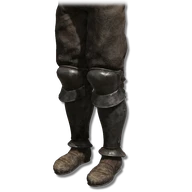 Steel Greaves
 Banished Knight Greaves
 Radahn's Greaves