Reference values
- Type
- Ashes of War
- Default affinity
- Keen
- FP cost
- 10 FP
- Skill
- Beast's Roar
About this Ash of War
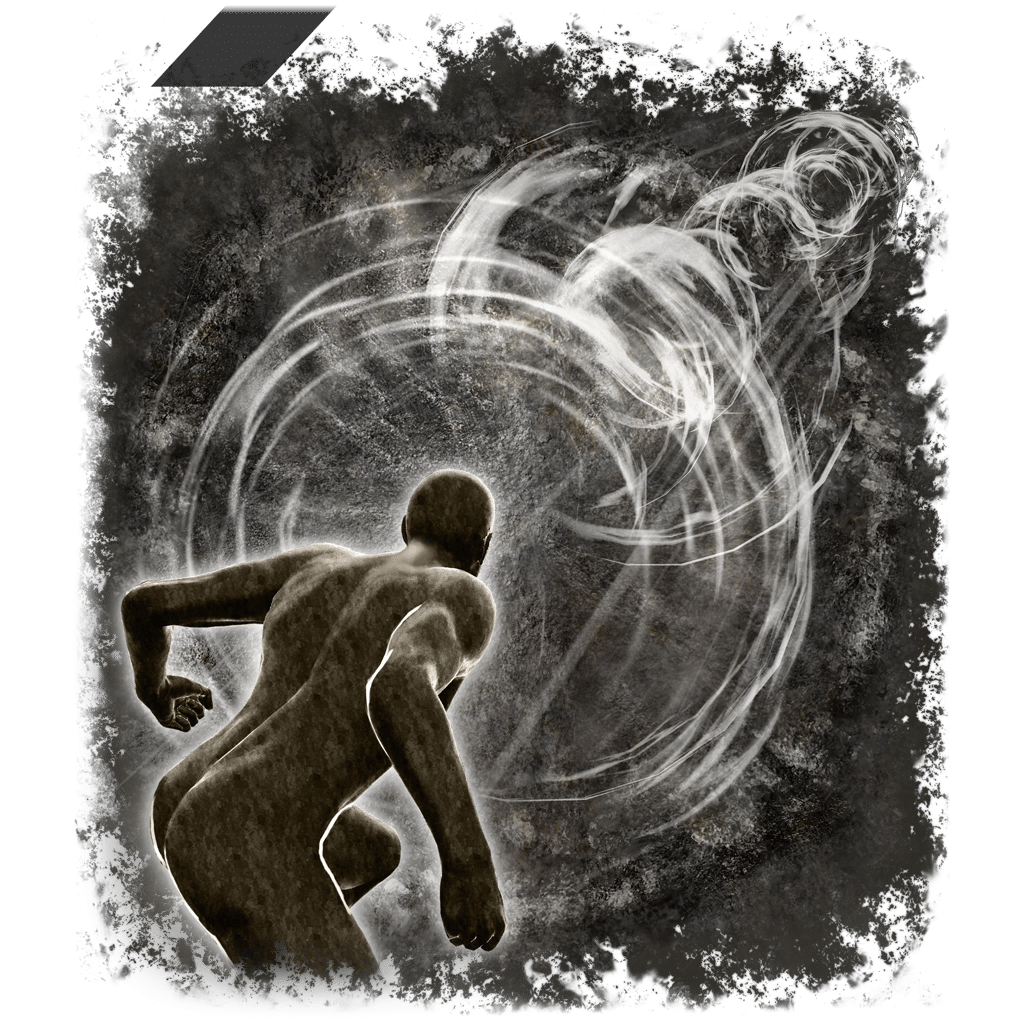
Costs 10 FP and 30 stamina. Sends a ranged Physical Strike shockwave rather than swinging the equipped weapon or casting a spell.
The shockwave improves through Dexterity and weapon upgrades independently of the weapon's ordinary attack rating. A high-attack colossal weapon does not automatically produce a stronger roar than a lighter weapon.
Keen gives it stronger Dexterity scaling. Changing to another affinity can weaken that independent scaling even when the weapon's ordinary melee damage improves for your build.
Technical details
- Skill ID
- 652
- Default affinity
- Keen
- Armament categories
- Dagger, Straight Sword, Greatsword, Colossal Sword, Curved Sword, Curved Greatsword, Katana, Twinblade, Thrusting Sword, Heavy Thrusting Sword, Axe, Greataxe, Hammer, Great Hammer, Flail, Spear, Great Spear, Halberd, Reaper, Fist, Claw, Whip, Colossal Weapon, Hand-to-Hand, Perfume Bottle, Thrusting Shield, Throwing Blade, Backhand Blade, Light Greatsword, Great Katana, Beast Claw
- Recorded affinities
- Standard, Heavy, Keen, Quality, Fire, Flame Art, Lightning, Sacred, Magic, Cold, Poison, Blood, Occult
- useMagicPoint_L2
- 10
In-game description
This Ash of War grants an armament the Keen affinity and the following skill:
"Beast's Roar: Unleash a beastly roar, rending the air as a forward-travelling projectile."
Usable on all melee armaments.
Where to find
Fourth Deathroot reward from Gurranq
Dragonbarrow
Starting Site of Grace: Bestial Sanctum
Before you go
- Hand Gurranq four Deathroot.
- From Stormhill Shack, follow the road northeast past Warmaster's Shack and continue east across Saintsbridge.
- Stay on the road to Summonwater Village Outskirts, then enter the flooded ruins northeast of the grace.
- Fight the Tibia Mariner in the shallow water. Follow the boat when it teleports and keep attacking the boatman rather than trying to clear every skeleton.
- Defeat it to receive the ashes and a Deathroot. The sealed cellar containing the Green Turtle Talisman is separate and does not need to be opened.
- From Saintsbridge in northern Limgrave, follow the road west uphill. Before the roadside camp, take the slope on your right to the higher cliffside ledge.
- Look for the double doors with a seated spirit beside them. Open the doors, go inside Deathtouched Catacombs and activate the grace.
- Descend toward the sealed boss door, then take the stairs to the left into the skeleton rooms. Hit fallen skeletons again while they begin glowing to stop them reassembling.
- Continue through the wider main rooms into the lower chamber with skeleton archers. Follow the passage to the statue and lever at the western end.
- Pull the lever to open the sealed entrance boss door. Retrace the main route up the stairs to that door rather than staying in the small side passages.
- Enter the boss room and defeat the Black Knife Assassin, who starts this encounter with some health already missing.
- Open the chest at the back of the boss room for Deathroot. The boss awards Assassin's Crimson Dagger separately; the chest must still be opened.
- From Liurnia Highway North, follow the eastern road toward the shallow pond south of Carian Study Hall. Stay on the raised eastern land rather than heading into the main academy lake.
- Find the Tibia Mariner steering its boat in the pond. Attack it while watching for summoned skeletons and its large water attacks.
- Follow it when it teleports to another part of the pond. You need to defeat the boatman, not clear every skeleton it summons.
- The victory awards the Skeletal Bandit Ashes and a Deathroot. This is the Liurnia Mariner, not the one at Summonwater Village.
- From Ruined Labyrinth, follow the northeastern ravine to the catacomb entrance guarded by a headless knight. Enter and activate Black Knife Catacombs.
- Descend past the closed boss doors into the skeleton corridors. Kill the necromancers controlling the glowing skeletons so they stop reviving.
- In the room with falling blades, stand on a blade after it strikes the floor and ride it upward. Step off onto the high ledge and follow the upper passage.
- Go to the far end and drop through the opening on the right into the chamber behind the locked gate. Pull the lever to open the boss door and use the other lever to leave this chamber.
- Return to the main boss doors and defeat the Cemetery Shade and its skeletons for the ashes. The Black Knife Assassin behind an upper false wall is a separate optional boss.
- After the Cemetery Shade, open the chest at the back for the fourth Deathroot in this selected route. The hidden Black Knife Assassin is not required for that chest.
- Find Third Church of Marika in eastern Limgrave and the sending gate in the bushes beside the stream behind it. Use the gate to reach Bestial Sanctum and activate the grace inside.
- Speak to Gurranq and deliver four Deathroot in total. Receive the earlier rewards in sequence, then Beast's Roar for the fourth delivery. Any other four Deathroot can be substituted.
- On a later visit Gurranq attacks. Damage him until he yields, stop attacking and speak to him after he calms down. Killing him is unnecessary and ends his later offering rewards.
Notes
- Costs 10 FP and 30 stamina. Sends a ranged Physical Strike shockwave rather than swinging the equipped weapon or casting a spell.
- The shockwave improves through Dexterity and weapon upgrades independently of the weapon's ordinary attack rating. A high-attack colossal weapon does not automatically produce a stronger roar than a lighter weapon.
- Keen gives it stronger Dexterity scaling. Changing to another affinity can weaken that independent scaling even when the weapon's ordinary melee damage improves for your build.
- The projectile gives 6 stance damage, with another close-range component able to add 6. Firing from a safe distance gives up that extra nearby contact.
- The small impact shock can catch an adjacent enemy, but does not add another full projectile hit to the main target. A visual burst is not guaranteed double damage.
- Roar Medallion improves the roar by 15%, and an active Highland Axe adds 10%. Multiple Highland Axes do not stack their copies of the same passive.
- Shard of Alexander adds its separate skill bonus. Godfrey Icon does not because the roar cannot be charged, and Axe Talisman does not apply to this projectile.
- It carries no weapon Blood Loss, Poison or coating buildup. A status affinity does not turn the shockwave into a ranged status attack.
- Arrow's Reach Talisman gives a small range improvement. The attack still needs a clear flight path rather than passing through every piece of scenery.
- Gurranq gives it for the fourth Deathroot, regardless of where those roots came from. His later hostile phase is a quest event rather than a requirement to kill him.
- Compatible weapon classes: Dagger, Straight Sword, Greatsword, Colossal Sword, Curved Sword, Curved Greatsword, Katana, Twinblade, Thrusting Sword, Heavy Thrusting Sword, Axe, Greataxe, Hammer, Great Hammer, Flail, Spear, Great Spear, Halberd, Reaper, Fist, Claw, Whip, Colossal Weapon, Hand-to-Hand, Perfume Bottle, Thrusting Shield, Throwing Blade, Backhand Blade, Light Greatsword, Great Katana, Beast Claw. A weapon with a fixed skill cannot use this Ash of War.
- Its default affinity is Keen. The supported choices are Standard, Heavy, Keen, Quality, Fire, Flame Art, Lightning, Sacred, Magic, Cold, Poison, Blood and Occult; the appropriate whetblade is needed for additional options.

 Ashes of War