Reference values
- Type
- Sorcery
- FP cost
- 18
- Memory slots
- 2
- Stamina cost
- 29
- Additional stamina cost
- 9
- Hold action
- Charge
- Damage types
- physical
- Requires
- 48Int
- Spell school
- Gravity sorceries
In-game description
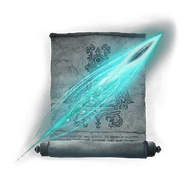
Gravity-manipulating sorcery of Commander Gaius.
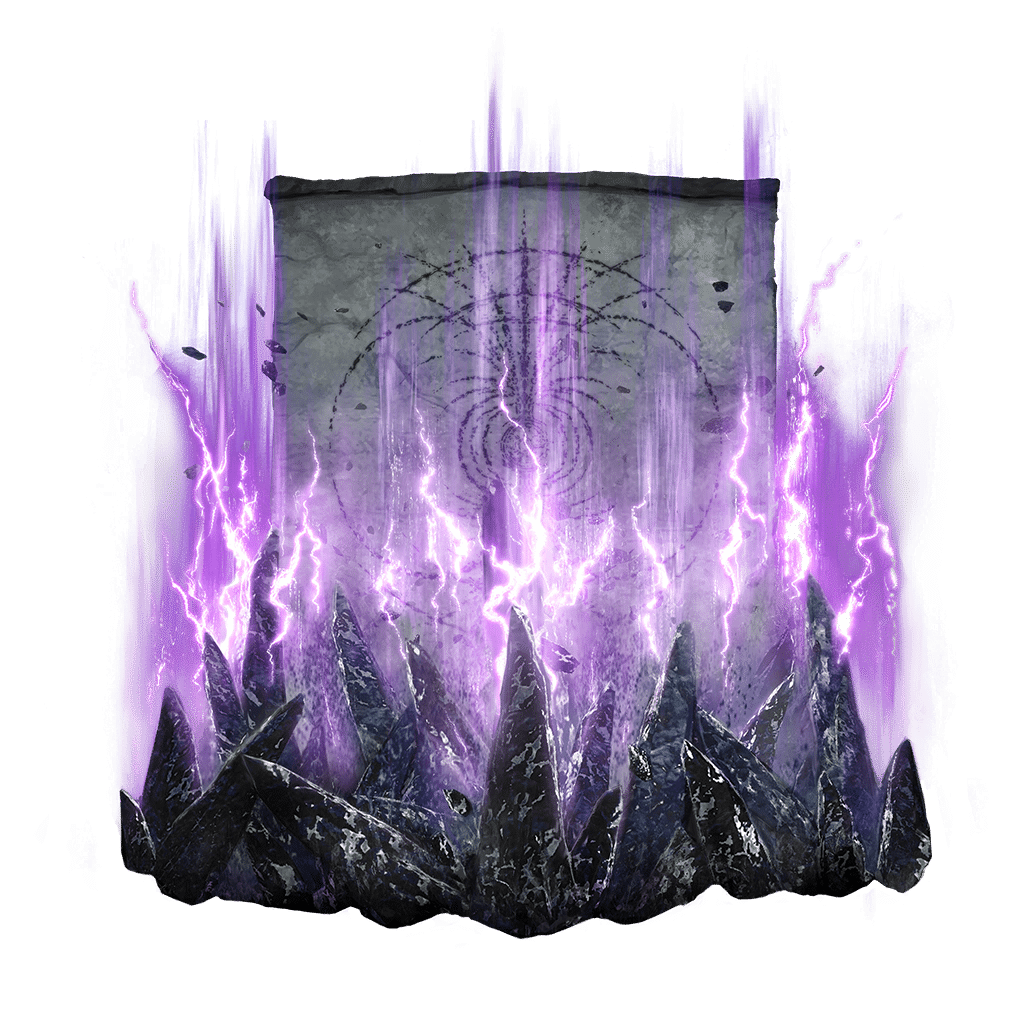
Pulls blade-like clumps of rock from the earth.
Charge to form three successive clumps.
Gaius and Radahn were good rivals in their youth, and this sorcery is a product of their friendly competition.
Where to find
Shadow Keep rear battlefield
Scadu Altus
Starting Site of Grace: Shadow Keep, Back Gate
Before you go
- To enter the Realm of Shadow, defeat Starscourge Radahn and Mohg, Lord of Blood, then touch the withered arm in Mohg's arena at Mohgwyn Palace.
- Defeat Commander Gaius.
- Keep the Remembrance of the Wild Boar Rider.
- From Highroad Cross in Scadu Altus, follow the road east to Moorth Ruins and activate the grace beside the cross.
- Pass through the large stone arch east-southeast of the grace. At the house ahead, turn left toward the leaning tower. Avoid the large open shaft behind the house, which is too deep for a direct drop.
- Find the smaller gap between the broken building and the rock wall in front of the leaning tower. Drop onto the balcony-like ledge, turn right past the dogs and follow the cave inward.
- At the open chamber, use the back-left ledges to reach the lower roof. The shrine below is a landmark; its optional chest is not needed to continue east.
- To continue east, drop from the lower roof to the ground and take the cave beside the building on the left. Follow it to the long ladder and climb out of the well at Bonny Village grace.
- Go east through Bonny Village, watching for the large cleaver-wielding villagers, and cross the two suspension bridges. The second brings you to Bridge Leading to the Village grace.
- Follow the road north through the woods to Church District Highroad grace. Take the northwestern road through the entrance tunnel and activate Church District Entrance inside Shadow Keep. This eastern entrance leads to the flooded district, rather than the main-gate Hippopotamus arena.
- Jump from the entrance ledge onto the first roof below. Follow its northwestern edge and jump from the raised roof section to the stone wall opposite, rather than taking the southwestern log platforms toward different loot.
- Follow the wall around and climb its northeastern rise. Jump to the next roof northwest, where a Fire Knight patrols. Clear it or make enough room to continue safely.
- Cross toward the next large church and jump onto the sloping stone support on your left. Walk southwest up that support to the high roof, then use the broken roof opening to drop onto the central beam below.
- Follow the beam to the adjoining upper corridor and drop through the opening in its floor onto the raised church passage. Stay above the water and continue northwest; the Prayer Room door is a separate side destination.
- Pass the small side room holding a Rune of an Unsung Hero and continue into the corridor patrolled by two Fire Knights. The first left exit leads toward the drainage wheel, while the later left exit leads to the Storehouse lift.
- Take the later left exit in the Fire Knight corridor, cross to the lift and ride it up into the rear storehouse. Use the doorway on the left to reach Storehouse, Back Section grace. The earlier left exit goes to the drainage wheel instead.
- Go west across the small wooden bridge and climb the ladder on its right. At the top, go east up the stone stairs, watching the Fire Knight above.
- Continue northeast past the bookshelves toward the room with Fire Serpent. Use the hole in the southern wall, turn right outside and climb the wooden walkway and stairs to Storehouse, Loft grace.
- Ride the small lift north of the Loft grace up to the rafters. Turn left toward the west-northwestern beams and work around to the ladder leading to the upper rafters. Deal with the bat before climbing; fighting it while balanced on a narrow beam can knock you off.
- From the upper rafters, look north-northwest for the arched doorway on a lower platform against the outer wall. Follow the beams until you can drop onto the lower beam and platform beside that doorway. The paired interior lifts and their extra loot are a different detour.
- Go through the doorway and use the small exterior lift on the right. Follow the wooden walkway and stairs southeast to the larger stone lift, then ride down to Shadow Keep, Back Gate grace.
- Go through the large doorway out onto the rear field and defeat Commander Gaius. The Marika statue and O Mother passage lead to Hinterland instead and are not required for this fight.
- Activate Scaduview grace after the fight. Neither Messmer nor the Scadutree Avatar is required on this eastern entrance route, and you do not need to drain the Church District.
- Return to Enia in Roundtable Hold and choose the remembrance exchange. Trade Remembrance of the Wild Boar Rider for Blades of Stone, the sorcery; Sword Lance is the alternative.
- Use an eligible remembrance-duplication coffin or mausoleum if you want both rewards in the same journey. Buying Gaius's armor does not use the remembrance or teach the spell.
Notes
- Requires 48 Intelligence, two memory slots and a glintstone staff. Both ordinary and charged casts cost 18 FP.
- Deals Physical damage even though it is a sorcery. Damage uses the casting staff's Sorcery Scaling, so Strength is not its scaling attribute simply because the attack pulls rocks from the ground.
- A normal cast creates one eruption. A fully charged cast creates three successive eruptions, with a stronger first hit and two smaller follow-ups.
- The ordinary eruption has 261% Sorcery Scaling as its attack value. The charged sequence uses 302%, then 185% for each later eruption, before boosts and defenses. All three charged eruptions have to connect to reach that full total.
- Each eruption deals eight stance damage, for up to 24 if all three charged hits connect. Guard-stamina damage is a separate value; this does not mean the enemy loses eight health.
- Lock on to place the rocks beneath the enemy. Fast movement, a bad angle or intervening terrain can spoil the sequence, so do not treat the charged total as guaranteed damage against every target.
- Meteorite Staff gives a 30% Gravity sorcery bonus while held in an active hand, including when you cast with a stronger staff in the other hand. Two active copies multiply to 69%.
- Godfrey Icon adds 15% to the fully charged cast. Graven-School and Graven-Mass also boost damaging sorceries, while Magic Scorpion Charm and Magic-Shrouding Cracked Tear do not boost this Physical damage.
- Gaius's armor has no bonus to the spell. The sorcery comes from exchanging his remembrance, separately from the armor shop and Sword Lance reward.
 Sorcery