Reference values
- Type
- Offensive
- FP cost
- 0
- Maximum held
- 1
- Maximum stored
- 600
- Consumed when used
- No
About this item
Use it after releasing a sprite from Spritestone. Bondstone detonates the released sprite, so wait until that slow-moving sprite is close enough to the enemy before triggering it.
The Bondstone is reusable and costs no FP. The separate Spritestone is consumed when used and has its own FP and material costs.
Using Bondstone without an active sprite does not create a new projectile or explosion. Carry and use Spritestone first, then switch to Bondstone for the detonation.
Technical details
- category: Offensive
- dlc:
- effects: None recorded
- fp cost: 0
- id: 2003000
- is consumed: No
- max held: 1
- max stored: 600
In-game description
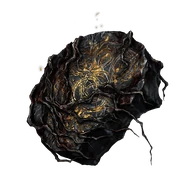
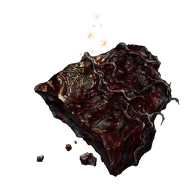
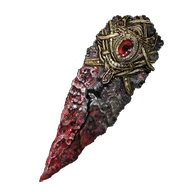
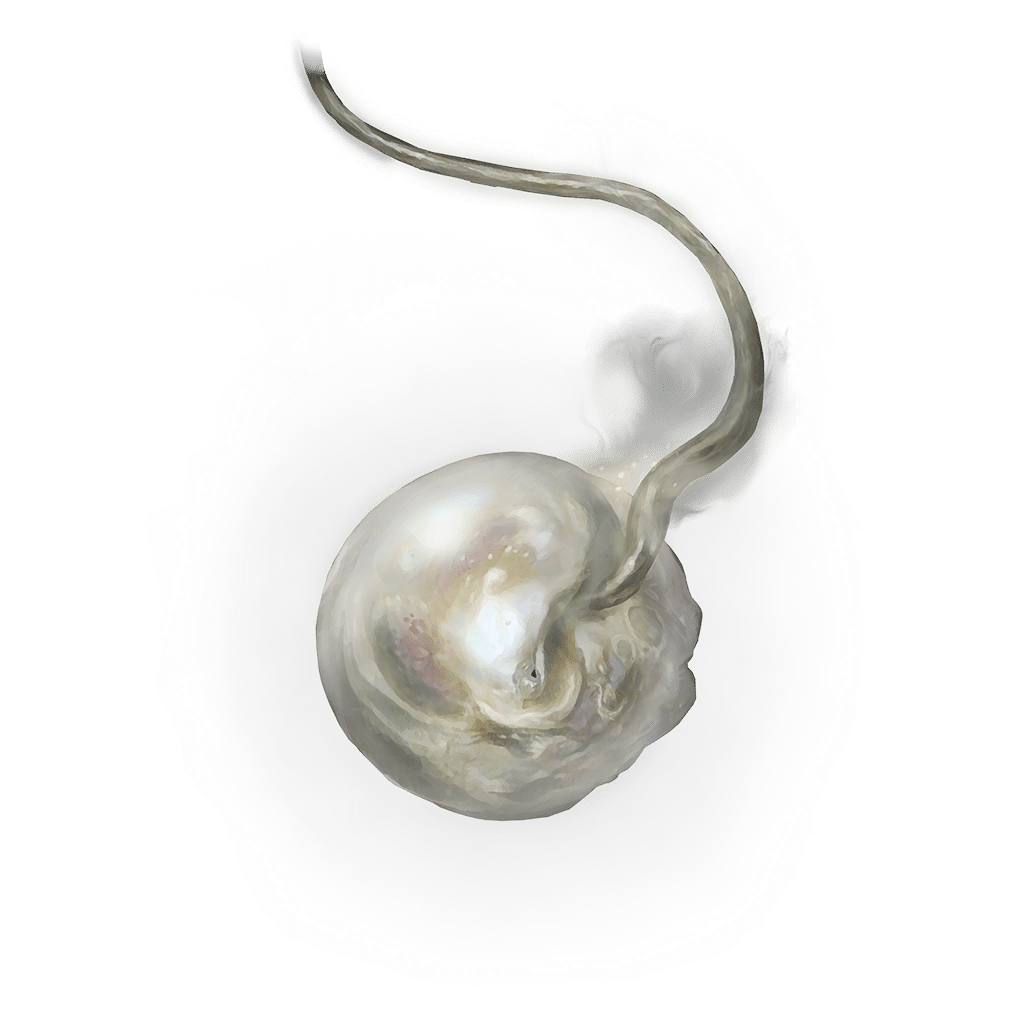
A large burrowstone studded with a perfectly white gem, said to be the polished form of a special kind of crystal.
A ritual implement made to control explosions of spiritual power.
Use to cause a spiritual explosion, consuming the sprite dwelling within spritestone.
Bonds with the sprites were made to be broken.
Where to find
Hidden statue room in the eastern ruins
Ancient Ruins of Rauh
Starting Site of Grace: Viaduct Minor Tower
Before you go
- Reach the upper Ancient Ruins of Rauh.
- From Storehouse, First Floor in Shadow Keep, take the western lift down through the jar-filled rooms. Follow the westward exit to West Rampart and cross its bridge into the upper Ancient Ruins of Rauh. Activate Viaduct Minor Tower.
- Continue into the eastern ruin passages and reach the rooms with large braziers and shadowy enemies. Open the stone door leading down the stairs toward the Spider Scorpions.
- Clear the small scorpions by the stairs before drawing the larger Spider Scorpions out one at a time. In the lower tunnel, find the corpse with Shadow Realm Rune [5].
- Face the northern wall opposite that corpse and strike it to reveal the hidden room. Loot the corpse at the statue's base for Bondstone and Antiquity Scholar's Cookbook [2].
- This is inside the upper eastern ruins. The lower Rauh Base valley and its map monument do not lead directly to this room.
Notes
- Use it after releasing a sprite from Spritestone. Bondstone detonates the released sprite, so wait until that slow-moving sprite is close enough to the enemy before triggering it.
- The Bondstone is reusable and costs no FP. The separate Spritestone is consumed when used and has its own FP and material costs.
- Using Bondstone without an active sprite does not create a new projectile or explosion. Carry and use Spritestone first, then switch to Bondstone for the detonation.
- The explosion comes from the sprite's position, not directly from your character. Triggering it too early can waste the attack before it reaches the target.
- It does not detonate ordinary pots, weapon projectiles or every item with a similar name. Fire Spritestone is a separate consumable with its own attack behavior.
- The same hidden room contains Antiquity Scholar's Cookbook [2], which teaches Spritestone. Collect both pickups rather than leaving with only the reusable trigger.
- The item and cookbook are behind the northern false wall in the upper eastern Rauh ruins. Searching the open cliff outside or the lower Rauh Base valley will miss the statue room.
 Offensive