Development preview — content and features are still being refined.
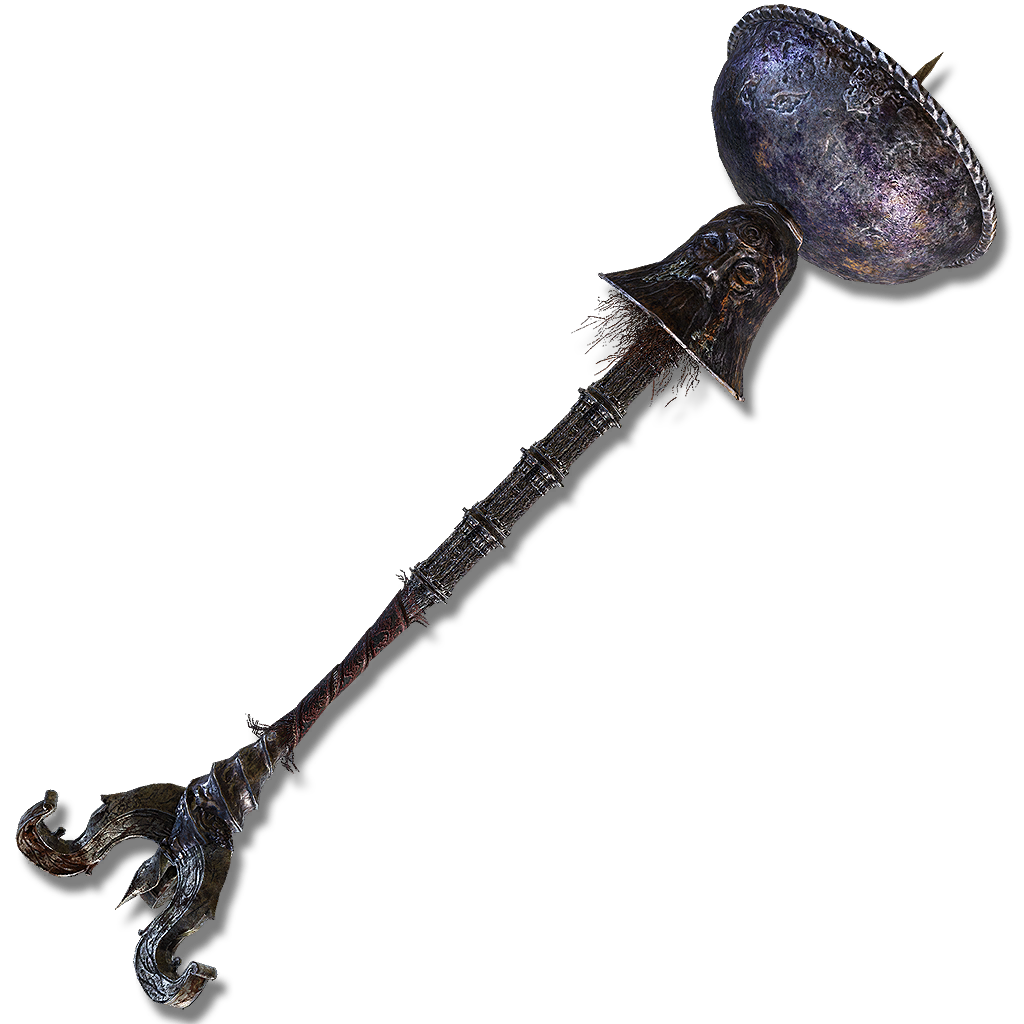 Great Hammer
Weapons · Great Hammer
Cranial Vessel Candlestand
Candlestand used in worship of Birac, the most hallowed Monk Prelate of the Giants' Flame. Concerned over the lazy arrogance with which the monks treated the Flame, Birac severed his own head as a lesson to the others, intending it be used as a candlestand. His faith yet smolders from within the cranial vessel.
Attack & scalingUpdates as you edit
In-game description
Candlestand used in worship of Birac, the most hallowed Monk Prelate of the Giants' Flame. Concerned over the lazy arrogance with which the monks treated the Flame, Birac severed his own head as a lesson to the others, intending it be used as a candlestand. His faith yet smolders from within the cranial vessel.
Skill
Set the flames of Birac's faith ablaze in the cranial vessel, then raise it aloft to rain down fireballs in all directions. Repeated inputs will continue to raise the armament aloft, continuing the attack.
Where to find
Mountaintops of the Giants
Starting Site of Grace: Giant-Conquering Hero's Grave
Before you go
- Reach Giant-Conquering Hero's Grave from the southern Mountaintops and bring one Stonesword Key for the weapon's barrier.
- Reach the Mountaintops of the Giants using the Rold Medallion after Morgott. Giant-Conquering Hero's Grave sits on the higher western plateau, so its nearby map marker cannot be reached by riding straight up from Zamor Ruins.
- From Church of Repose, ride north to the lower cliffside route, then follow the valley west. Use the projecting rock to jump across the gap onto the tomb's plateau. Enter the large doors and ride the lift down to the grace.
- From the dungeon grace, ignore the first imp-statue barrier beside it and take the southern tunnel down the stairs. At the Fire Monk's patrol, turn right into the western passage and roll into its left-hand illusory wall.
- Continue to the passage's end and jump through the last window on the left. In the chamber below, lure any shadow imps you fight into the pool of light first; they are invulnerable while shadowed.
- Take the southern passage toward the fire trap. Wait for its flame to stop, use the side alcove for cover if needed, and strike the trap to lower it once you reach it.
- Go up the stairs beyond the trap. Take the next stairs north, past the Fire Monk, to the second imp-statue barrier. Use a Stonesword Key here.
- Enter the room and skirt the hole in the middle of the light circle. Continue into the back room and collect Cranial Vessel Candlestand from the far wall. Shadow imps guard it, so draw them into the light or collect the weapon while keeping clear of their attacks.
Notes
- Requires 26 Strength, 8 Dexterity and 22 Faith, and weighs 12.5. Strength improves Physical damage, Faith improves Fire damage, and Dexterity contributes a smaller Physical increase.
- Surge of Faith costs 15 FP to ignite and raise the vessel. Additional skill inputs continue the explosive surges for another 15 FP each.
- The direct candlestand contact uses its weapon attack power, but the main Fire explosions and scattered fireballs improve through Faith and upgrades independently of Strength's Physical contribution.
- The powerful close explosion and the smaller falling fireballs can hit the same large enemy. A small or fast enemy may avoid most of the scattered fire, so do not expect every visible fireball to connect.
- Each surge also uses substantial stamina. Stop before another input if you will need enough stamina to roll away afterward.
- Shard of Alexander and Fire damage bonuses improve the skill. Flame, Grant Me Strength helps both Physical and Fire portions. Godfrey Icon does not improve it because repeated surges are not charged releases.
- Its resistance to interruption lets you finish through some incoming attacks, but you still take damage. A large slow target offers a better opening than an enemy already beginning a heavy combo.
- Uses Somber Smithing Stones to +10. Its skill and affinity are fixed, and grease or weapon enchantments cannot be applied.
- The weapon is behind the later one-key imp seal in Giant-Conquering Hero's Grave. The seal near the entrance is a different optional room.
- Shadow imps must be brought into the golden light before they can be damaged. You can collect the weapon without defeating the dungeon's Ancient Hero of Zamor.
Related Equipment
 Large ClubGreat HammerCalculating at min req stats
 Greathorn HammerGreat HammerCalculating at min req stats
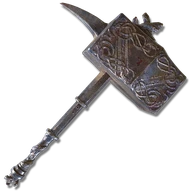 Battle HammerGreat HammerCalculating at min req stats
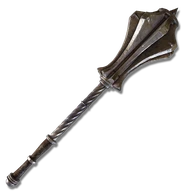 Great MaceGreat HammerCalculating at min req stats
 Curved Great ClubGreat HammerCalculating at min req stats
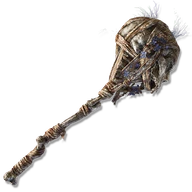 Celebrant's SkullGreat HammerCalculating at min req stats
Advertisement