Development preview — content and features are still being refined.
 Greataxe
Weapons · Greataxe
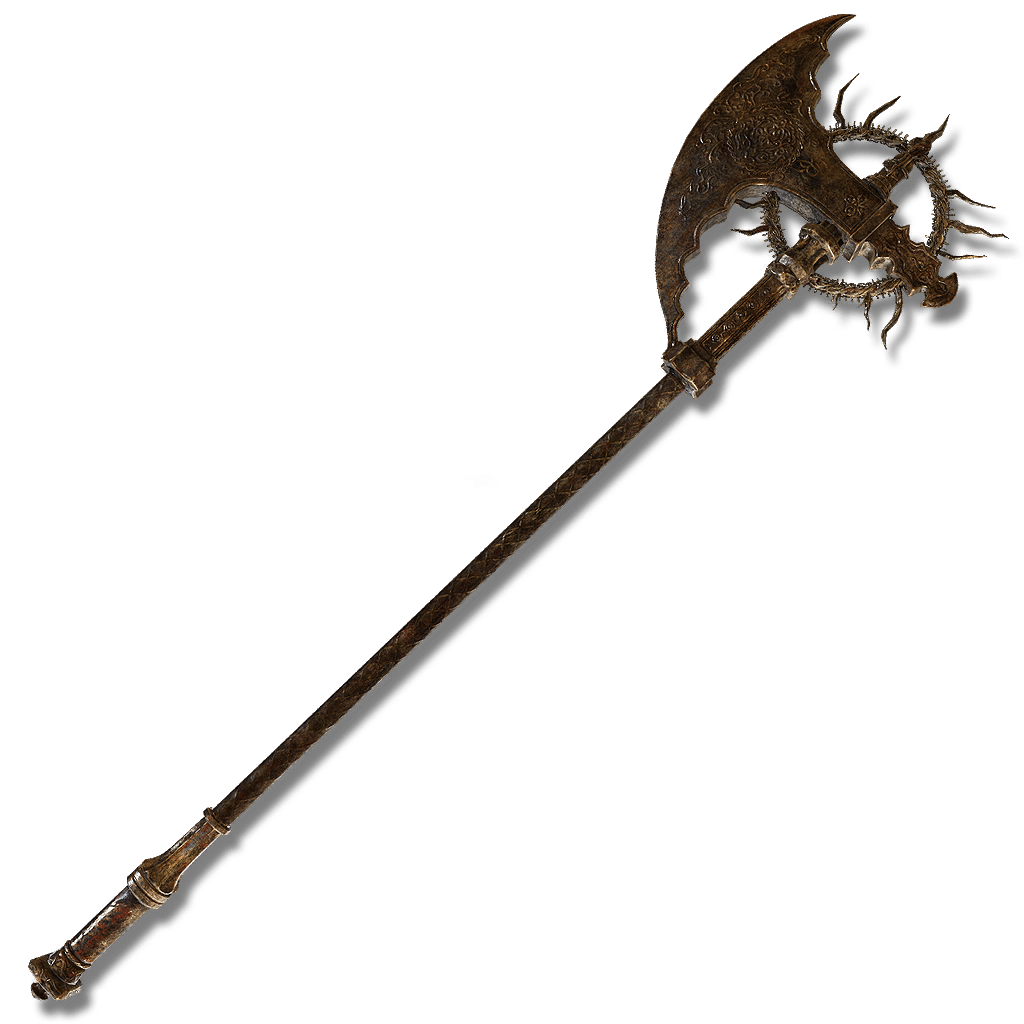
Death Knight's Longhaft Axe
A long-hafted golden axe wielded by the Death Knight. Bears a representation of a decayed golden ring. Crackles with lightning, the power of the capital's ancient dragon cult. The knight, once the personal guard of Godwyn, was also the protector of the Prince of Death's cadaver surrogate.
Attack & scalingUpdates as you edit
In-game description
A long-hafted golden axe wielded by the Death Knight.
Bears a representation of a decayed golden ring.
Crackles with lightning, the power of the capital's ancient dragon cult.
The knight, once the personal guard of Godwyn, was also the protector of the Prince of Death's cadaver surrogate.
Skill
From a low stance, the body is transformed into a bolt of lightning and charges straight ahead at fulgurous speed. Strong attack performs a lightning-charged leaping slash.
Where to find
Rauh Base
Starting Site of Grace: Scorpion River Catacombs
Before you go
- To enter the Realm of Shadow, defeat Starscourge Radahn and Mohg, Lord of Blood, then touch the withered arm in Mohg's arena at Mohgwyn Palace.
- Access the Realm of Shadow and reach Rauh Base.
- To enter the Realm of Shadow, defeat Starscourge Radahn and Mohg, Lord of Blood, then touch the withered arm in Mohg's arena at Mohgwyn Palace.
- From Moorth Ruins grace in Scadu Altus, ride northeast to the small triangular pool. Look for the cave beside a statue of Marika and a Scadutree Fragment.
- Enter the cave and follow it past the perfumers to the glowing golden tree. Take the path to its right down into the swamp.
- Turn left through the route beneath the rock and continue until you emerge into Rauh Base. Activate Ancient Ruins Base grace ahead.
- Follow the valley southwest toward Temple Town Ruins. A bow golem and an axe golem guard the approach; fighting them is optional if you can pass their attacks.
- Collect the map beneath the stele near the ruined town. This is the lower valley, not the upper ruins reached through Shadow Keep.
- From Temple Town Ruins, follow the lower river north and northwest past the Pests and Gravebird platforms. Keep following the ravine until you can climb to Ravine North grace.
- Return to the river and follow it west, then south around the bend through the spider scorpions. At the coffin-filled end of the ravine, find the catacomb doors in the cliff. Watch for the militiamen guarding the entrance.
- Enter Scorpion River Catacombs, take the entrance lift down and activate its grace. Bring Rejuvenating Boluses if available; the floating eyes inside build Death Blight, which kills you when its meter fills.
- Pass the cannon-headed Imp and take the left stairs into the larger room. Cross the narrow bridge promptly and get beneath the Basilisk statue at its far end, using the stonework to block its eyes.
- Continue downstairs through the rooms with Imps hiding beside their doorways. Beyond the next cannon Imp, follow the right-hand route down to the first falling spike ceiling.
- Step near the trap to trigger it, retreat until it falls, then cross as it rises. Use the covered archways between the traps and repeat for the second ceiling. Do not wait beneath the spikes.
- Beside the second crusher, climb the ladder in the safe recess on the eastern wall. At the top, the crusher immediately to the left leads to a glovewort detour; it is not the helmet's upper room.
- Continue to the walkway facing the Basilisk eyes. At the corner where the wall meets the railing, edge close enough to trigger the other spike ceiling, then jump onto its flat top after it falls.
- Ride that ceiling upward. The upper ledge to the left holds Imp Head (Lion). For the route onward, return to the trap and step down behind the Basilisk statue, where its eyes cannot see you.
- Behind the Basilisk statue, take the stairs beside the passage containing Knight's Lightning Spear. Clear the two Imps upstairs, including the one hiding to the right, and drop from the western side onto the walkway beyond the bridge.
- Take the lift down. In the next corridor, wait in the side recess until the wandering eyes pass, then follow behind them. Use the ramp and rubble to reach the far end while keeping out of their sight.
- Turn right through the large corner room with the cannon Imp. Continue into the next room, where two Imps and a sorcerer attack. The floor drop and ladder here lead to an optional Great Ghost Glovewort.
- Continue upstairs to the long bridge patrolled by another pair of eyes. Wait for them to move away and follow behind them, using the doorway as cover when they turn.
- Cross the whole bridge behind the moving eyes. At its far end, take the side corridor on the right to the final lift. The lower-bridge cookbook detour is optional.
- Ride down and follow the passage to the fog. Defeat the Death Knight for both Death Knight's Longhaft Axe and Cerulean Amber Medallion +3. These are direct rewards, rather than pickups in an earlier side room.
Notes
- Requires 23 Strength, 10 Dexterity and 18 Faith, weighs 11.5 and has a 100 critical rating. Its ordinary attacks deal physical and Lightning damage.
- Strength gives the strongest scaling contribution to ordinary physical attacks, with much weaker Dexterity scaling. Faith improves the weapon's Lightning damage. A Strength/Faith setup can support both parts, while the best split depends on your levels and whether you mainly use melee attacks or spells.
- Its sweeping heavy attacks are shared with Axe of Godrick and Crescent Moon Axe. They cover a wider area than an overhead chop, including space beside and behind you.
- Upgrade it with Somber Smithing Stones to +10. Blinkbolt: Long-hafted Axe is fixed; it cannot use a replacement Ash of War or another affinity, and grease or a weapon enchantment cannot be applied.
- The skill costs 8 FP for the lightning dash. Press strong attack during its follow-up window to perform the leaping axe slam for another 13 FP, making the full sequence 21 FP.
- The axe contact follows the weapon's physical and Lightning attack power. The dash and separate lightning strike use their own Lightning scaling with Dexterity and reinforcement, so raising Faith does not strengthen every part of the skill in the same way.
- The dash provides a brief invulnerability window after its startup. It is useful for closing distance and avoiding a timed attack, but you can be hit before that window begins.
- Shard of Alexander strengthens the damaging skill attacks. Death Knight armor also gives its eligible skill damage a 2% bonus per piece. The leaping follow-up is a skill, rather than an ordinary jumping attack for Claw Talisman.
- It has no innate bleed, Frostbite or Death Blight. Its Death Knight appearance and golden lightning do not add those statuses.
- The Scorpion River Death Knight awards this greataxe and Cerulean Amber Medallion +3 together. The Fog Rift Death Knight gives the separate Twin Axes.
Related Equipment
 Putrescence CleaverGreataxeCalculating at min req stats
 GreataxeGreataxeCalculating at min req stats
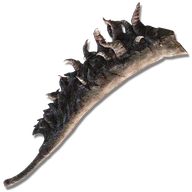 Great Omenkiller CleaverGreataxeCalculating at min req stats
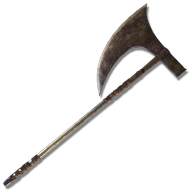 Crescent Moon AxeGreataxeCalculating at min req stats
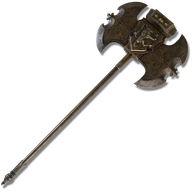 Axe of GodrickGreataxeCalculating at min req stats
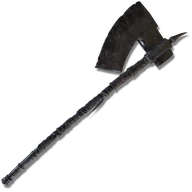 Longhaft AxeGreataxeCalculating at min req stats
Advertisement