Reference values
- Type
- Ashes of War
- Default affinity
- Standard
- FP cost
- 9 FP
- Skill
- Dryleaf Whirlwind
About this Ash of War
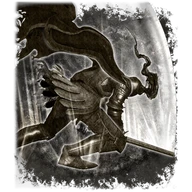
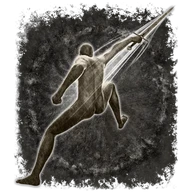
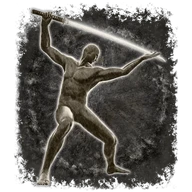
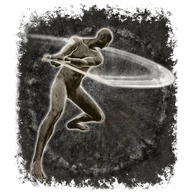
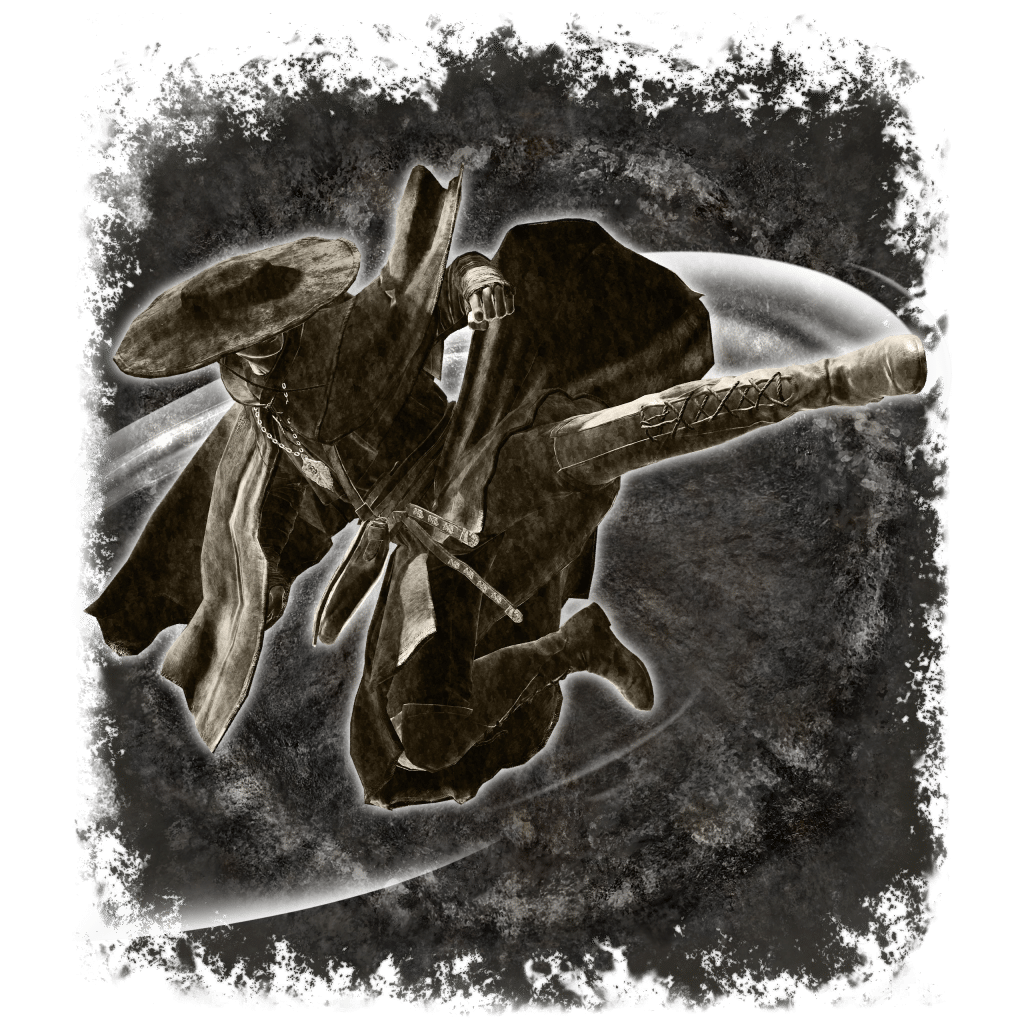
The skill performs rising spinning kicks and a final downward strike. Stay close enough for the sequence rather than relying on the visual trails alone.
Each kick is part of one committed animation. A fast enemy can leave its range or punish the landing.
It belongs on hand-to-hand weapons. Having an empty fist or ordinary claw equipped does not make it usable.
Technical details
- Skill ID
- 2000
- Default affinity
- Standard
- Armament categories
- Hand-to-Hand
- Recorded affinities
- Standard, Heavy, Keen, Quality, Fire, Flame Art, Lightning, Sacred, Magic, Cold, Poison, Blood, Occult
- useMagicPoint_L2
- 9
In-game description
This Ash of War grants no affinity to an armament, but imparts the following skill:
"Dryleaf Whirlwind: This skill represents the pinnacle of Dane's footwork-based martial artistry. Rise into the air with a series of spinning kicks before crashing down with one final strike. Imbues kicking attacks with energy, increasing their range."
Usable on hand-to-hand weapons.
Where to find
Waterfall northeast of Rauh Ancient Ruins, East
Ancient Ruins of Rauh
Starting Site of Grace: Rauh Ancient Ruins, East
- Enter the Realm of Shadow after defeating Starscourge Radahn and Mohg, Lord of Blood, by touching the withered arm in Mohg's arena.
- From Highroad Cross in Scadu Altus, follow the main road north to Shadow Keep's southern gate. Ride the entrance lift and activate Shadow Keep Main Gate grace.
- Defeat Golden Hippopotamus in the plaza. This is the front-door route; the flooded Church District provides a different way into the keep.
- From Main Gate Plaza, leave through the west-northwest doorway, pass through the armory and climb the stairs. Continue up the wooden steps to the dining hall, where two Black Knights guard the route.
- Leave the dining hall through its southeastern exit to the upper rampart. Follow the rampart past the burning boats and watch for the small Shadow Militiamen hiding beside them.
- Take the stairs leading north-northeast toward the large lift, passing the Fire Knight in front of it. Ride up and activate Storehouse, First Floor grace.
- At Storehouse, First Floor, take the western side passage and lift down to the lower jar rooms. This is the West Rampart branch, rather than the stairs climbing toward Messmer.
- Follow the hallway through the rooms with living jars and the larger jar-filled ward. Watch for the smaller enemies waiting beside doorways, then use the western exit and stairs to reach West Rampart grace.
- Cross the long bridge west toward the Ancient Ruins of Rauh. Salza waits at the far end and calls down fire as you approach. Use the bridge's sheltered sections to interrupt his view, or ride Torrent to close the distance.
- Defeat Salza at the western gate to receive Rain of Fire and Salza's Hood together. Messmer and Romina are not required for this selected route.
- Go through the doorway behind Salza. Take the doorway on the right, follow the stairs to the lift and ride down to Viaduct Minor Tower grace.
- Leave by the southwestern stairs and follow the path west as it curves downhill. Turn northwest between the lit braziers and large pillars to enter the covered ruins. This is the upper ruin route, separate from Rauh Base below.
- Watch for the Curseblade beside the pillar near the pot-carrying shadow enemy. Continue northwest, look right for the large double doors and open them.
- Descend the stairs into the scorpion chamber. Draw the large scorpion away from the smaller ones dropping from the ceiling, then clear the next corner. More scorpions drop beside the corpse there.
- Continue west, then southwest down the ramp to the next chamber. Open the second set of double doors on its southwestern wall.
- Pass the fixed material pickup behind the doors and follow the corridor northwest past the snails. Drop through the large square opening over the spiritspring; this is the intended descent into the lower hall.
- From the lower landing, go northwest to the statue junction, then continue southwest rather than taking the northeastern root room. Pass under the arch and follow the corridor as it bends southeast.
- Watch for the caster behind you near the northwestern side. Continue southeast through the arches toward daylight. A Crucible Knight waits on the rocks outside; circle past for now to reach Rauh Ancient Ruins, East grace beside the cross.
- From that grace, follow the cliff edge northeast to the small waterfall. Stay on the upper ruins side instead of dropping into Rauh Base.
- Look beside the pillar near the waterfall and collect the Ash from the ground.
Notes
- The skill performs rising spinning kicks and a final downward strike. Stay close enough for the sequence rather than relying on the visual trails alone.
- Each kick is part of one committed animation. A fast enemy can leave its range or punish the landing.
- It belongs on hand-to-hand weapons. Having an empty fist or ordinary claw equipped does not make it usable.
- Compatible weapon classes: Hand-to-Hand. A weapon with a fixed skill cannot use this Ash of War.
- Its default affinity is Standard. The supported choices are Standard, Heavy, Keen, Quality, Fire, Flame Art, Lightning, Sacred, Magic, Cold, Poison, Blood and Occult; the appropriate whetblade is needed for additional options.
- The skill costs 9 FP before equipment that changes FP costs.
- Costs 9 FP and 40 stamina for four kicks. Their damage follows the hand-to-hand weapon’s attack power and affinity, rather than a separate Faith or Intelligence spell calculation.
- The kicks use 120%, 91%, 91% and 140% of weapon attack power before defenses and bonuses. Missing the final downward kick gives up an important part of the sequence.
- Its four contacts deal 8, 2, 2 and 16 stance damage, for 28 if all connect. Higher damage bonuses do not automatically increase those stance values.
- Shard of Alexander improves the skill. Shattered Stone Talisman and Divine Bird Warrior Greaves add their eligible kicking bonuses; Claw Talisman does not apply merely because you rise into the air.
- Cannot be charged, so Godfrey Icon does not apply. Consecutive-hit bonuses can benefit from the repeated contacts, provided you keep landing the kicks.
 Ashes of War