Reference values
- Type
- Ashes of War
- Default affinity
- Sacred
- FP cost
- 30 FP
- Skill
- Holy Ground
About this Ash of War
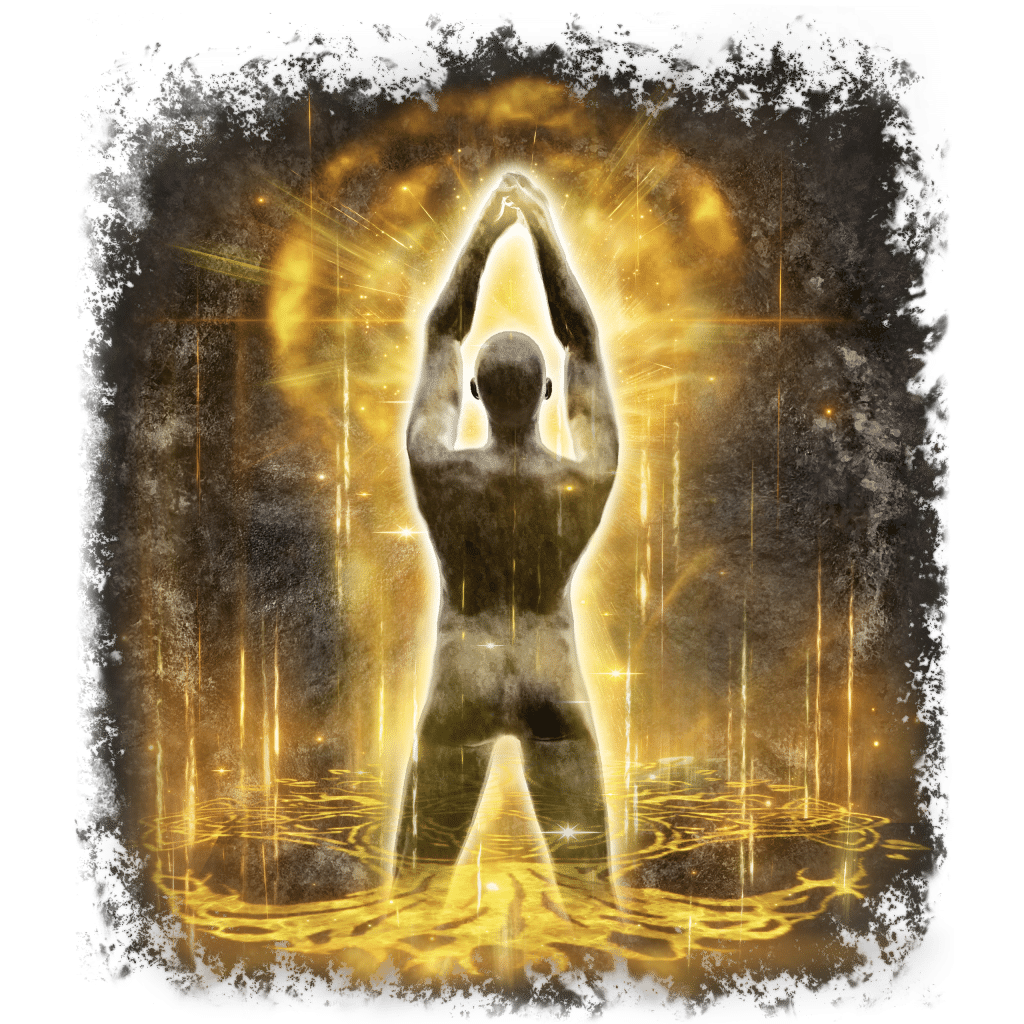
Costs 30 FP to create a stationary consecrated circle for 35 seconds. You and nearby allies receive its effects while standing inside the area; the circle does not follow you.
Against enemies, the field reduces incoming physical and elemental damage by 20% and restores 5 HP every 0.3 seconds, about 16.7 HP per second. It does not provide an instant full heal or protect you from a hit that still deals lethal damage.
The local effect refreshes while you remain inside. It can linger briefly after stepping out, but that does not turn the full 35-second field into a portable buff.
Technical details
- Skill ID
- 702
- Default affinity
- Sacred
- Armament categories
- Small Shield, Medium Shield, Greatshield, Thrusting Shield
- Recorded affinities
- Standard, Heavy, Keen, Quality, Lightning, Sacred
- useMagicPoint_L2
- 30
In-game description
This Ash of War grants an armament the Sacred affinity and the following skill:
"Holy Ground: Raise shield to create an Erdtree-consecrated area that continuously restores HP and boosts defense for self and allies inside it."
Usable on all shields.
Where to find
Chariot collision in Auriza Hero's Grave
Capital Outskirts
Starting Site of Grace: Auriza Hero's Grave
Before you go
- Trigger the flame pillar and destroy the chariots.
- From Outer Wall Battleground in the Capital Outskirts, follow the road east and down beneath the capital approach bridge. Stay in the low valley and take the southern dungeon entrance for Auriza Hero's Grave, not Auriza Side Tomb to the north.
- Ride the lift down and activate the grace. The sealed room straight ahead is an optional weapon pickup. You do not need a Stonesword Key for the chariot route.
- Take the western stairs to the first chariot ramp. Trigger the chariot, then retreat until it passes. Move between the side recesses rather than trying to outrun it for the whole slope.
- At the narrow archway between the ramps, drop off the side into the lower room. Clear the Basilisks without standing in their Death Blight clouds, then follow the western passage and stairs.
- Continue through the next Basilisk rooms to the archway overlooking two chariot lanes. Stay back from its lip, since a chariot can catch you even while you are looking out.
- Work down the slope using the recesses and switching lanes after a chariot passes. At the short flat landing, wait for another opening before continuing toward the corpse hanging over the deep shaft near the bottom.
- Look below the hanging corpse and drop onto the wooden beam directly underneath. Walk along the beams and lower yourself one level at a time; do not jump straight to the floor.
- From the lower beams, find the thin stone arch beneath them. Drop onto the arch, follow it to solid ground beside a skeleton and climb the ladder there.
- Stop before stepping onto the next chariot ramp. Wait for it to travel downhill, then run uphill into the room on the eastern side containing a fire-breathing pillar.
- Hit the pillar once to raise it. Leave it raised so its glowing summoning mark moves onto the upper track. Return to the entrance grace and repeat the approach to the two-chariot hall.
- Stay in cover as you approach the new summoning mark. The newly summoned chariot crashes into the others, automatically awarding the four regular Tree Sentinel pieces and Holy Ground.
- The Crucible Knight pair is a separate boss encounter and is not required for this reward. Once destroyed, these chariots stay gone for the rest of this Journey.
Notes
- Costs 30 FP to create a stationary consecrated circle for 35 seconds. You and nearby allies receive its effects while standing inside the area; the circle does not follow you.
- Against enemies, the field reduces incoming physical and elemental damage by 20% and restores 5 HP every 0.3 seconds, about 16.7 HP per second. It does not provide an instant full heal or protect you from a hit that still deals lethal damage.
- The local effect refreshes while you remain inside. It can linger briefly after stepping out, but that does not turn the full 35-second field into a portable buff.
- Faith, shield reinforcement and Shard of Alexander do not increase the fixed healing or damage reduction. There is no Faith requirement beyond the shield's own requirements.
- Place the circle where the fight will stay. An enemy can force you out, cover the area with a hazard or punish the shield-raising animation before the benefits are established.
- The chariot collision in Auriza Hero's Grave awards the Ash and Tree Sentinel armor together. The Crucible Knight pair at the end is a separate reward and does not need to be defeated.
- Compatible weapon classes: Small Shield, Medium Shield, Greatshield, Thrusting Shield. A weapon with a fixed skill cannot use this Ash of War.
- Its default affinity is Sacred. The supported choices are Standard, Heavy, Keen, Quality, Lightning and Sacred; the appropriate whetblade is needed for additional options.
- The circle can help a group holding one position, but a summon or ally outside it does not receive the field just because you placed it nearby.
- It restores HP only up to maximum and does not remove Poison, Scarlet Rot or Blood Loss buildup. A harmful effect can continue damaging you while the circle heals.
- Godfrey Icon does not apply because it cannot be charged. The field is a support effect, so offensive attributes and damage talismans do not strengthen its fixed protection.
 Ashes of War