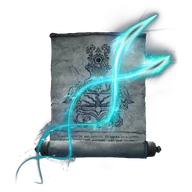
Reference values
- Type
- Sorcery
- FP cost
- 41
- Memory slots
- 1
- Stamina cost
- 42
- Additional stamina cost
- 13
- Hold action
- Charge
- Damage types
- magic
- Requires
- 28Int22Fai
- Spell school
- Death sorceries
In-game description
Sorcery originating from the putrid liquor of the stone coffins.
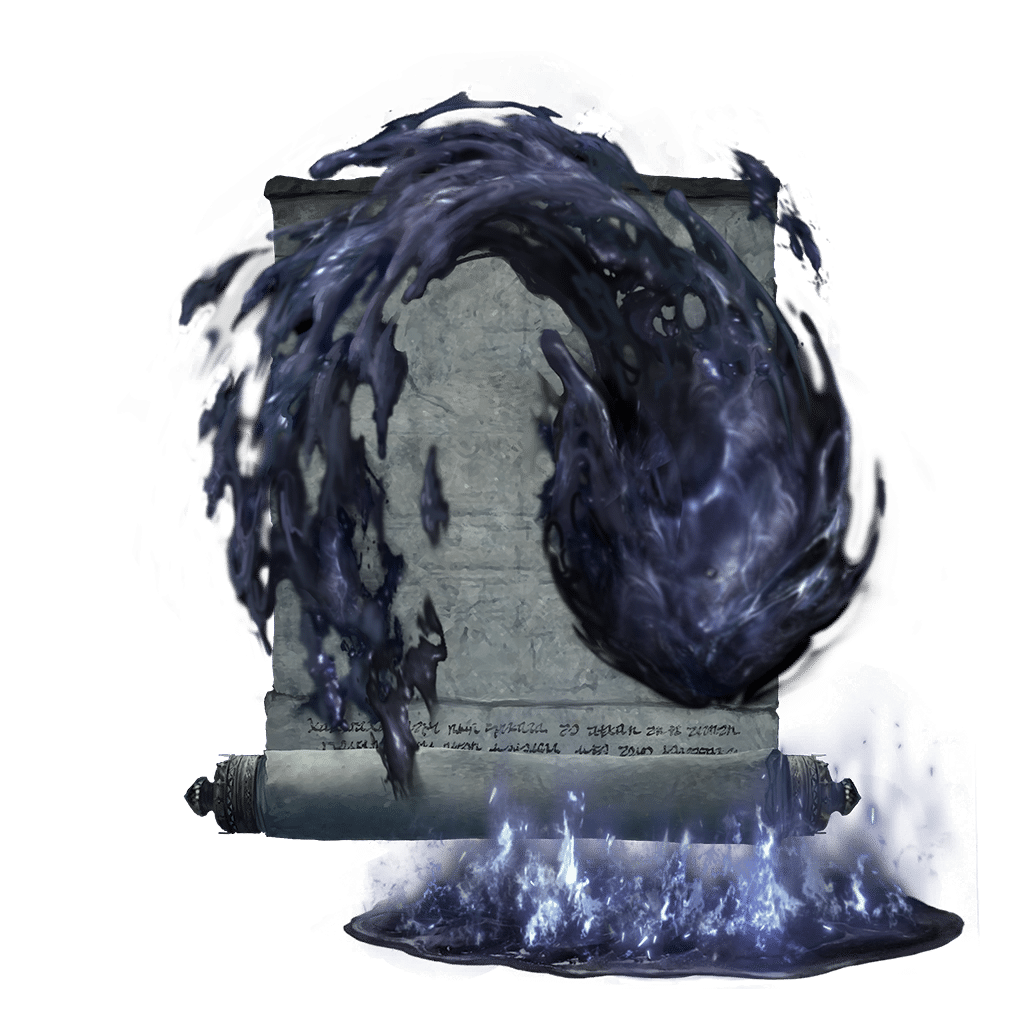
Flings a great mass of putrescence that bathes its landing area in ghostflame. Charging increases potency.
In an age long past, Death was burned by ghostflame. Even the remains of tainted flesh were given equal treatment in death.
Where to find
Lower ledge near Fissure Waypoint
Stone Coffin Fissure
Starting Site of Grace: Fissure Waypoint
Before you go
- To enter the Realm of Shadow, defeat Starscourge Radahn and Mohg, Lord of Blood, then touch the withered arm in Mohg's arena at Mohgwyn Palace.
- Wait until Miquella's charm breaks to enter the sealed fissure.
- To enter the Realm of Shadow, defeat Starscourge Radahn and Mohg, Lord of Blood, then touch the withered arm in Mohg's arena at Mohgwyn Palace.
- From Castle Front, ride south to the crossroads, turn east and follow the road to the next fork. Take the right-hand dirt track, then the left fork downhill toward the southeast.
- Pass the bloodfiends and descend into the shallow poison area. Follow the lower path down toward the river rather than climbing toward the fort; watch for militia and poison traps along the descent.
- At the bottom is a shallow pool with a giant crab. Turn southwest into the opening in the cliff, continue through the cave past the Revered Spirit Ash chamber and activate Ellac River Cave grace.
- Leave by the southern cave exit and turn south along the river. Use Torrent to cross the successive rock ledges beside the waterfall, landing on the nearby rocks rather than jumping to the valley floor.
- Continue down the ledge path past the stone birds, watching for the living ones to attack. Drop down the short rock steps to Ellac River Downstream grace.
- From Downstream, continue south beside the lower falls. Cross the long rock pillar toward the east and use its far side to reach the lower water safely.
- The lower basin opens toward a Furnace Golem. Its fight is optional for reaching the coast, the friendly forager or the lightning-flower pond.
- Head through the eastern wooded side of the basin, then follow the passage southwest through the cliffs to Cerulean Coast grace. The blue-flowered field beyond confirms you have reached the coast.
- Ride south through the blue-flowered field past the huge stone coffins. Circle the Ghostflame Dragon rather than fighting if you only want the map.
- Continue south along the coast to the huge crater on the peninsula. Use the ledges on its western side to descend to The Fissure grace, then enter the tunnel. If a golden seal blocks the way, approach Shadow Keep until the message announces that a great rune and a powerful charm have broken, then return.
- Activate Stone Coffin Fissure grace on the right. Follow the southeastern ledge past the bloodfiends and the rocky pillar. The ledge beyond collapses as part of the route; after landing below, go right to Fissure Cross.
- From Fissure Cross, head northwest toward the fallen coffin and rubble. Drop down the visible ledges into the short cave beneath the route. Watch for slimes falling from its ceiling; Velvet Sword of St. Trina is an optional pickup inside.
- Continue through the cave, clear the Gravebird outside and drop onto the coffin below. The path rejoins the larger stone coffins crossing the chasm. Stone Worms fire beams along them, so use the coffin edges as cover and move between their shots.
- Climb the short ledges toward the first beam-firing worm. Beyond it, cross to the next coffins and approach the lower of the two distant beam-firing worms. The path around its right side climbs toward the upper worm; watch for a bird at the corner.
- Continue from that upper position across the next coffin platforms. Exploding stone piles glow before bursting, so back away when they light up. Drop from the far ledge to Fissure Waypoint grace.
- From that grace, head northeast and jump the small gap. Once across, look down to the north for the lower platforms.
- Drop along those platforms onto the fallen pillar that forms a narrow bridge. Cross it and collect Mass of Putrescence from the corpse on the left.
- This lower ledge holds the spell before the golden Misbegotten and Putrescent Knight. Both fights are unnecessary for the pickup.
Notes
- Requires 28 Intelligence, 22 Faith, one memory slot and a glintstone staff. Each cast costs 41 FP and 42 stamina; charging raises the stamina cost to 55.
- Throws a heavy mass that deals Magic damage on contact, then bursts after a short delay and spreads ghostflame. An enemy moving out of the landing area can avoid the stronger second hit.
- The initial hit builds 40 Frostbite and the burst builds 120. Charging raises those to 50 and 150, giving 200 buildup if both charged hits connect, compared with 160 uncharged.
- Intelligence or Faith improves damage only through the staff's actual Sorcery Scaling. An ordinary Intelligence staff does not gain Faith scaling just because the spell requires 22 Faith. Neither attribute nor Arcane increases this fixed Frostbite buildup.
- Charging strengthens both the projectile and its explosion, and Godfrey Icon adds its 15% charged-spell damage bonus. The talisman does not increase Frostbite buildup.
- Although associated with death and ghostflame, it does not receive Prince of Death's Staff's death-sorcery bonus. That staff can still cast it using its ordinary Sorcery Scaling.
- The ghostflame deals Magic damage, rather than Fire damage, and does not reset existing Frostbite as a Fire hit would. A target already suffering Frostbite cannot immediately trigger another frost burst without that condition ending.
- The delayed area burst is useful against a group or a large target that stays near the impact. The long cast and 41-FP cost make careless close-range trades expensive.
 Sorcery