Reference values
- Type
- Spirit Ashes
- Summoning cost
- 95 FP
- Upgrade material
- Ghost Glovewort
About this spirit
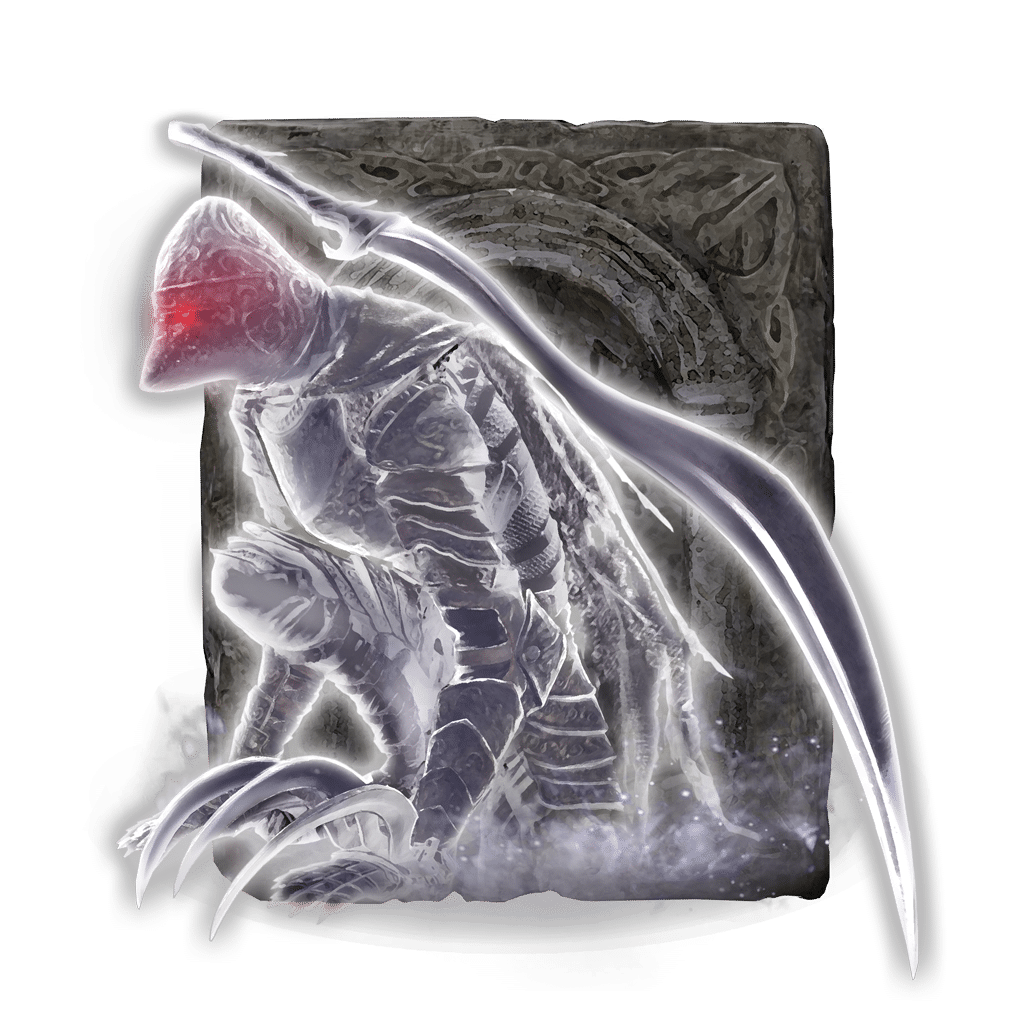
Costs 95 FP to summon one Bloodhound Knight. Floh immediately attacks nearby enemies with fast sword and claw combinations, so summon him close to the fight rather than far back along the approach.
His sword and claw attacks can build Blood Loss on susceptible enemies. An enemy immune to bleeding can still suffer direct physical damage, but the extra blood-loss burst will not trigger.
Aggressive movement helps him pressure enemies that stagger easily. It is less reliable against a large enemy that keeps attacking through his combinations or catches him during a committed leap.
Technical details
- FP Cost
- 95
- HP Cost
- 0
- Upgrade Material
- Ghost Glovewort
- Type
- Spirit Ashes
In-game description
Ashen remains in which spirits yet dwell.
Use to summon the spirit of Floh, the Bloodhound Knight.
Spirit of a Bloodhound Knight they called the Rabid Stray. Will attack without pause immediately after being summoned.
Floh vowed that there was only one lord he would serve: a true king. And so, the Rabid Stray never found a master.
Where to find
Red Wolf of the Champion in Gelmir Hero's Grave
Mt. Gelmir
Starting Site of Grace: Gelmir Hero's Grave
- From Bridge of Iniquity on Altus Plateau, follow the road west toward the fighting soldiers and Abductor Virgins. Find the long ladder against the cliff to the south and climb to First Mt. Gelmir Campsite.
- From First Mt. Gelmir Campsite, follow the path west, then around its bend south. Pass the wolves to the large stone entrance at the dead end, enter Gelmir Hero's Grave and ride the lift down to its grace.
- Descend the southern stairs to the first chariot ramp. Move between the wall alcoves after the chariot passes, and clear any skeleton in your shelter so it cannot push you back into the ramp. Hit a fallen skeleton again as it starts to reassemble.
- Near the lower part of this ramp, take the side alcove containing Grave Glovewort and stairs into the dungeon rooms. Use this side route rather than continuing through the long lava channel.
- Clear the Pages and skeletons, climb the stairs and wait for a pause in the flame trap. Cross into the pillar room and strike the pillar to lower it, then take the exit into the second chariot passage.
- Go down the second ramp using its side alcoves. Near the bottom, a Cemetery Shade waits in the corner shelter before the route becomes covered in lava. Keep the chariot in view while dealing with it.
- Return to the narrow stone crossing just before the lava. Look over its side for the ledge below, then drop onto that ledge when the chariot has passed. The corpse with Smoldering Butterflies confirms you are on the lower ledge.
- Follow the passage beneath the ramp into the room with a Bloodhound Knight watching over a corpse. The knight and the guarded corpse give two different outfits.
- Get past the Bloodhound Knight and climb the ladder in its room. At the top, step through the window onto the wooden beams above the second chariot ramp.
- Move to the beams' central crossing and wait for the chariot's flat deck to stop below you as it turns. Drop onto that deck, keeping clear of its wheels and the gap to either side.
- Ride down through the lava. When the chariot reaches the bottom and turns uphill, jump onto the dry stone platform on the right side while facing down the slope.
- Open the large doors and take the stairs to the mist gate. Defeat the Red Wolf of the Champion for Bloodhound Knight Floh. Open the chest at the rear separately if you also want this dungeon's Deathroot.
Notes
- Costs 95 FP to summon one Bloodhound Knight. Floh immediately attacks nearby enemies with fast sword and claw combinations, so summon him close to the fight rather than far back along the approach.
- His sword and claw attacks can build Blood Loss on susceptible enemies. An enemy immune to bleeding can still suffer direct physical damage, but the extra blood-loss burst will not trigger.
- Aggressive movement helps him pressure enemies that stagger easily. It is less reliable against a large enemy that keeps attacking through his combinations or catches him during a committed leap.
- He has no shield to hold a line in front of you. Give him support when an enemy turns toward him instead of treating his quick dodges as guaranteed protection.
- Your own Bloodhound's Fang, Arcane investment or weapon grease does not directly change his weapon. Upgrade Floh through Roderika with Ghost Glovewort, to a maximum of +10 using Great Ghost Glovewort.
- The Red Wolf of the Champion awards the ashes. The Bloodhound Knight in the side room gives armor instead, and the Gelmir outfit is on its guarded corpse.
- This route does not require joining Volcano Manor or killing its contract targets. The grave's chest pickups remain separate from defeating its boss.
 Spirit Ashes