Development preview — content and features are still being refined.
 Colossal Weapon
Weapons · Colossal Weapon
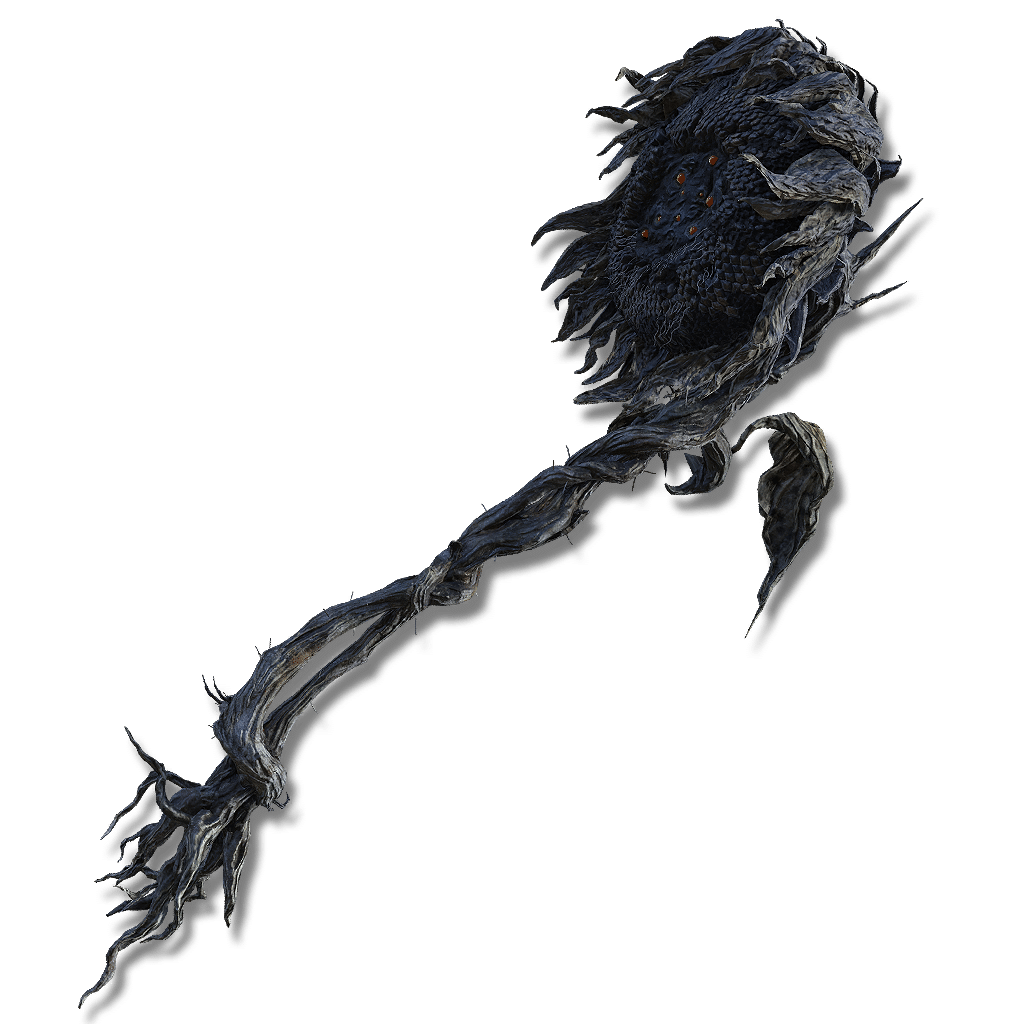
Shadow Sunflower Blossom
StrikeSomber Smithing Stone—Unique skill
The head of a monstrous shadow sunflower manifestation of the Scadutree. Then again, it might be just a flower, wielded as a weapon.
Attack rating—At your attributes
Weight16Equip load units
Requires24Str8Dex25Fai
Passive buildup—At your attributes
Attack & scalingUpdates as you edit
In-game description
The head of a monstrous shadow sunflower manifestation of the Scadutree. Then again, it might be just a flower, wielded as a weapon.
Much like the Scadutree itself in appearance, a second stalk winds tightly around the first, almost as if in a tender embrace.
Skill
Shadow Sunflower HeadbuttFP 16 / 8 · Unique skill
Slam down the blossom of a large shadow sunflower, sending out a shockwave that flattens foes. Repeated inputs allow for up to two follow-up attacks.
Where to find
Map pending
LocationScadutree BaseMap location pending
Scadu Altus
Starting Site of Grace: Tree-Worship Sanctum
Before you go
- To enter the Realm of Shadow, defeat Starscourge Radahn and Mohg, Lord of Blood, then touch the withered arm in Mohg's arena at Mohgwyn Palace.
- Drain the water in Shadow Keep's Church District.
- Defeat the Scadutree Avatar and keep the Remembrance of the Shadow Sunflower.
- From Highroad Cross in Scadu Altus, follow the road east to Moorth Ruins and activate the grace beside the cross.
- Pass through the large stone arch east-southeast of the grace. At the house ahead, turn left toward the leaning tower. Avoid the large open shaft behind the house, which is too deep for a direct drop.
- Find the smaller gap between the broken building and the rock wall in front of the leaning tower. Drop onto the balcony-like ledge, turn right past the dogs and follow the cave inward.
- In the open chamber at the end, take the back-left ledges down onto the lower roof. Look for the small shrine guarded by three Inquisitors and collect Golden Arcs from the chest inside.
- To continue east, drop from the lower roof to the ground and take the cave beside the building on the left. Follow it to the long ladder and climb out of the well at Bonny Village grace.
- Go east through Bonny Village, watching for the large cleaver-wielding villagers, and cross the two suspension bridges. The second brings you to Bridge Leading to the Village grace.
- Follow the road north through the woods to Church District Highroad grace. Take the northwestern road through the entrance tunnel and activate Church District Entrance inside Shadow Keep. This eastern entrance leads to the flooded district, rather than the main-gate Hippopotamus arena.
- Jump from the entrance ledge onto the first roof below. Follow its northwestern edge and jump from the raised roof section to the stone wall opposite, rather than taking the southwestern log platforms toward different loot.
- Follow the wall around and climb its northeastern rise. Jump to the next roof northwest, where a Fire Knight patrols. Clear it or make enough room to continue safely.
- Cross toward the next large church and jump onto the sloping stone support on your left. Walk southwest up that support to the high roof, then use the broken roof opening to drop onto the central beam below.
- Follow the beam to the adjoining upper corridor and drop through the opening in its floor onto the raised church passage. Stay above the water and continue northwest; the Prayer Room door is a separate side destination.
- Pass the small side room holding a Rune of an Unsung Hero and continue into the corridor patrolled by two Fire Knights. The first left exit leads toward the drainage wheel, while the later left exit leads to the Storehouse lift.
- Take the first left exit and cross the small bridge outside. Clear the bats, go up the steps and jump the narrow gap in the walkway before the tall lamp.
- Climb the ladder to the large wheel and operate it from the side to drain the district. This permanently opens the lower ground for the current journey.
- Climb back down and use the nearby doorway and lower platforms to descend to the exposed ground. Enter the small chapel nearby and activate Sunken Chapel grace.
- Go into the large church with the headless Marika statue. Wego, the Fire Knight elder, controls the burning corpses in the hall; defeat him to make the altar area safer.
- Inside the drained church with the large Marika statue, use the side passage on the right. Open the door and ride the lift down to Tree-Worship Passage.
- Follow the lower passage and cross the long wooden bridge. Continue through the church to Tree-Worship Sanctum grace, then leave toward the open basin.
- Defeat Scadutree Avatar through all three appearances in this encounter. Its return after the first and second defeats is part of the fight, rather than another boss to farm.
- The final defeat awards Remembrance of the Shadow Sunflower and the separate Miquella's Great Rune. Keep the remembrance if you want one of Enia's unique rewards.
- Take Remembrance of the Shadow Sunflower to Enia at Roundtable Hold and choose Shadow Sunflower Blossom. It has no extra rune charge. Land of Shadow is the alternative incantation.
Notes
- Requires 24 Strength, 8 Dexterity and 25 Faith, and weighs 16. Strength improves Physical damage, Faith improves Holy damage, and Dexterity contributes only a small Physical increase.
- The equal starting Physical and Holy attack values do not mean both parts use the same attributes. Faith has the stronger scaling coefficient, while actual damage still depends on both stats and the enemy's defenses.
- Shadow Sunflower Headbutt costs 16 FP for the first slam. The next input adds two smaller slams for 8 FP, and a third input adds the final heavy slam for another 8 FP. All four slams cost 32 FP.
- The weapon contact and its golden shockwave share the hit. One enemy cannot take a full slam plus a separate full shockwave from the same impact.
- The skill uses the weapon's Physical and Holy attack power. Its golden waves are not an independent Faith-only spell.
- Stance damage is 21 for the opening, 7.5 for each middle slam and 30 for the finish. Landing all four gives 66, but the long sequence needs the enemy to remain within reach.
- Shard of Alexander improves the skill. Holy bonuses improve its Holy portion, while Physical bonuses help the Physical portion. Godfrey Icon does not improve it because it cannot be charged.
- The shockwaves extend the practical hit area around the head. You can stop after an earlier stage when the target is leaving or preparing to retaliate.
- Uses Somber Smithing Stones to +10. Its skill and affinity are fixed, and grease or weapon enchantments cannot be applied.
- Enia offers it after all three Scadutree Avatar phases. The withered flower head is the weapon, not a crafting material or a staff for casting Land of Shadow.
Related Equipment
 Anvil HammerColossal WeaponCalculating at min req stats
 Bloodfiend's ArmColossal WeaponCalculating at min req stats
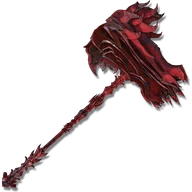 Prelate's Inferno CrozierColossal WeaponCalculating at min req stats
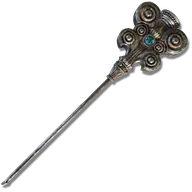 Watchdog's StaffColossal WeaponCalculating at min req stats
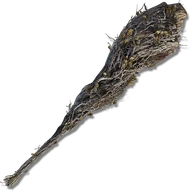 Great ClubColossal WeaponCalculating at min req stats
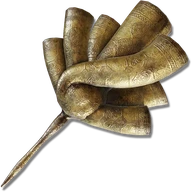 Envoy's GreathornColossal WeaponCalculating at min req stats
Advertisement
Reserved · 300 × 250