Development preview — content and features are still being refined.
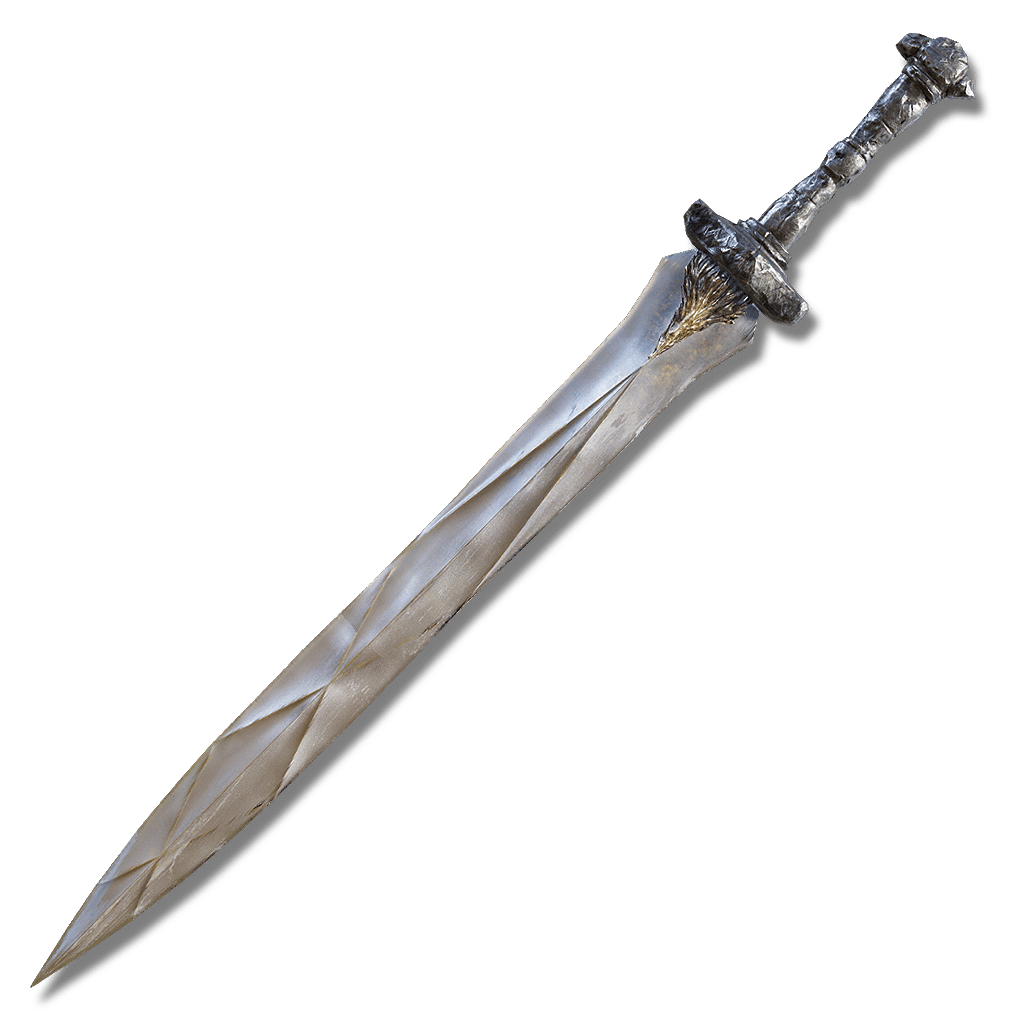 Straight Sword
Weapons · Straight Sword
Sword of Light
Pierce / StandardSomber Smithing Stone—Unique skill
Sword of light, pulled from its stone scabbard at an altar.
Attack rating—At your attributes
Weight4Equip load units
Requires14Str11Dex24Fai
Passive buildup—At your attributes
Attack & scalingUpdates as you edit
In-game description
Sword of light, pulled from its stone scabbard at an altar.
From the quick of the root, unswerving rays of light intersect and reflect to give the silver blade form.
Skill
LightFP 30 · Unique skill
Unleashes the light carved in the armament's blade. Send the sword aloft to let loose a blinding light whose many rays sweep through the surrounding area. Also temporarily boosts one's own holy attacks.
Where to find
Map pending
LocationTower beyond the invisible bridgeMap location pending
Ancient Ruins of Rauh
Starting Site of Grace: Rauh Ancient Ruins, West
Before you go
- To enter the Realm of Shadow, defeat Starscourge Radahn and Mohg, Lord of Blood, then touch the withered arm in Mohg's arena at Mohgwyn Palace.
- Collect the Stone-Sheathed Sword in Fog Rift Catacombs or Ruins of Unte for this altar arrangement.
- Enter the Realm of Shadow after defeating Starscourge Radahn and Mohg, Lord of Blood, by touching the withered arm in Mohg's arena.
- From Highroad Cross in Scadu Altus, follow the main road north to Shadow Keep's southern gate. Ride the entrance lift and activate Shadow Keep Main Gate grace.
- Defeat Golden Hippopotamus in the plaza. This is the front-door route; the flooded Church District provides a different way into the keep.
- From Main Gate Plaza, leave through the west-northwest doorway, pass through the armory and climb the stairs. Continue up the wooden steps to the dining hall, where two Black Knights guard the route.
- Leave the dining hall through its southeastern exit to the upper rampart. Follow the rampart past the burning boats and watch for the small Shadow Militiamen hiding beside them.
- Take the stairs leading north-northeast toward the large lift, passing the Fire Knight in front of it. Ride up and activate Storehouse, First Floor grace.
- At Storehouse, First Floor, take the western side passage and lift down to the lower jar rooms. This is the West Rampart branch, rather than the stairs climbing toward Messmer.
- Follow the hallway through the rooms with living jars and the larger jar-filled ward. Watch for the smaller enemies waiting beside doorways, then use the western exit and stairs to reach West Rampart grace.
- Cross the long bridge west toward the Ancient Ruins of Rauh. Salza waits at the far end and calls down fire as you approach. Use the bridge's sheltered sections to interrupt his view, or ride Torrent to close the distance.
- Defeat Salza at the western gate to receive Rain of Fire and Salza's Hood together. Messmer and Romina are not required for this selected route.
- Go through the doorway behind Salza. Take the doorway on the right, follow the stairs to the lift and ride down to Viaduct Minor Tower grace.
- Leave by the southwestern stairs and follow the path west as it curves downhill. Turn northwest between the lit braziers and large pillars to enter the covered ruins. This is the upper ruin route, separate from Rauh Base below.
- Watch for the Curseblade beside the pillar near the pot-carrying shadow enemy. Continue northwest, look right for the large double doors and open them.
- Descend the stairs into the scorpion chamber. Draw the large scorpion away from the smaller ones dropping from the ceiling, then clear the next corner. More scorpions drop beside the corpse there.
- Continue west, then southwest down the ramp to the next chamber. Open the second set of double doors on its southwestern wall.
- Pass the fixed material pickup behind the doors and follow the corridor northwest past the snails. Drop through the large square opening over the spiritspring; this is the intended descent into the lower hall.
- From the lower landing, go northwest to the statue junction, then continue southwest rather than taking the northeastern root room. Pass under the arch and follow the corridor as it bends southeast.
- Watch for the caster behind you near the northwestern side. Continue southeast through the arches toward daylight. A Crucible Knight waits on the rocks outside; circle past for now to reach Rauh Ancient Ruins, East grace beside the cross.
- From Rauh Ancient Ruins, East, head west and drop onto the broad bridge. A Furnace Golem wakes at its far end; keep moving and use the bridge rather than dropping into the valley.
- Cross southwest and drop from the right near the far end onto the lower path. Continue southwest up the stairs, then turn left and ride south past the golem. Rauh Ancient Ruins, West grace is just southeast beyond the low rise.
- From Rauh Ancient Ruins, West, climb the stairs past the spellcasters. Turn left in the large room and take the lift up.
- Cross the shallow-water garden with the Horned Warrior and pass the stone gazebo into the scarlet rot ruins on the far side.
- Turn right inside and take the lift down. Turn left and follow the corridor into the long room with Kindred of Rot and a statue at the far end.
- Leave through that far end and face the detached stone tower across the gap. An invisible bridge runs straight from the broken bridge toward the tower; keep directly aligned with it as you cross.
- At the tower's altar, raise the Stone-Sheathed Sword or Sword of Darkness to change it into the Sword of Light.
Notes
- Requires 14 Strength, 11 Dexterity and 24 Faith, and weighs 4. Strength provides the strongest Physical scaling, Dexterity is weaker, and Faith improves Holy damage.
- Has the same ordinary damage, scaling and requirements as its opposite form. The skill and appearance are the important differences.
- Light costs 30 FP and sends sweeping Holy rays around the area. Their damage improves through Faith and upgrades independently of the ordinary blade's Physical attack power.
- It also gives 20% more Holy damage against enemies, or 15% against other players, for 60 seconds. This strengthens eligible Holy attacks and spells, rather than all damage from a split Physical/Holy weapon.
- The bonus is a body buff. It replaces competing body effects such as Boiled Crab, Barrier of Gold and Flame, Grant Me Strength; Golden Vow is a separate aura group.
- Shard of Alexander improves the damaging skill, and Holy bonuses improve its rays. Neither makes the fixed 20% body bonus larger. Godfrey Icon does not apply because it cannot be charged.
- Its long preparation makes the body bonus useful before engaging. Enemies can move out of the rays or interrupt you, so casting at point-blank range is not a guaranteed safe damage sequence.
- Can work with Sword of Darkness's enemy vulnerability. When both are active, their Holy multipliers give 44% more damage against enemies, or 38% against other players, before other bonuses and defenses.
- If the initial Stone-Sheathed Sword came from Fog Rift or Unte, Rauh's detached tower is the Light altar. If it came from Rauh, use Unte for Light instead.
- This is a transformed Stone-Sheathed Sword. Changing between Light and Darkness preserves reinforcement and does not create a spare weapon.
- The transformation cannot restore Stone-Sheathed Sword during the same journey. Store spare copies before changing forms if you want to preserve different versions.
- Uses Somber Smithing Stones to +10. Its skill and affinity are fixed, and grease or weapon enchantments cannot be applied.
Related Equipment
 LongswordStraight SwordCalculating at min req stats
 Short SwordStraight SwordCalculating at min req stats
 BroadswordStraight SwordCalculating at min req stats
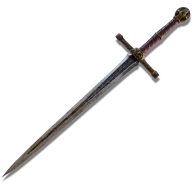 Lordsworn's Straight SwordStraight SwordCalculating at min req stats
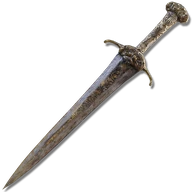 Weathered Straight SwordStraight SwordCalculating at min req stats
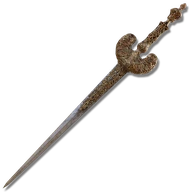 Ornamental Straight SwordStraight SwordCalculating at min req stats
Advertisement
Reserved · 300 × 250