Development preview — content and features are still being refined.
 Fist
Weapons · Fist
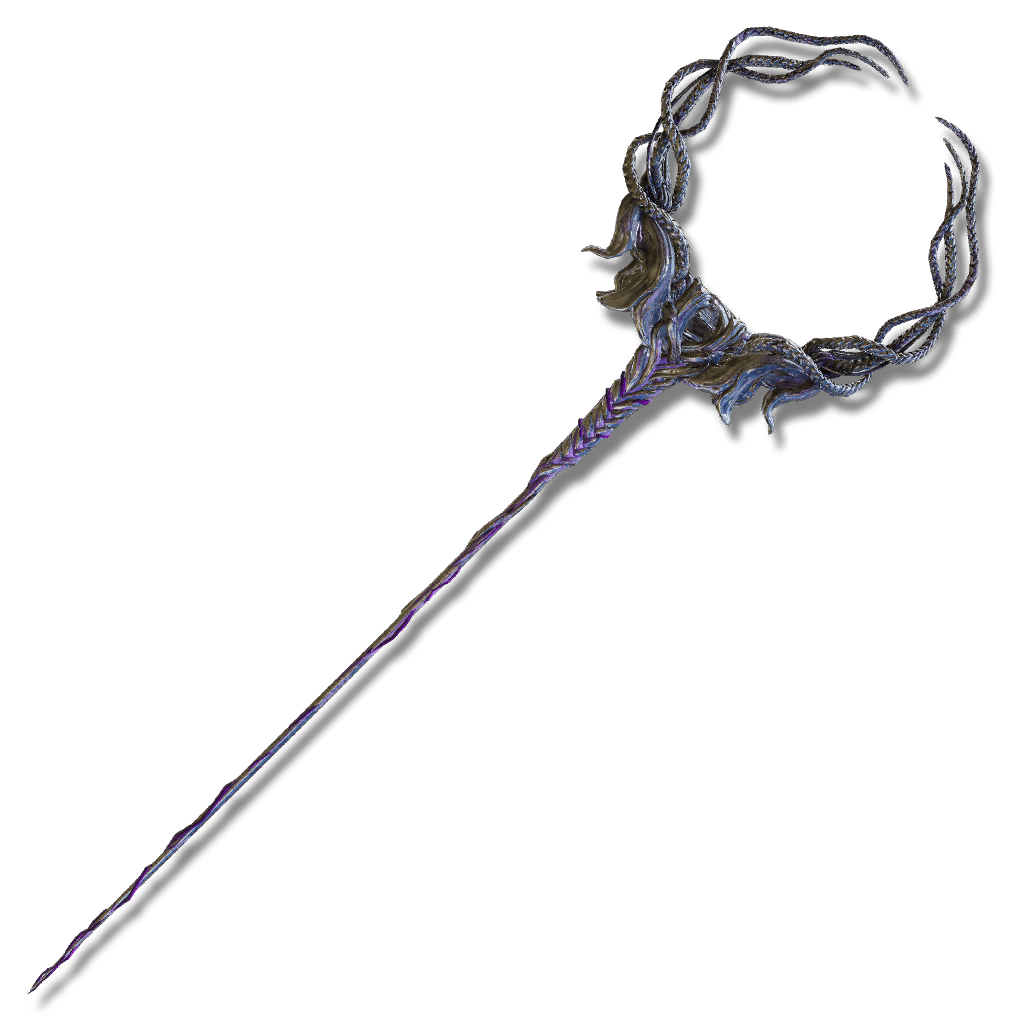
Thiollier's Hidden Needle
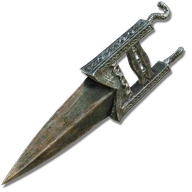
Concealed weapon used by Thiollier, of a design generally favored by poison-wielders for dark and subtle purposes.
Attack & scalingUpdates as you edit
Effects
Effects
When the target actually enters eternal sleep, it loses 50 FP plus 15% of its maximum FP, capped at the FP it has left. This is a single status-proc loss, not a drain every minute and not a cost paid by the wielder. A hit that merely adds sleep buildup does not trigger it. Sleep Evermore's separate sleeping-target HP burst is not included in this FP loss.
Technical details
Focus Points
When the target actually enters eternal sleep, it loses 50 FP plus 15% of its maximum FP, capped at the FP it has left. This is a single status-proc loss, not a drain every minute and not a cost paid by the wielder. A hit that merely adds sleep buildup does not trigger it. Sleep Evermore's separate sleeping-target HP burst is not included in this FP loss.
- attribute: Focus Points
- model: additive
- target: opponent
- type: negative
- value: -50
Focus Points
- attribute: Focus Points
- model: max-fp
- target: opponent
- type: positive
- value: -0.15
In-game description
Concealed weapon used by Thiollier, of a design generally favored by poison-wielders for dark and subtle purposes.
Like St. Trina, who blossomed in the deep-purple garden, a rich poison is secreted from within which sends its victims into an eternal sleep.
Skill
Pierces the enemy deeply with a poison-coated needle that delivers eternal sleep. If the follow-up strike lands upon a foe who is already in a state of slumber or eternal sleep, it will deal significant damage.
Where to find
Enir-Ilim
Starting Site of Grace: Divine Gate Front Staircase
Before you go
- To enter the Realm of Shadow, defeat Starscourge Radahn and Mohg, Lord of Blood, then touch the withered arm in Mohg's arena at Mohgwyn Palace.
- Progress Thiollier's St. Trina quest before burning the Sealing Tree, then finish his dialogue before the fight with Leda's allies.
- Defeat Promised Consort Radahn.
- Meet Thiollier at Pillar Path Cross, reached by following the road southeast from Castle Front and turning toward the cross near the Suppressing Pillar. Finish his dialogue. Black Syrup and his concoction are separate optional rewards, so finish any shopping you want before sending him south.
- To enter the Realm of Shadow, defeat Starscourge Radahn and Mohg, Lord of Blood, then touch the withered arm in Mohg's arena at Mohgwyn Palace.
- From Castle Front, ride south to the crossroads, turn east and follow the road to the next fork. Take the right-hand dirt track, then the left fork downhill toward the southeast.
- Pass the bloodfiends and descend into the shallow poison area. Follow the lower path down toward the river rather than climbing toward the fort; watch for militia and poison traps along the descent.
- At the bottom is a shallow pool with a giant crab. Turn southwest into the opening in the cliff, continue through the cave past the Revered Spirit Ash chamber and activate Ellac River Cave grace.
- Leave by the southern cave exit and turn south along the river. Use Torrent to cross the successive rock ledges beside the waterfall, landing on the nearby rocks rather than jumping to the valley floor.
- Continue down the ledge path past the stone birds, watching for the living ones to attack. Drop down the short rock steps to Ellac River Downstream grace.
- From Downstream, continue south beside the lower falls. Cross the long rock pillar toward the east and use its far side to reach the lower water safely.
- The lower basin opens toward a Furnace Golem. Its fight is optional for reaching the coast, the friendly forager or the lightning-flower pond.
- Head through the eastern wooded side of the basin, then follow the passage southwest through the cliffs to Cerulean Coast grace. The blue-flowered field beyond confirms you have reached the coast.
- Ride south through the blue-flowered field past the huge stone coffins. Circle the Ghostflame Dragon rather than fighting if you only want the map.
- Continue south along the coast to the huge crater on the peninsula. Use the ledges on its western side to descend to The Fissure grace, then enter the tunnel. If a golden seal blocks the way, approach Shadow Keep until the message announces that a great rune and a powerful charm have broken, then return.
- Activate Stone Coffin Fissure grace on the right. Follow the southeastern ledge past the bloodfiends and the rocky pillar. The ledge beyond collapses as part of the route; after landing below, go right to Fissure Cross.
- From Fissure Cross, head northwest toward the fallen coffin and rubble. Drop down the visible ledges into the short cave beneath the route. Watch for slimes falling from its ceiling; Velvet Sword of St. Trina is an optional pickup inside.
- Continue through the cave, clear the Gravebird outside and drop onto the coffin below. The path rejoins the larger stone coffins crossing the chasm. Stone Worms fire beams along them, so use the coffin edges as cover and move between their shots.
- Climb the short ledges toward the first beam-firing worm. Beyond it, cross to the next coffins and approach the lower of the two distant beam-firing worms. The path around its right side climbs toward the upper worm; watch for a bird at the corner.
- Continue from that upper position across the next coffin platforms. Exploding stone piles glow before bursting, so back away when they light up. Drop from the far ledge to Fissure Waypoint grace.
- From Waypoint, head northeast and jump the small gap. Climb the sloping path around to the right, watching for skeletons above and slimes dropping from the ceiling. The lower ledges to the left lead to a separate spell.
- Continue through the short passage and past the golden Misbegotten on the main path. Defeating it gives Multilayered Ring of Light. Follow the remaining coffins to Fissure Depths grace, surrounded by resting animals.
- Go up the stairs beside Depths to the stone head projecting over the abyss. Jump from its nose into the arena below. This particular leap is the intended route to Putrescent Knight; jumping from unrelated high ledges can still kill you.
- Defeat Putrescent Knight, activate Garden of Deep Purple grace and enter the short cave to its west. St. Trina is the large purple flower inside.
- Return to Thiollier at Pillar Path Cross and tell him where St. Trina is. Reload the garden and speak to him beside her after he moves.
- Choose Imbibe nectar with St. Trina four times. Every drink kills you; recover your dropped runes between attempts if you want to keep them. On the fourth death, you begin hearing her words.
- Drink again until you hear the rest of her message. Tell Thiollier what she said, then insist by repeating the message even when he becomes angry. This confrontation is part of his quest.
- Rest or drink once more, then return toward the cave to trigger Thiollier's invasion. Defeat the invader to receive St. Trina's Smile. Do not attack his ordinary body to force the reward.
- Continue drinking until St. Trina repeats her final request about killing Miquella. Return to Thiollier and finish any new dialogue. Do this stage before burning the Sealing Tree at Church of the Bud.
- After burning the Sealing Tree, revisit the garden before starting the fight with Leda and her allies. Tell Thiollier St. Trina's words again and continue his dialogue until he finally responds with recognition rather than rejecting you. Rest or drink again if needed to reveal the next conversation.
- Continue through Enir-Ilim. Once his quest is complete, Thiollier's gold sign can help against Leda's allies and later outside Promised Consort Radahn's arena. Summoning him for these fights is optional for his equipment reward.
- Defeat Promised Consort Radahn and loot Thiollier's body near the final arena's entrance. Collect his mask, regular garb, gloves, trousers and Hidden Needle together.
Notes
- Requires 10 Strength, 22 Dexterity and 15 Intelligence. It weighs only 0.5 and has a 100 critical rating. Its short thrusts deal Pierce physical damage alongside Magic damage.
- Dexterity provides the strongest ordinary physical scaling, with weaker Strength scaling. Intelligence improves the Magic portion. There is no Arcane scaling, despite Thiollier's clothing raising Arcane.
- Upgrade it with Somber Smithing Stones to +10. Sleep Evermore is fixed, and it cannot use another Ash of War or affinity. Grease and weapon enchantments cannot be applied.
- Normal hits build 42 Eternal Sleep. Sleep Evermore costs 16 FP and adds 55 Eternal Sleep buildup to the thrust, giving 97 before any attack-specific status reductions.
- Eternal Sleep can leave susceptible ordinary enemies asleep even when attacked. Some stronger enemies only stagger briefly, and others are immune. It does not make every boss permanently helpless.
- The listed 42 Eternal Sleep buildup is fixed and does not increase with reinforcement or Arcane. Dexterity and Intelligence improve eligible attack damage rather than raising that status number.
- If the target is already in Sleep or Eternal Sleep when Sleep Evermore connects, it also triggers a burst equal to 6.5% of the target's maximum HP plus 300. This separate burst is not your ordinary weapon attack power.
- The same skill hit cannot both trigger Sleep for the first time and detonate it. Apply Sleep first, then land the skill during that state. Enemies that only stagger briefly give you a much shorter opportunity.
- Despite the description mentioning poison, it applies Eternal Sleep rather than Poison buildup. A Poison damage-over-time effect is not added automatically.
- In the left hand, its skill has priority over the right-hand weapon's skill. Keep the hand arrangement in mind when combining it with another weapon.
- Complete Thiollier's garden quest and collect it with his clothing after Promised Consort Radahn. Killing him at Pillar Path Cross does not give the weapon.
Related Equipment


Advertisement