Development preview — content and features are still being refined.
 Glintstone Staff
Weapons · Glintstone Staff
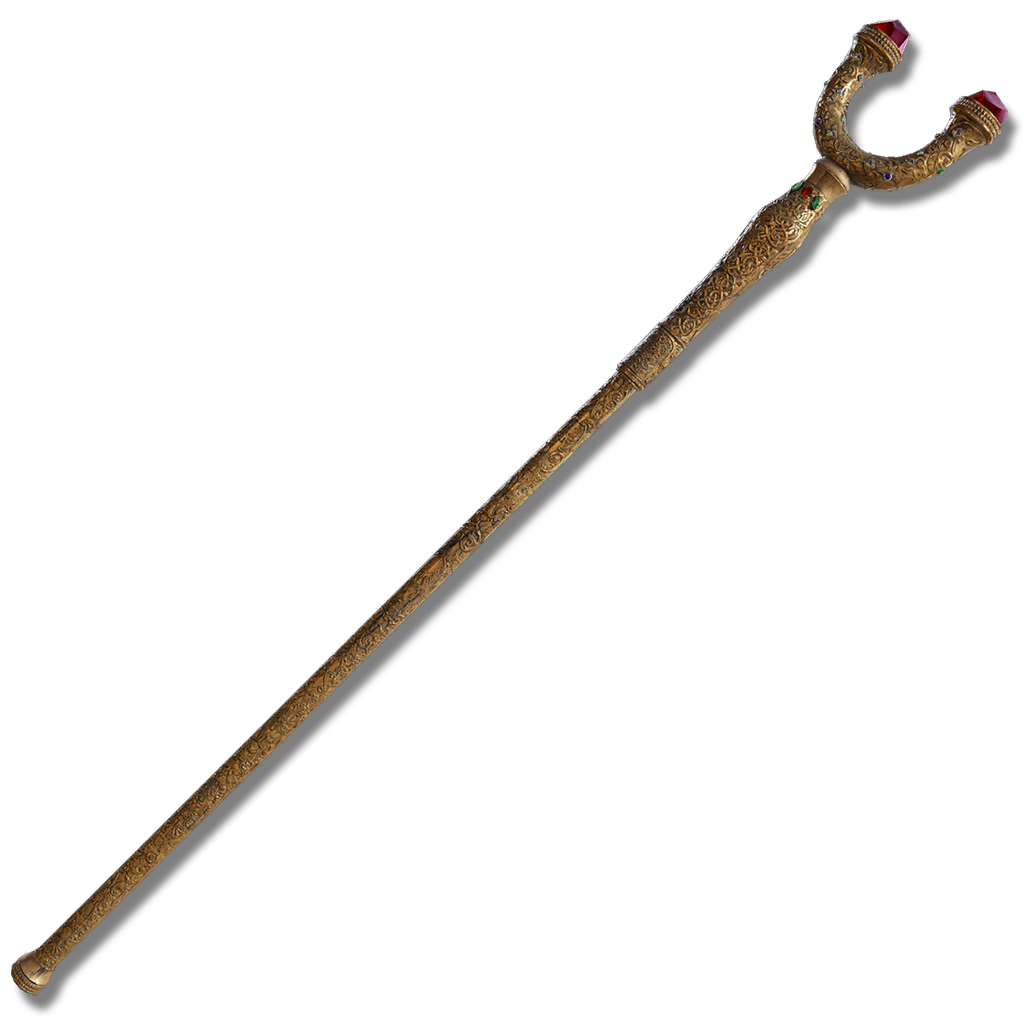
Gelmir Glintstone Staff
StrikeSmithing Stone—Ash of War changeable
Staff with a forked tip, embedded with red glintstones. Enhances lava sorceries.
Attack rating—At your attributes
Weight2.5Equip load units
Requires6Str14Int14Fai
Passive buildup—At your attributes
Attack & scalingUpdates as you edit
In-game description
Staff with a forked tip, embedded with red glintstones. Enhances lava sorceries.
The Man-Serpents of Mt. Gelmir draw from faith in addition to intelligence to enhance the potency of their sorcery.
Skill
No SkillFP pending · Ash of War, changeable
This armament has no skill. If the armament in the other hand has a skill, that skill will be used instead.Ash of War: No Skill

Where to find
Map pending
LocationLarge-headed staff carrier beside the upper manor throneMap location pending
Mt. Gelmir
Starting Site of Grace: Temple of Eiglay
Before you go
- Defeat the Godskin Noble and open the outside shortcut lift.
- At Scenic Isle in southern Liurnia, head east toward the stone gazebo near the telescope. Speak to Rya about her stolen necklace before entering Volcano Manor, which ends this early meeting.
- Ride northwest across the shallow lake to Boilprawn Shack. Talk to Boggart beside the cooking pot, ask for the necklace and choose Deal to open the purchase.
- Buy Rya's Necklace for 1,000 runes. Buying it keeps Boggart alive and opens his prawn shop; purchase at least one Boiled Prawn if you want his later move and crab stock.
- Return to Rya in the gazebo and give her the necklace. Finish her dialogue to receive Volcano Manor Invitation.
- Reach Altus Plateau through the Grand Lift of Dectus with the medallion halves from Fort Haight and Fort Faroth, or by defeating Magma Wyrm Makar at Ruin-Strewn Precipice. Rya waits at the top of Dectus for lift arrivals, or by Lux Ruins near Erdtree-Gazing Hill for the precipice route. Speak to her and accept her hand to travel to Volcano Manor.
- If you have not entered the dungeon yet, speak to Tanith in Volcano Manor and accept her invitation to get the Drawing-Room Key. Open the first room on the right in the corridor. Roll into or strike the illusory wall in the back-right corner to reveal a passage. Follow it downstairs, past the snails and Bloodhound Knight, to the Prison Town Church grace.
- Leave the church through its large doors and take the path downhill to the right. Follow the outer wall, watching for the Abductor Virgin. When the path splits at the stairs, cross the bridge toward the large building guarded by a Man-Serpent. Its front door is locked, so go around the right side to the ladder.
- From the roof, go south and look over the western edge for the balcony with an open doorway and lantern. Drop onto it and enter the room with the Omenkiller.
- Clear the Omenkiller, leave through the southern door and climb the ladder on the left. Follow the balcony left and drop onto the adjoining roof. Continue through the side entrance into the building and open its main door as a shortcut.
- Go southeast down the interior stairs. At the bottom, follow the corridor into the room on the right and activate Guest Hall grace.
- Return to the lower corridor and leave through its large northeastern door. Climb down the ladder on the right to the lava-side ground.
- Use the solid ground and the sloping roof of the building east of you to cross toward the northeastern rooftops. Follow the rampart toward the western building, then turn southeast to the stairs guarded by a Man-Serpent.
- At the top, use the cage lift that takes you upward toward the temple. The other lift descends toward an optional Magma Wyrm and is not the route to the Godskin Noble.
- Pass the Blackflame Monk on the upper stairs. Before entering the temple, turn left and activate the bridge mechanism to raise the shortcut back toward Prison Town Church.
- Enter Temple of Eiglay and defeat the Godskin Noble. Activate Temple of Eiglay grace afterward. Rykard is not required for this part of the dungeon.
- Take the lift on the right inside Temple of Eiglay and go out onto its upper balcony. Drop over the barrier onto the solid ground beside the lava rather than into the pool.
- Follow the narrow volcanic path past the fire slugs. Before the corpse at its end, drop left onto the lower ledge, then follow it around and uphill toward the larger lava pool.
- Cross toward the western building, avoid the Abductor Virgin, and enter through the open window around its right side. The ladder inside descends to the prison and is not needed for Rya or the ashes.
- Open the forward door, pass the Man-Serpent and climb the stairs on the right. Use the doorway on the left at the top to reach the shortcut lift.
- Activate the shortcut lift back toward Temple of Eiglay, then return to the upper route. Continue along the main stairs past the nobles, which can release poison when killed, and the Man-Serpents.
- Enter the large hall and deal with the magma-whip serpent before moving north. Go through the eastern doorway into the room where nobles kneel around a corpse and Man-Serpents can rush down the stairs.
- Climb the eastern stairs toward the sending-gate balcony. Find the large-headed Man-Serpent carrying a glintstone staff beside the throne, rather than the glowing-sword carriers on the lower bridges.
- Defeat that staff carrier and check its loot. It has an 11.11% base chance to drop Gelmir Glintstone Staff at 100 Item Discovery. The sending gate and Rykard are unnecessary for the drop.
- For repeat runs, rest at Temple of Eiglay and use the unlocked outside shortcut lift to the upper manor. Return through the same hall to the staff carrier. Higher Item Discovery helps this random drop.
Notes
- Sorcery Scaling uses equal Intelligence and Faith contributions. Strength improves its physical staff strikes, rather than its spell damage. Additional Dexterity or Arcane does not raise this staff's Sorcery Scaling.
- Requires 6 Strength, 14 Intelligence and 14 Faith and weighs 2.5. Meeting the Faith requirement lets you use this hybrid staff, but the staff still casts sorceries rather than incantations.
- Boosts Magma Shot, Roiling Magma, Gelmir's Fury and Rykard's Rancor by 15%. The bonus follows the magma-sorcery group; an unrelated Fire spell or weapon skill does not qualify.
- The bonus works while the staff is in an active hand, including when your other hand casts with a different staff. Two active copies multiply to 32.25% more magma-sorcery damage rather than adding to 30%.
- The school bonus and Sorcery Scaling are separate. A staff with higher raw scaling can cast from one hand while Gelmir Glintstone Staff supplies its bonus from the other. Upgrading the offhand copy does not increase the fixed 15% bonus, although upgrades matter when that copy does the casting.
- Scholar's Armament uses only the Intelligence contribution to this staff's scaling. Its Faith contribution does not improve that weapon enchantment, so the displayed combined scaling overstates what the buff receives.
- Upgrade it with Smithing Stones to +25. It begins with No Skill and can use the compatible Spinning Weapon Ash of War. It cannot be changed to the ordinary weapon affinities or coated with grease.
- The large-headed staff carrier near the throne has an 11.11% base drop chance at 100 Item Discovery. Ordinary sword and whip Man-Serpents have different loot, and defeating the Godskin Noble or Rykard does not guarantee the staff.
Related Equipment
 Glintstone StaffGlintstone StaffCalculating at min req stats
 Crystal StaffGlintstone StaffCalculating at min req stats
 Demi-Human Queen's StaffGlintstone StaffCalculating at min req stats
 Carian Regal ScepterGlintstone StaffCalculating at min req stats
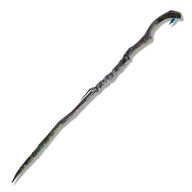 Digger's StaffGlintstone StaffCalculating at min req stats
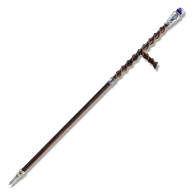 Astrologer's StaffGlintstone StaffCalculating at min req stats
Advertisement
Reserved · 300 × 250