Development preview — content and features are still being refined.
 Medium Shield
Weapons · Medium Shield
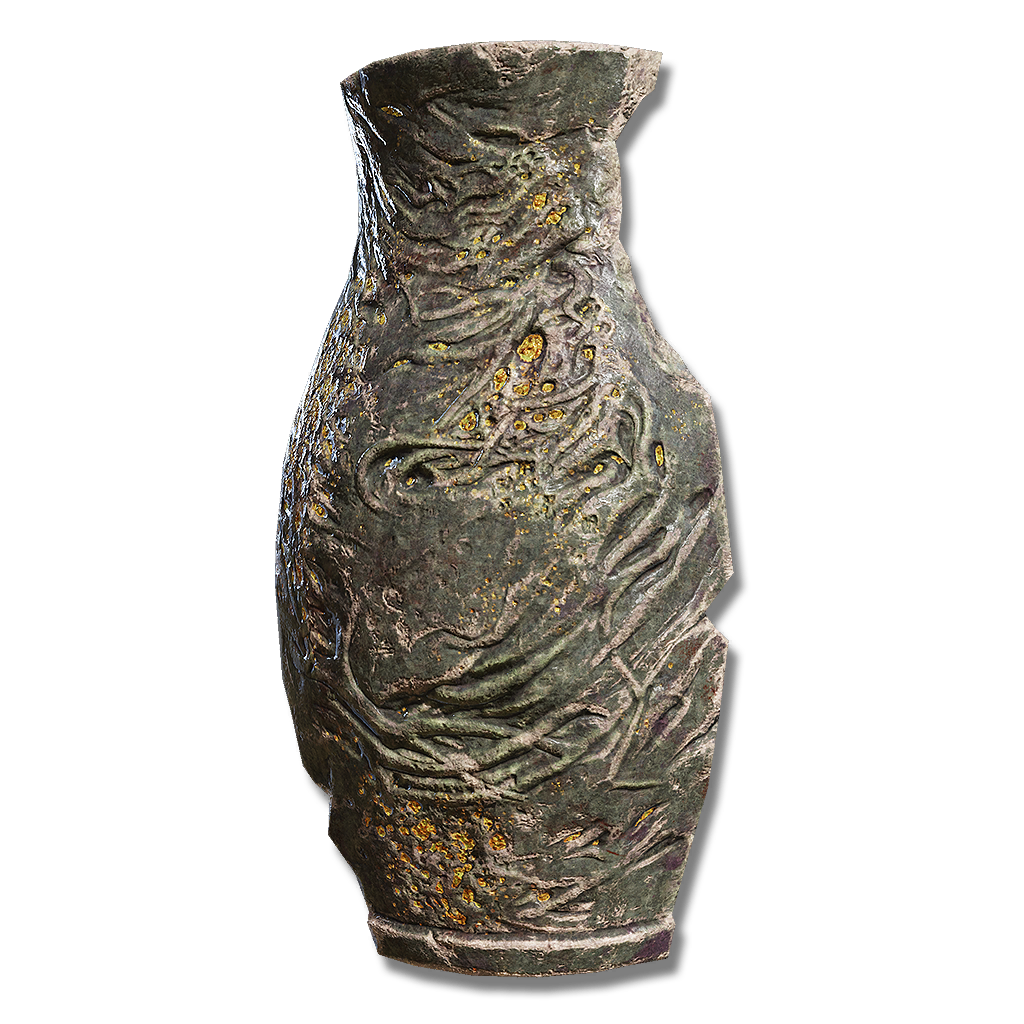
Beastman's Jar-Shield
StrikeSmithing Stone—Ash of War changeable
Shield fashioned from a tall broken jar carried by the beastmen of Farum Azula. There is a particular knack to wielding it.
Attack rating—At your attributes
Weight5Equip load units
Requires10Str
Passive buildup—At your attributes
Attack & scalingUpdates as you edit
In-game description
Shield fashioned from a tall broken jar carried by the beastmen of Farum Azula. There is a particular knack to wielding it.
The beastmen have always fired earthenware jars for the express purpose of making shields. Such are their ways, strange though they are.
Skill
No SkillFP pending · Ash of War, changeable
This armament has no skill. If the armament in the other hand has a skill, that skill will be used instead.Ash of War: No Skill
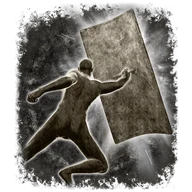
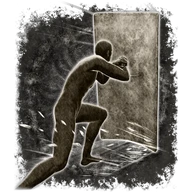
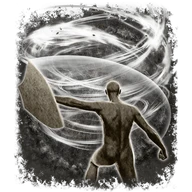
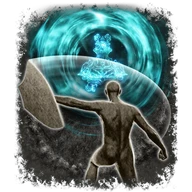
Compatible Ashes of War (12)
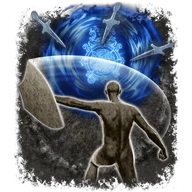
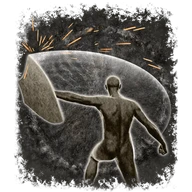
These Ashes of War can be applied to this weapon.





Where to find
Map pending
LocationBeyond Crumbling Beast Grave DepthsMap location pending
Crumbling Farum Azula
Starting Site of Grace: Crumbling Beast Grave Depths
Before you go
- Reach Crumbling Farum Azula.
- Defeat Fire Giant and advance the story at the Forge of the Giants to reach Crumbling Farum Azula. From the arrival bridge, go northwest, then right through the broken rampart and down the floating rubble to the balcony below.
- Enter the doorway and tunnel, then descend the stairs into the first Beastman rooms. Go west-southwest through the guarded rooms and take the first left after the far doorway to activate Crumbling Beast Grave.
- Return north to the hall and turn left down the western stairs. Drop onto the broad ruined platform where the Ancient Dragon lands. You can pass it instead of fighting; keep moving west toward the far archways.
- Go west through the archways beyond the dragon and look northwest inside for Crumbling Beast Grave Depths grace. Activate it before farming. This is well before the Godskin Duo.
- Leave the grace through the northwestern doorway into the next coffin room. Find the Beastman carrying the sword and round jar shield, clear enough space to fight it and collect any glowing loot.
- The shield is a random drop. Rest at Crumbling Beast Grave Depths to repeat this nearby enemy instead of crossing the dragon platform again.
Notes
- A medium shield requiring 10 Strength and weighing 5. Standard affinity blocks 98% physical damage, so a successful physical block still allows a small amount through.
- Its best elemental protection is Lightning at 60%, followed by Fire and Holy at 55%. Magic protection is only 30%, making it a poor choice for repeatedly blocking sorcery.
- Has 53 base Guard Boost on Standard. Upgrading improves stamina efficiency, but it does not turn the 98% physical guard into a full physical block.
- Has No Skill by default, allowing your right-hand skill while held in the left hand. Can use compatible Ashes of War if a shield skill is more useful.
- Upgrade with Smithing Stones to +25. Physical shield attacks scale with Strength on Standard affinity; more Strength does not directly raise its guard percentages.
- The jar construction gives no Companion Jar or Greatjar damage bonus. It has no hidden pot-damage effect or automatic retaliation when an enemy strikes the guard.
- Can use defensive Shield Grease or a compatible shield-buff spell. Offensive weapon grease is a separate kind of coating.
- The nearby sword-and-shield Beastman is a repeatable farm. It is a random drop, and the Beastmen carrying cleavers or curved swords without the shield are different targets.
Related Equipment
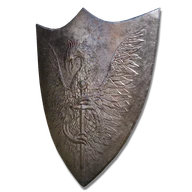 Kite ShieldMedium ShieldCalculating at min req stats
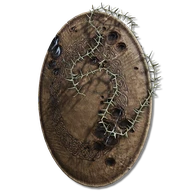 Marred Leather ShieldMedium ShieldCalculating at min req stats
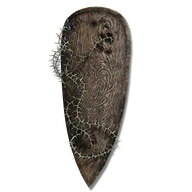 Marred Wooden ShieldMedium ShieldCalculating at min req stats
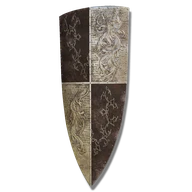 Banished Knight's ShieldMedium ShieldCalculating at min req stats
 Albinauric ShieldMedium ShieldCalculating at min req stats
 Sun Realm ShieldMedium ShieldCalculating at min req stats
Advertisement
Reserved · 300 × 250