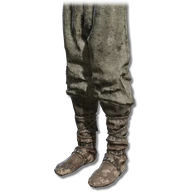
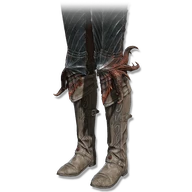
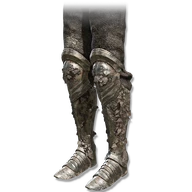
These values are for this piece. Your total also depends on your other armor and active effects.
Poise & status resistance
Higher resistance lets more buildup accumulate before a status triggers.
PoiseHelps resist staggering
3
ImmunityPoison and scarlet rot
24
RobustnessBlood loss and frostbite
15
FocusSleep and madness
37
VitalityDeath blight
39
Compare legs armor
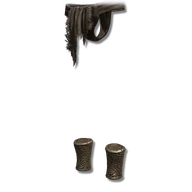
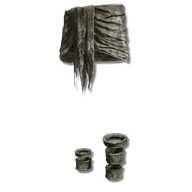
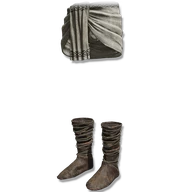
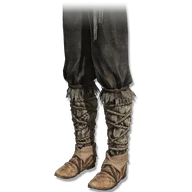
The ten same-slot pieces closest in weight to Dancer's Trousers. Lower weight is lighter; higher poise, negation and resistance provide more protection. Negation differences are percentage points.
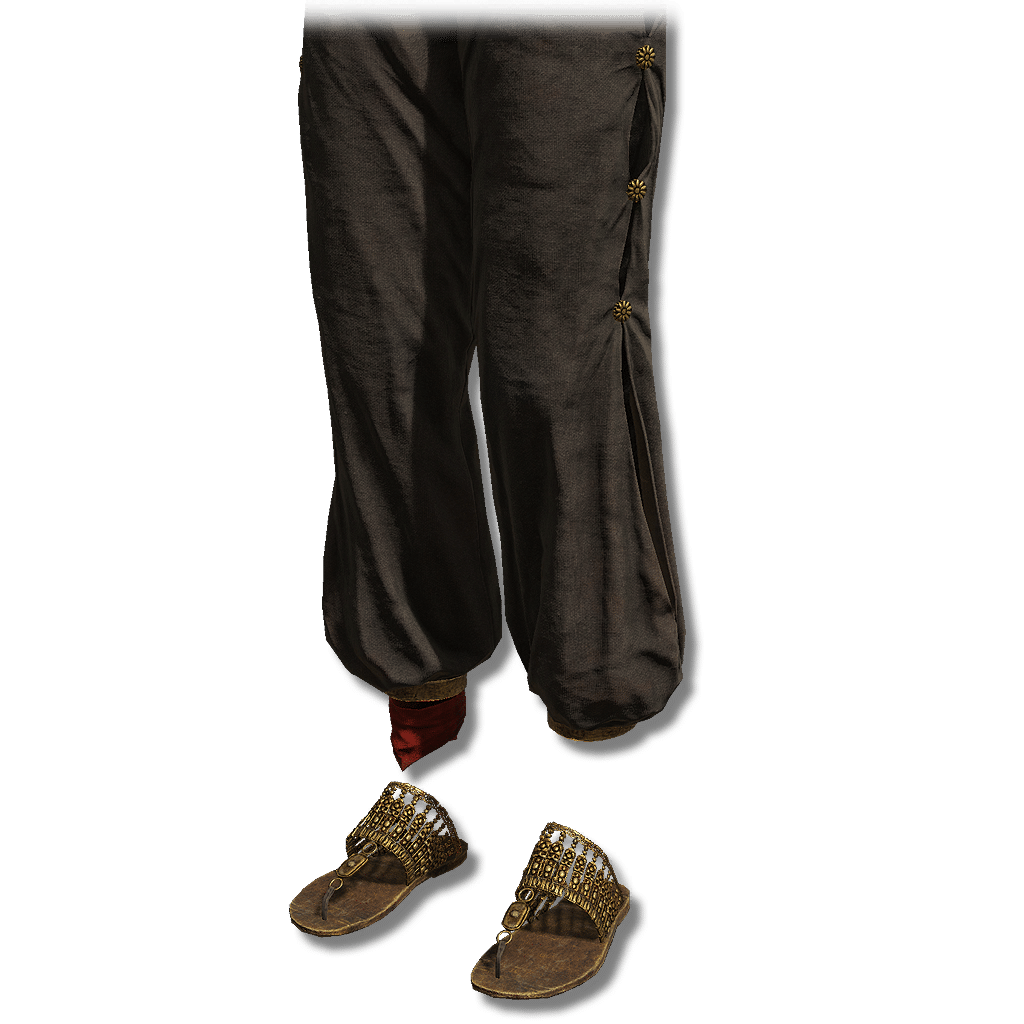
Weighs 2 and provides 3 poise. These are light clothes with little resistance to interruption; the damage bonus does not supply extra protection.
Boosts eligible dancing attacks by 2.5% while worn. Four pieces multiply to about 10.4%; you do not need the whole outfit to get one piece's effect.
The bonus applies to Dancing Blade of Ranah's special heavy attacks and Unending Dance. It does not boost every ordinary attack simply because you are holding the paired swords.
Technical details
Armor effects
Entry 1:
attribute: Attack Power
conditions:
Entry 1: Unknown #129
model: multiplicative
type: positive
value: 1.025
Effects
Increases attack power by 2.5%. Requires: eligible dancing attacks, including Dancing Blade of Ranah's special heavy attacks and Unending Dance.
Technical details
Attack Power
Increases attack power by 2.5%. Requires: Unknown #129.
attribute: Attack Power
conditions:
Entry 1: Unknown #129
model: multiplicative
type: positive
value: 1.025
In-game description
Long, black trousers worn underneath the bright-red dress of the Ranah dancers.
Enhances the power of dancing attacks.
Where to find
Southern Nameless Mausoleum
Southern Shore
Starting Site of Grace: Cerulean Coast West
Before you go
To enter the Realm of Shadow, defeat Starscourge Radahn and Mohg, Lord of Blood, then touch the withered arm in Mohg's arena at Mohgwyn Palace.
Access the Realm of Shadow and reach Cerulean Coast.
From Castle Front, ride south to the crossroads, turn east and follow the road to the next fork. Take the right-hand dirt track, then the left fork downhill toward the southeast.
Pass the bloodfiends and descend into the shallow poison area. Follow the lower path down toward the river rather than climbing toward the fort; watch for militia and poison traps along the descent.
At the bottom is a shallow pool with a giant crab. Turn southwest into the opening in the cliff, continue through the cave past the Revered Spirit Ash chamber and activate Ellac River Cave grace.
Leave by the southern cave exit and turn south along the river. Use Torrent to cross the successive rock ledges beside the waterfall, landing on the nearby rocks rather than jumping to the valley floor.
Continue down the ledge path past the stone birds, watching for the living ones to attack. Drop down the short rock steps to Ellac River Downstream grace.
From Downstream, continue south beside the lower falls. Cross the long rock pillar toward the east and use its far side to reach the lower water safely.
The lower basin opens toward a Furnace Golem. Its fight is optional for reaching the coast, the friendly forager or the lightning-flower pond.
Head through the eastern wooded side of the basin, then follow the passage southwest through the cliffs to Cerulean Coast grace. The blue-flowered field beyond confirms you have reached the coast.
From Cerulean Coast grace, travel southwest toward the first leaning stone coffin, then west past the next huge coffin and the Cemetery Shade.
Follow the shallow water southwest toward the large dead tree. Watch for the floating lightning balls and the shade near its base.
Find the hole beside the tree and use its ledges to descend into the cave. The cookbook on the surface is optional; this lower passage is the route to the offshore island.
Follow the tunnel west past the small crabs and the large lobster. Continue through the western opening to emerge on the island, underneath the sea you could not cross on foot.
Go around the island toward the Southern Nameless Mausoleum entrance. The crabs outside and the tool on the smaller hill are separate from the boss reward.
Enter the mausoleum, descend its stairs and defeat Dancer of Ranah. You receive Dancing Blade of Ranah and the four regular Dancer armor pieces together.
The Realm of Shadow access bosses are required to enter the expansion, but Rellana, Messmer and the coastal dragon do not need to be defeated on this route.
Notes
Weighs 2 and provides 3 poise. These are light clothes with little resistance to interruption; the damage bonus does not supply extra protection.
Boosts eligible dancing attacks by 2.5% while worn. Four pieces multiply to about 10.4%; you do not need the whole outfit to get one piece's effect.
The bonus applies to Dancing Blade of Ranah's special heavy attacks and Unending Dance. It does not boost every ordinary attack simply because you are holding the paired swords.
The dress can be tailored to its black undergarments. Both versions keep the same dancing-attack bonus, so choose between their weight, protection and poise.
This bonus does not increase status buildup or stance damage by the same percentage. Repeated contacts still need to connect for their normal damage and buildup.
This piece has no altered version. Only the dress can be tailored.
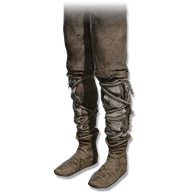
 Legs
 Dancer's TrousersThis piece
 Cloth Trousers
 Old Aristocrat Shoes
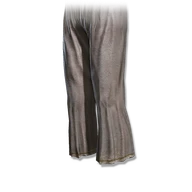 Queen's Leggings
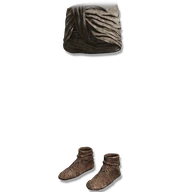 Commoner's Shoes
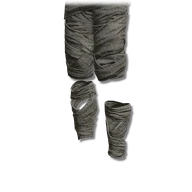 Sorcerer Leggings
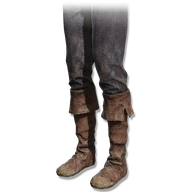 Prisoner Trousers
 Ascetic's Ankle Guards
 Gravebird Anklets
 Perfumer Sarong
 Traveler's Slops