Development preview — content and features are still being refined.
 Greatshield
Weapons · Greatshield
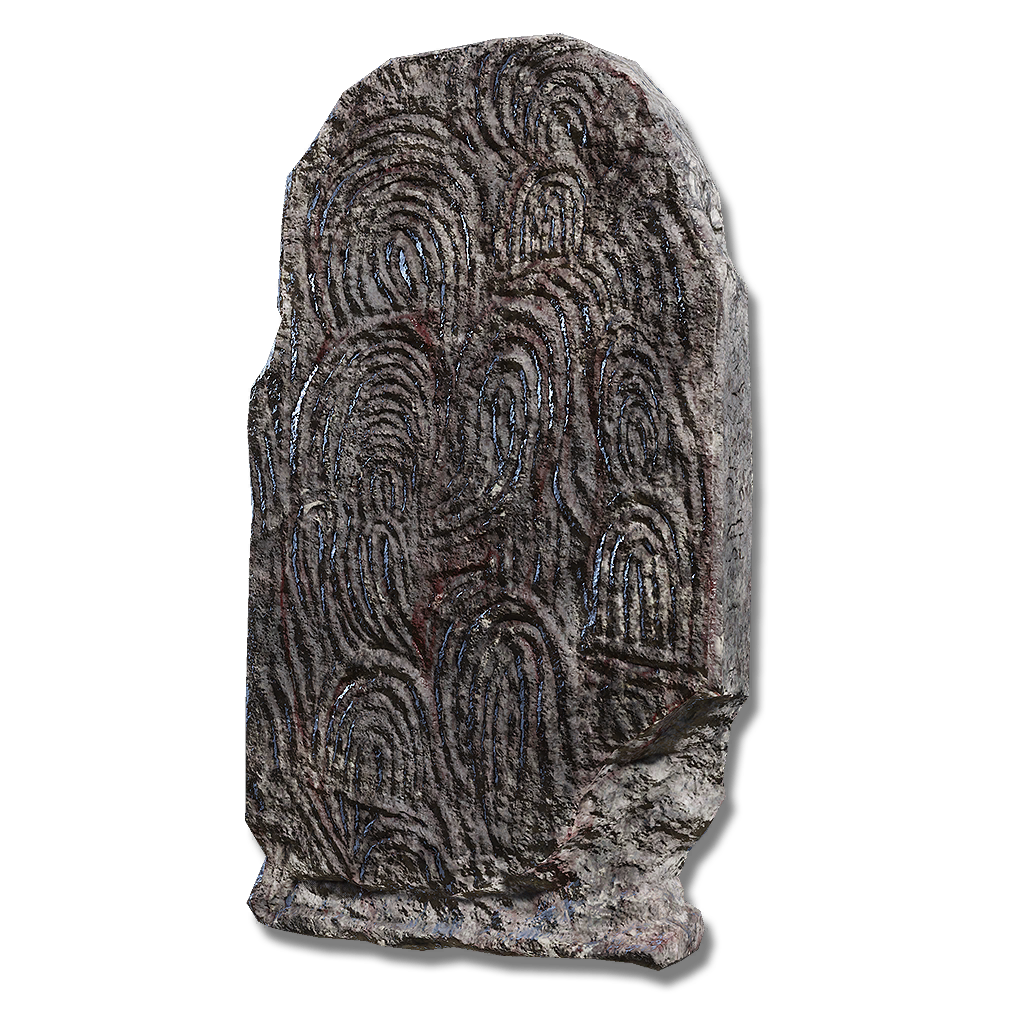
Fingerprint Stone Shield
A great stone shield with an intricately carved fingerprint design. One of the heaviest of all greatshields. Part of the tomb of an ancient god, the Readerless Fingers relayed their message through these imprints, said to be the very seeds from which frenzy first sprouted.
Attack & scalingUpdates as you edit
In-game description
A great stone shield with an intricately carved fingerprint design. One of the heaviest of all greatshields. Part of the tomb of an ancient god, the Readerless Fingers relayed their message through these imprints, said to be the very seeds from which frenzy first sprouted.
Skill
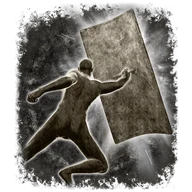
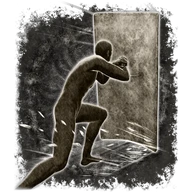
Brace behind shield before using bodyweight to ram foes while maintaining guarding stance. Weaker enemies will be shoved backwards, and can even be staggered.Ash of War: Shield Bash
Compatible Ashes of War (7)
These Ashes of War can be applied to this weapon.


Where to find
Altus Plateau
Starting Site of Grace: Cathedral of the Forsaken
Before you go
- Reach the bottom of Subterranean Shunning-Grounds and defeat Mohg, the Omen.
- Defeat Morgott to pass the seal behind Mohg's room.
- In Leyndell, Royal Capital, start at Avenue Balcony. Descend the northwestern stairs and go through the door. Follow the railing west, then drop left onto the lower rooftops.
- Drop off the right side of the roof, turn back north and find the well behind the broken wall. Climb its ladder, open the gate in the lower passage and take the next ladder down.
- Follow the damp corridor northeast into the rat-filled sewer entrance. Go through the southeastern doorway and descend the ladder into the large Omen hallway.
- Head northeast along the hallway and enter the first room on the left, opposite the summoning statue. Activate Underground Roadside grace.
- Leave Underground Roadside and go northeast along the Omen hallway to the open floor grate. Drop into it, follow the rat tunnel northwest and take the side pipe on the right rather than the flower-filled route to Dung Eater's cell.
- Follow the slug-filled pipe. Drop through its first floor opening into the dark room, leave through the door on the left and follow the next tunnel. At the slug-blocked bend, go left and drop through the next opening beside the corpse with Rainbow Stone Arrows.
- In the lower chamber, watch for the ambusher near your landing and the Revenant farther inside. Use the tunnel in the western corner, continue through the open metal gate and follow the bends past the slugs to the square room with an Omen and ladder.
- Climb the ladder and turn right to pull the lever, opening a shortcut back to Underground Roadside. Watch for two more Omen by the statue. Take the nearby doorway into the broken spiral-stair chamber.
- Turn left and drop to the lower section of the curved stairs. Follow the short flight down and enter the passage on the right. Farther along, the downward ladder by the ledge leads to Nomad Ashes; continue into the other pipe route for Mohg.
- In the Basilisk pipes, pass the first right turn with a door that opens from the other side. Take the next right into the Omen's room. Climb its ladder, cross the wooden bridge past the Imp and open the doors back toward Underground Roadside.
- From that opened bridge, climb onto the upper pipe and follow it to the end. Drop onto the lower pipe and reach the wooden walkway by the corpse with Golden Rune (10). Enter the doorway and kick down the ladder to make another shortcut.
- Drop onto the pipe below this platform, then through the opening in its top. Inside, take the northeastern direction from your landing. Follow the pipe as it bends southeast, then northeast to the fork beside Golden Rune (11).
- Take the left fork and drop through its floor opening after the small rat. The route straight toward the giant rat loops to an earlier area. The correct lower landing is beside a Commoner and Smithing Stone (5).
- Open the nearby gate for a shortcut, then follow the passage northeast. Climb down the ladder to the room with living jars and take its lift down to Forsaken Depths grace.
- From Forsaken Depths, continue down the stairs into Mohg, the Omen's arena. Defeat him and activate Cathedral of the Forsaken grace. His direct reward is Bloodflame Talons; the chest by the altar contains Erdtree's Favor +1.
- Strike the altar behind the chest to reveal the passage. If Morgott's seal blocks it, defeat Morgott in the capital before continuing. Mohg, Lord of Blood in Mohgwyn Palace is a different boss.
- Enter the chamber of merchant bodies and cross the first narrow wooden beam to the lower level. Keep the nearby living merchant alive until you have opened the tent.
- Put the tent between yourself and the merchant and bait his yellow frenzy attack into it. The destroyed tent exposes the pickup containing Nomadic Merchant's Chapeau, Finery and Trousers together. Collect all three before descending farther.
- Descend using the wooden beams first. At the lowest beam, look for the coffin lids projecting from the walls and use them as individual landing points. Check each landing before jumping; a direct fall to the bottom is fatal.
- Work down to the platform with the corpse holding Inescapable Frenzy. Enter the adjoining passage on the right and follow it through the bodies to its end.
- Collect Fingerprint Stone Shield from the corpse there. You do not need to open the Three Fingers' door at the bottom of the shaft to obtain it.
Notes
- Requires 48 Strength and weighs 29. Two-handing lets 32 Strength meet the requirement, but that does not mean 32 is enough when using it normally beside a right-hand weapon.
- On Standard it blocks 100% physical, 77% Magic, 81% Fire, 79% Lightning and 75% Holy damage from a successfully guarded hit. Elemental chip damage can still get through.
- Standard Guard Boost rises from 77 at the base upgrade to about 86 at +25. Guard Boost reduces the stamina spent blocking; it does not make the shield weightless or protect you from attacks that bypass a guard.
- Upgrade with Smithing Stones to +25. Can use compatible shield Ashes of War. Its starting Shield Bash costs 10 FP; No Skill lets your other hand's weapon skill take priority.
- Shield attacks cause 70 Madness buildup on Standard. Blocking an attack does not inflict that buildup by itself. Ordinary enemies and bosses are usually immune to Madness.
- Blood and Poison affinities add their own ailment and Arcane scaling, which can also improve this shield's Madness buildup. Standard has no Arcane scaling, so adding Arcane alone does not increase its listed 70.
- Elemental affinities trade some physical blocking for stronger matching elemental protection. For example, Magic at +25 blocks about 96% Magic but only 95% physical damage. A larger displayed elemental block is not a universal defensive upgrade.
- Fire and Flame Art can reach complete Fire blocking, while Lightning strongly improves Lightning blocking. Their altered guard values should be weighed against the physical chip damage and different stamina protection.
- Scholar's Shield is a shield-specific enchantment that can be used regardless of affinity. Its effect is separate from whether ordinary weapon greases and weapon enchantments are allowed.
- Greatshield Talisman reduces the stamina damage still getting through your guard. It does not add 20 points of Guard Boost or recreate the old zero-stamina blocking setup.
- The corpse is in a side passage partway down the hidden coffin descent. Opening the Three Fingers' door is unnecessary, and simply collecting this shield does not choose the Frenzied Flame ending.
- For a reliable status-focused comparison, Blood and Poison provide supported Arcane-scaling options. The shield’s Madness is mainly a player-versus-player effect, while its protection remains useful against enemies immune to Madness.
Related Equipment
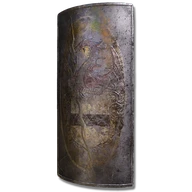 Dragon TowershieldGreatshieldCalculating at min req stats
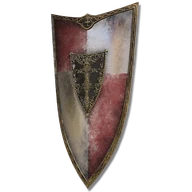 Distinguished GreatshieldGreatshieldCalculating at min req stats
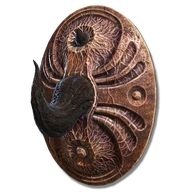 Crucible HornshieldGreatshieldCalculating at min req stats
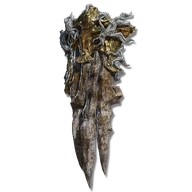 Dragonclaw ShieldGreatshieldCalculating at min req stats
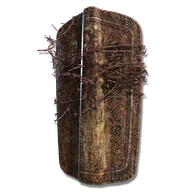 Briar GreatshieldGreatshieldCalculating at min req stats
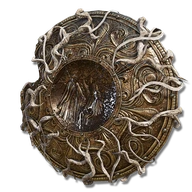 Erdtree GreatshieldGreatshieldCalculating at min req stats
Advertisement