These values are for this piece. Your total also depends on your other armor and active effects.
Poise & status resistance
Higher resistance lets more buildup accumulate before a status triggers.
PoiseHelps resist staggering
7
ImmunityPoison and scarlet rot
22
RobustnessBlood loss and frostbite
42
FocusSleep and madness
26
VitalityDeath blight
39
Compare head armor
The ten same-slot pieces closest in weight to Iji's Mirrorhelm. Lower weight is lighter; higher poise, negation and resistance provide more protection. Negation differences are percentage points.
Weighs 7.5 and provides seven poise. It has no Intelligence bonus or special effect that blocks the Greater Will or the Two Fingers in combat.
Its strongest elemental protection is Magic, while its physical protection is relatively low for the weight. The description's lore about warding off the Fingers does not grant immunity to attacks or status effects.
Cannot be altered. It is a standalone headpiece and needs no matching armor to provide its listed defenses.
In-game description
Helm fashioned from a crystal looking-glass, said to have never left War Counselor Iji's head.
Easily broken and weak against striking attacks.
Worn by those committed to high treason, it wards off the intervention of the Greater Will and its vassal Fingers.
Iji was afraid. Terrified of his own treachery.
Where to find
Iji's anvil
Liurnia of the Lakes
Starting Site of Grace: Road to the Manor
Before you go
Complete Ranni's quest through the Dark Moon Ring step.
Defeat Starscourge Radahn, Rennala and Astel, Naturalborn of the Void.
Reach the western Liurnia road and follow it north through Kingsrealm Ruins. Strike the illusory wall blocking the road at the northern end, then continue past Iji at Road to the Manor.
Ride toward the large manor while avoiding the magical strikes falling along the approach. Activate Main Caria Manor Gate grace at the entrance.
Inside, follow the courtyard path northwest toward the building in the far corner. Fingercreepers hide among the plants and beneath the ground; do not stop on a buried hand.
Enter the building with the seated spirit and climb its stairs to Manor Lower Level grace.
Take the elevated walkways east and continue straight along the main route at the first junction. Spectral soldiers appear along the bridges. Reach the far building and take its lift up to Manor Upper Level.
Leave the upper grace, pass the wolves in the garden and climb the main stone stairway toward the Troll Knight and sorcerers.
Continue up the stairs beyond the troll and Pages to the large circular courtyard. Defeat Royal Knight Loretta, then activate Royal Moongazing Grounds grace.
Leave through the rear exit into Three Sisters. Ranni's Rise is the western tower; climb to Ranni and agree to serve her.
Speak to the servant projections downstairs, including Seluvis, then return to finish Ranni's conversation. Go to Seluvis's Rise, the tower southwest of hers.
Defeat Starscourge Radahn at the Radahn Festival in Redmane Castle. His defeat opens the starfall crater in Limgrave; it is not the sealed Siofra River overlook reached from the Four Belfries.
Return to the Mistwood near Fort Haight and find the new crater marked by floating rocks. Use the descending ledges and openings to enter Nokron, Eternal City.
Follow the rooftops down into Nokron's streets, then continue to the Mimic Tear boss. Defeat it and cross the long bridge beyond the arena.
Leave the bridge on the left where it opens into woodland. Follow the western cliff to Ancestral Woods grace, overlooking the lower rooftops.
From beside the grace, drop to the roof below. Follow the roofs and narrow building ledges, fighting or avoiding the Silver Tears, until you can cross the broken stone arch into the large church.
Descend to the church's lower floor and watch the enormous rolling ball. Leave through the main doorway and go down to Night's Sacred Ground grace.
Follow the lower street past the Silver Tears toward the enormous seated skeleton. Climb the stairs below its throne and open the chest for Fingerslayer Blade. The nearby locked side room for Mimic Tear Ashes is not needed for this chest.
Return the blade to Ranni at her tower. Before doing this, finish any remaining Seluvis rewards you want. Rest after speaking to Ranni, then visit Renna's Rise, the northern tower in Three Sisters. Climb it and use the sending gate to Ainsel River Main.
Collect Miniature Ranni from the coffin near where you arrive. Rest at Ainsel River Main and select Talk to miniature Ranni repeatedly until she answers. Finish her dialogue.
Follow the river through Uhl Palace Ruins, using cover against the hanging creature's projectiles. Continue through the ant tunnel to Nokstella. Follow the river at ground level through the city and take the lift in the small building at the far end to Nokstella Waterfall Basin.
Go through the cave beyond Waterfall Basin and defeat the Baleful Shadow in the open red-lit area. Ranni gives you Discarded Palace Key. Return to Raya Lucaria Grand Library, where you defeated Rennala, and unlock the chest beside her for Dark Moon Ring.
Return to the Baleful Shadow area and take the lift beyond it to Lake of Rot. Bring a way to remove Scarlet Rot. Cross toward the southwestern entrance to Grand Cloister, stepping on the raised platforms' switches to create places to stop.
At Grand Cloister, descend the stone ledges to the lower floor. Watch for the Pests below. Follow the water left to the coffin beside the waterfall and choose to rest in it.
Defeat Astel, Naturalborn of the Void. With Dark Moon Ring in your inventory, go through the passage beyond its arena and take the lift to Moonlight Altar. Ride northeast to Cathedral of Manus Celes. You can pass the dragon outside and enter the cathedral without defeating it.
Activate the cathedral grace and find the hole in the floor nearby. Descend carefully using the ledges and follow the cave to Ranni. Place the ring on her finger and finish the conversation. Collect Dark Moon Greatsword from the ground after she disappears.
Return to Ranni's Rise. Blaidd is outside and becomes hostile. Defeat him for the armor, gauntlets and greaves; the mask is a separate nearby pickup.
Return to Road to the Manor, just north of Kingsrealm Ruins in western Liurnia. Speak to Iji at his anvil and select the conversation about Blaidd. Finish the dialogue, then rest or reload.
Return to the anvil after Iji's final scene and collect Iji's Mirrorhelm with his bell bearing. The bearing can transfer his unlocked shop to the Twin Maiden Husks; the helm is the separate wearable reward.
Notes
Weighs 7.5 and provides seven poise. It has no Intelligence bonus or special effect that blocks the Greater Will or the Two Fingers in combat.
Its strongest elemental protection is Magic, while its physical protection is relatively low for the weight. The description's lore about warding off the Fingers does not grant immunity to attacks or status effects.
Cannot be altered. It is a standalone headpiece and needs no matching armor to provide its listed defenses.
On the quest route, report Blaidd's final fate to Iji and reload before collecting it at the anvil. The bell bearing found with it is a different item used to transfer his shop.
Collecting the helm does not restore Iji's smithing service. Hewg and other available smithing services remain the places to reinforce equipment afterward.
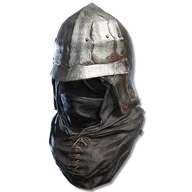
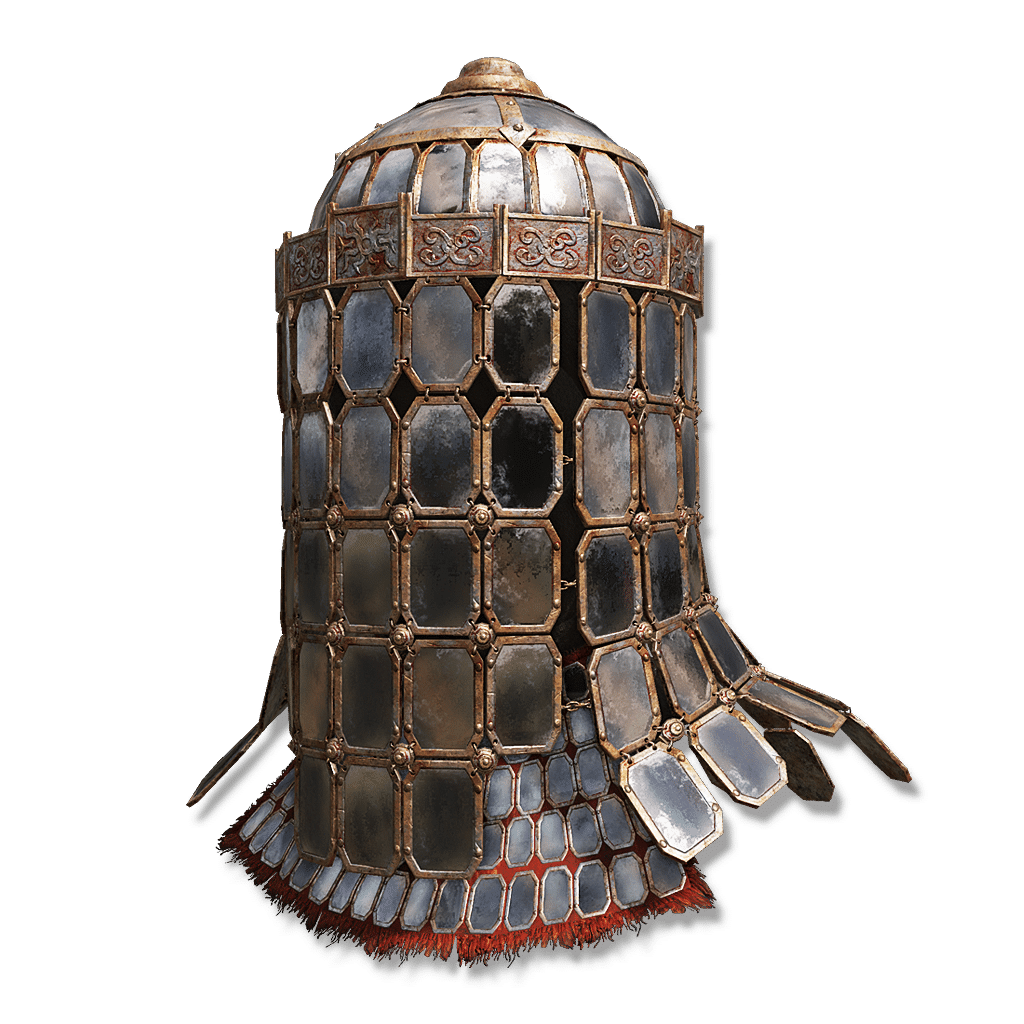 Head
 Iji's MirrorhelmThis piece
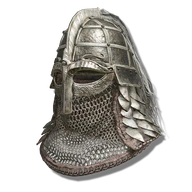
 Banished Knight Helm
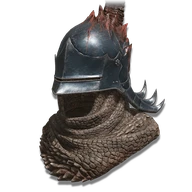
 Radahn's Redmane Helm
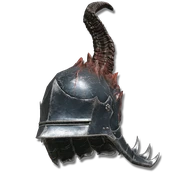
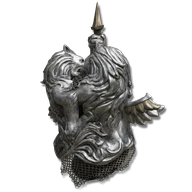 Beast Champion Helm
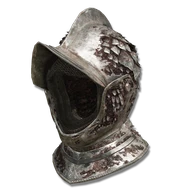
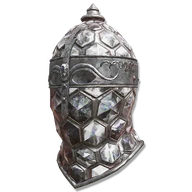 Nox Mirrorhelm
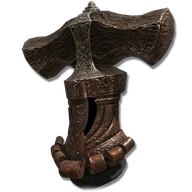 Crucible Hammer-Helm
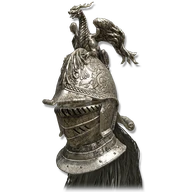 Banished Knight Helm (Altered)
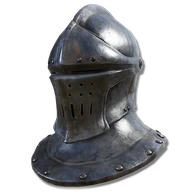 Steel Helm
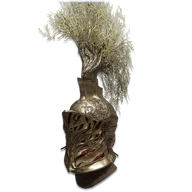 Tree Sentinel Helm
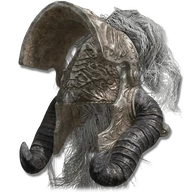 Veteran's Helm
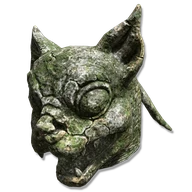 Imp Head (Cat)