These values are for this piece. Your total also depends on your other armor and active effects.
Poise & status resistance
Higher resistance lets more buildup accumulate before a status triggers.
PoiseHelps resist staggering
12
ImmunityPoison and scarlet rot
29
RobustnessBlood loss and frostbite
39
FocusSleep and madness
18
VitalityDeath blight
20
Compare head armor
The ten same-slot pieces closest in weight to Tree Sentinel Helm. Lower weight is lighter; higher poise, negation and resistance provide more protection. Negation differences are percentage points.
Weighs 8.1 and provides 12 poise. Its weight counts alongside your weapons and talismans when determining your roll.
Fire is its strongest elemental protection and Lightning its weakest. These defenses reduce incoming damage; they do not boost outgoing Fire or Lightning attacks.
It has no passive attribute or attack bonus. You can wear it with unrelated armor without losing its own protection.
In-game description
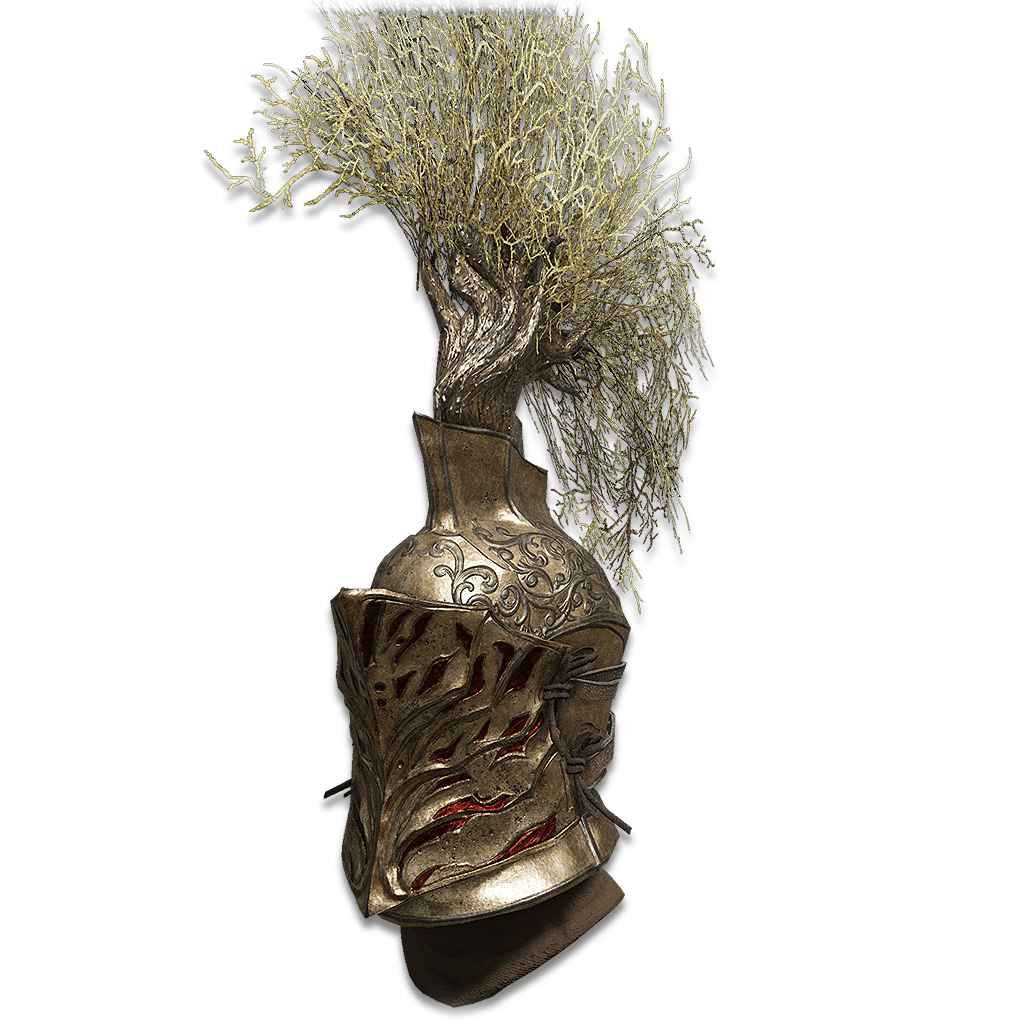
Golden helm of the heavy cavalry Tree Sentinels who serve the Erdtree.
Very few are permitted to wear a golden wood crest of such size as seen on this helm.
Where to find
Chariot puzzle in Auriza Hero's Grave
Capital Outskirts
Starting Site of Grace: Auriza Hero's Grave
From Outer Wall Battleground in the Capital Outskirts, follow the road east and down beneath the capital approach bridge. Stay in the low valley and take the southern dungeon entrance for Auriza Hero's Grave, not Auriza Side Tomb to the north.
Ride the lift down and activate the grace. The sealed room straight ahead is an optional weapon pickup. You do not need a Stonesword Key for the chariot route.
Take the western stairs to the first chariot ramp. Trigger the chariot, then retreat until it passes. Move between the side recesses rather than trying to outrun it for the whole slope.
At the narrow archway between the ramps, drop off the side into the lower room. Clear the Basilisks without standing in their Death Blight clouds, then follow the western passage and stairs.
Continue through the next Basilisk rooms to the archway overlooking two chariot lanes. Stay back from its lip, since a chariot can catch you even while you are looking out.
Work down the slope using the recesses and switching lanes after a chariot passes. At the short flat landing, wait for another opening before continuing toward the corpse hanging over the deep shaft near the bottom.
Look below the hanging corpse and drop onto the wooden beam directly underneath. Walk along the beams and lower yourself one level at a time; do not jump straight to the floor.
From the lower beams, find the thin stone arch beneath them. Drop onto the arch, follow it to solid ground beside a skeleton and climb the ladder there.
Stop before stepping onto the next chariot ramp. Wait for it to travel downhill, then run uphill into the room on the eastern side containing a fire-breathing pillar.
Hit the pillar once to raise it. Leave it raised so its glowing summoning mark moves onto the upper track. Return to the entrance grace and repeat the approach to the two-chariot hall.
Stay in cover as you approach the new summoning mark. The newly summoned chariot crashes into the others, automatically awarding the four regular Tree Sentinel pieces and Holy Ground.
The Crucible Knight pair is a separate boss encounter and is not required for this reward. Once destroyed, these chariots stay gone for the rest of this Journey.
Notes
Weighs 8.1 and provides 12 poise. Its weight counts alongside your weapons and talismans when determining your roll.
Fire is its strongest elemental protection and Lightning its weakest. These defenses reduce incoming damage; they do not boost outgoing Fire or Lightning attacks.
It has no passive attribute or attack bonus. You can wear it with unrelated armor without losing its own protection.
Awarded with the other regular Tree Sentinel pieces when the Auriza chariots collide. Neither the dungeon's Crucible Knight bosses nor the Limgrave Tree Sentinel need to be defeated for this outfit.
 Head
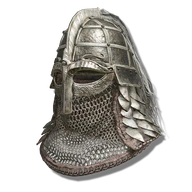
 Tree Sentinel HelmThis piece
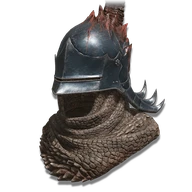
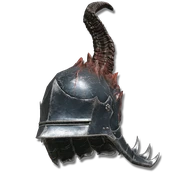
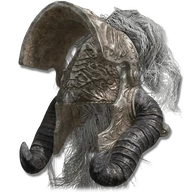 Veteran's Helm
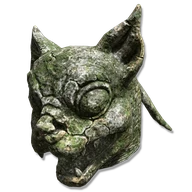 Imp Head (Cat)
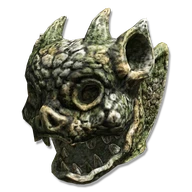 Imp Head (Fanged)
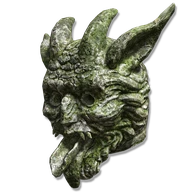 Imp Head (Long-Tongued)
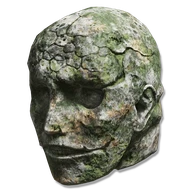 Imp Head (Corpse)
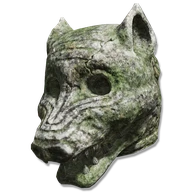 Imp Head (Wolf)
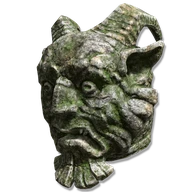 Imp Head (Elder)
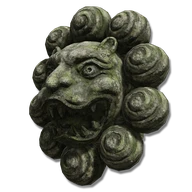 Imp Head (Lion)
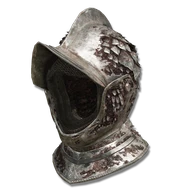
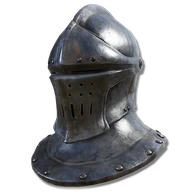 Steel Helm
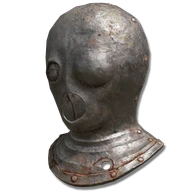 Prisoner Iron Mask