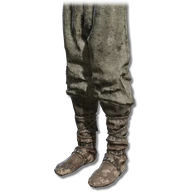
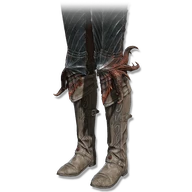
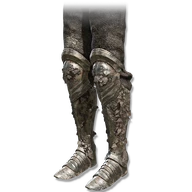
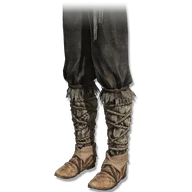
These values are for this piece. Your total also depends on your other armor and active effects.
Poise & status resistance
Higher resistance lets more buildup accumulate before a status triggers.
PoiseHelps resist staggering
2
ImmunityPoison and scarlet rot
22
RobustnessBlood loss and frostbite
8
FocusSleep and madness
62
VitalityDeath blight
35
Compare legs armor
The ten same-slot pieces closest in weight to Soiled Loincloth. Lower weight is lighter; higher poise, negation and resistance provide more protection. Negation differences are percentage points.
Braided Cord Robe increases Watchful Spirit and Horned Bairn damage by 15%. The mask, arm wraps and loincloth have no corresponding damage bonus, and completing the outfit adds no extra effect.
This is a bonus for those specific spirit attacks. It does not improve every Spirit Ash summon or the separate Omen Bairn and Regal Omen Bairn tools.
In-game description
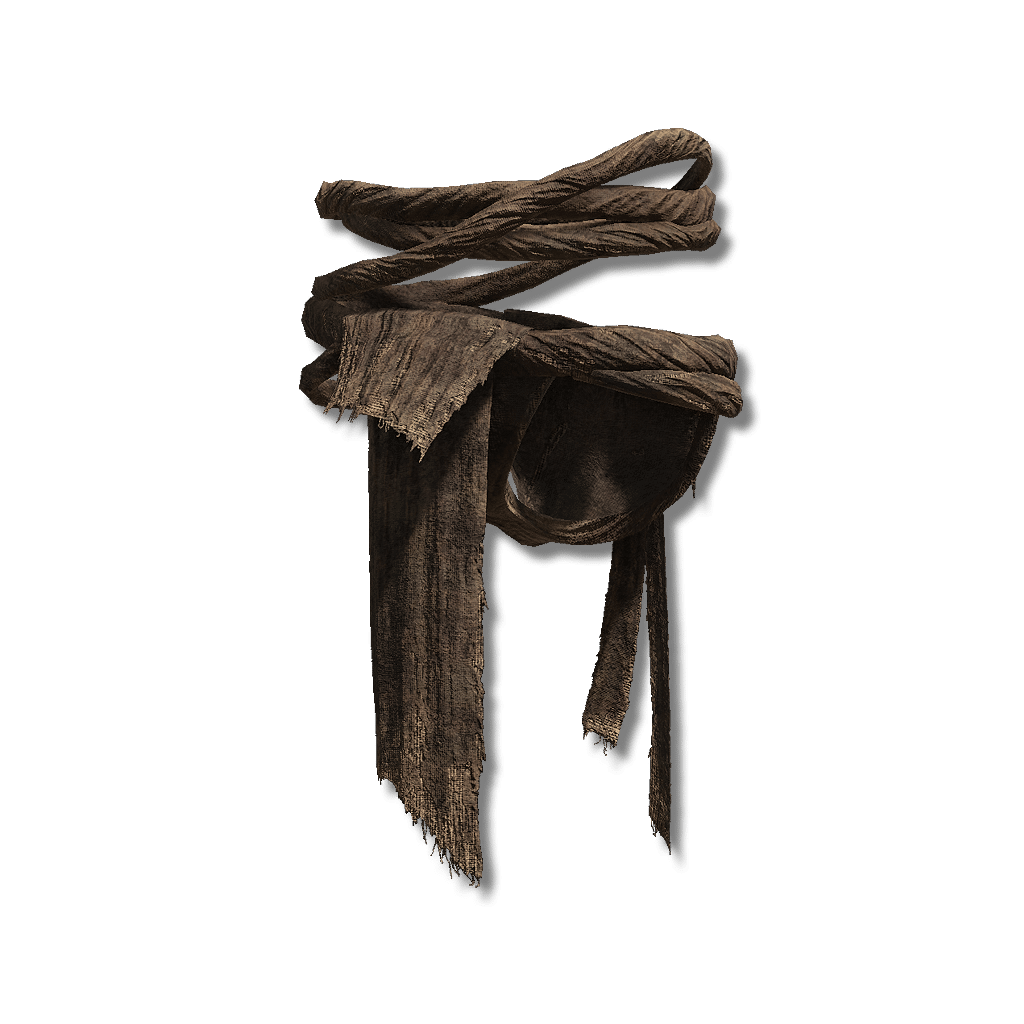
This lightly soiled loincloth of ragged cloth does little more than conceal one's nether regions.
Where to find
Leda's red assistance sign beside the burning boats
Shadow Keep
Starting Site of Grace: Main Gate Plaza
Before you go
Let Leda target Hornsent and resolve the signs before entering Messmer.
This choice kills Hornsent and ends his quest.
Enter the Realm of Shadow after defeating Starscourge Radahn and Mohg, Lord of Blood, by touching the withered arm in Mohg's arena.
Meet Hornsent beside Three-Path Cross, then speak to him again at Highroad Cross after reaching Scadu Altus. Approaching Shadow Keep breaks Miquella's great rune and charm; return to finish his new dialogue.
For the early Leda branch, speak to her at Highroad Cross about her suspicions until she chooses Hornsent as her target. Rest and speak again if the conversation has not advanced.
From Highroad Cross in Scadu Altus, follow the main road north to Shadow Keep's southern gate. Ride the entrance lift and activate Shadow Keep Main Gate grace.
Defeat Golden Hippopotamus in the plaza. This is the front-door route; the flooded Church District provides a different way into the keep.
From Main Gate Plaza, leave through the west-northwest doorway, pass through the armory and climb the stairs. Continue up the wooden steps to the dining hall, where two Black Knights guard the route.
Leave the dining hall through its southeastern exit to the upper rampart. Follow the rampart past the burning boats and watch for the small Shadow Militiamen hiding beside them.
On the burning-boat walkway, look on the right beside the stairs leading down for the two summon signs. Do this before entering Messmer's encounter, while the confrontation remains available.
Use the red sign to assist Leda against Hornsent. Defeat him in the assistance fight to receive Falx and all four Hornsent armor pieces. The gold sign helps him instead and gives different rewards.
Hornsent invasion on the stairs toward Church of the Bud
Ancient Ruins of Rauh
Starting Site of Grace: Rauh Ancient Ruins, West
Before you go
Summon Hornsent against Messmer and finish his post-battle dialogue.
Complete the invasion before burning the Sealing Tree.
Enter the Realm of Shadow after defeating Starscourge Radahn and Mohg, Lord of Blood, by touching the withered arm in Mohg's arena.
Meet Hornsent beside Three-Path Cross, then speak to him again at Highroad Cross after reaching Scadu Altus. Approaching Shadow Keep breaks Miquella's great rune and charm; return to finish his new dialogue.
Keep Hornsent alive. Leave the Leda confrontation unresolved, or choose the gold sign to help Hornsent and earn Swift Slash. Choosing her red sign kills him and prevents this later branch.
From Highroad Cross in Scadu Altus, follow the main road north to Shadow Keep's southern gate. Ride the entrance lift and activate Shadow Keep Main Gate grace.
Defeat Golden Hippopotamus in the plaza. This is the front-door route; the flooded Church District provides a different way into the keep.
From Main Gate Plaza, leave through the west-northwest doorway, pass through the armory and climb the stairs. Continue up the wooden steps to the dining hall, where two Black Knights guard the route.
Leave the dining hall through its southeastern exit to the upper rampart. Follow the rampart past the burning boats and watch for the small Shadow Militiamen hiding beside them.
Take the stairs leading north-northeast toward the large lift, passing the Fire Knight in front of it. Ride up and activate Storehouse, First Floor grace.
Inside the storehouse, use the stairs behind the central specimen to climb through the book-lined galleries. Stay on the ascending route rather than taking the side lift toward West Rampart.
On the third-floor walkway, get past the Fire Knight and the small ambushers. Jump onto the feet of the large hanging specimen, climb along its body and jump from the head to the balcony with Storehouse, Fourth Floor grace.
Leave the fourth-floor room through its open window-door, turn left and climb the outside stairs. Follow the balcony past the bats and go back inside through the next doorway.
Follow the inner gallery around the bookshelves and climb the stairs past the Fire Knights and shadow scholars to Storehouse, Seventh Floor grace, in the room where Freyja can appear.
Leave that grace room and cross the northeastern wooden bridge. Follow the walkway to the hanging bull, then reach the lower gallery beside it and pull the lever that moves the central specimens.
From the balcony near the lever, jump onto the newly positioned wooden beam. Follow it inward, cross the raised specimen platforms and climb the next specimen's tail and back to jump from its head onto the upper balcony.
Go through the small room and back outside. Turn right, climb the stairs and cross the outer bridge toward the large closed doors. Defeat Fire Knight Kood, who guards this approach and awards Winged Serpent Helm and Flame Spear.
Collect Kood's helm and Flame Spear after the fight, then open the doors and climb to Dark Chamber Entrance grace. Messmer beyond the next doors is optional for these two rewards.
Enter Messmer's arena from Dark Chamber Entrance and use Hornsent's gold summon sign inside the arena. Defeat Messmer with him summoned, then speak to Hornsent by the grace and finish his dialogue.
Return to Storehouse, First Floor for the western route into Rauh. Complete the following revenge encounter before burning the Sealing Tree at Church of the Bud.
At Storehouse, First Floor, take the western side passage and lift down to the lower jar rooms. This is the West Rampart branch, rather than the stairs climbing toward Messmer.
Follow the hallway through the rooms with living jars and the larger jar-filled ward. Watch for the smaller enemies waiting beside doorways, then use the western exit and stairs to reach West Rampart grace.
Cross the long bridge west toward the Ancient Ruins of Rauh. Salza waits at the far end and calls down fire as you approach. Use the bridge's sheltered sections to interrupt his view, or ride Torrent to close the distance.
Defeat Salza at the western gate to receive Rain of Fire and Salza's Hood together. Messmer and Romina are not required for this selected route.
Go through the doorway behind Salza. Take the doorway on the right, follow the stairs to the lift and ride down to Viaduct Minor Tower grace.
Leave by the southwestern stairs and follow the path west as it curves downhill. Turn northwest between the lit braziers and large pillars to enter the covered ruins. This is the upper ruin route, separate from Rauh Base below.
Watch for the Curseblade beside the pillar near the pot-carrying shadow enemy. Continue northwest, look right for the large double doors and open them.
Descend the stairs into the scorpion chamber. Draw the large scorpion away from the smaller ones dropping from the ceiling, then clear the next corner. More scorpions drop beside the corpse there.
Continue west, then southwest down the ramp to the next chamber. Open the second set of double doors on its southwestern wall.
Pass the fixed material pickup behind the doors and follow the corridor northwest past the snails. Drop through the large square opening over the spiritspring; this is the intended descent into the lower hall.
From the lower landing, go northwest to the statue junction, then continue southwest rather than taking the northeastern root room. Pass under the arch and follow the corridor as it bends southeast.
Watch for the caster behind you near the northwestern side. Continue southeast through the arches toward daylight. A Crucible Knight waits on the rocks outside; circle past for now to reach Rauh Ancient Ruins, East grace beside the cross.
From Rauh Ancient Ruins, East, head west and drop onto the broad bridge. A Furnace Golem wakes at its far end; keep moving and use the bridge rather than dropping into the valley.
Cross southwest and drop from the right near the far end onto the lower path. Continue southwest up the stairs, then turn left and ride south past the golem. Rauh Ancient Ruins, West grace is just southeast beyond the low rise.
Enter the structure southwest of the western grace and climb the stairs. Clear the dogs and shadow casters, then watch for the Curseblade on the pillar in the upper chamber.
Leave through the northern doorway beside the altar. Cross the shallow water toward the lower gazebo with the statue, using cover from the giant archer firing from the east.
Continue north-northwest through that gazebo and climb the stairs. At the upper split, continue straight into the rot-covered structure rather than taking the right-hand stairs down toward the Bloodfiends.
Work north through the pink pests and Scarlet Rot pools. Torrent helps you cross the polluted floor, but the pests can knock you off, so draw them one at a time instead of attracting the whole room.
Take the lift on the left up to the next floor. At the top, turn right and look behind the stairs for the fixed Scarlet Bud pickup and the Pest-Thread Spears incantation near a pest.
Climb the stairs from the lift toward Church of the Bud, Main Entrance. Hornsent invades on this staircase if you completed his Messmer revenge branch. Defeat him for Falx and all four armor pieces before continuing to Romina.
Hornsent's body after Leda's group battle
Enir-Ilim
Starting Site of Grace: Cleansing Chamber Anteroom
Before you go
Keep Hornsent alive without completing his revenge through the Messmer summon.
Enter the Realm of Shadow after defeating Starscourge Radahn and Mohg, Lord of Blood, by touching the withered arm in Mohg's arena.
Meet Hornsent beside Three-Path Cross, then speak to him again at Highroad Cross after reaching Scadu Altus. Approaching Shadow Keep breaks Miquella's great rune and charm; return to finish his new dialogue.
Keep Hornsent alive, leave the earlier confrontation unresolved and defeat Messmer without summoning Hornsent. This leaves his later appearance with Leda available instead of completing his revenge through the boss fight.
Enter the Realm of Shadow after defeating Starscourge Radahn and Mohg, Lord of Blood, by touching the withered arm in Mohg's arena. Defeat Messmer in Shadow Keep for his kindling and Romina at Church of the Bud in the Ancient Ruins of Rauh.
Finish the companion quest steps you want before burning the Sealing Tree behind Romina with Messmer's Kindling. This advances their quests and carries you to Enir-Ilim: Outer Wall.
From Outer Wall, climb northeast to the large balcony, then southwest up the next stairs. Turn southeast toward the Divine Bird Warrior and enter the building beyond it. Climb the broken ledges and cross the balcony to First Rise grace.
From First Rise, take the stairs upward through the building and use the southwest doorway toward the courtyard route. Continue through to the courtyard with the large patrolling inquisitor and the smaller enemies praying below.
Take the upward stairs on the courtyard's southeastern side, rather than the lower tree detour. Use the stone railings for cover from the inquisitors' rapid spells, then continue up beside the large tree to the Divine Beast Warrior.
Get past the warrior and climb northwest. Keep moving when the upper inquisitors cast attacks beneath your feet. Open the large double doors at the top of the stairs and activate Spiral Rise grace.
Climb the spiral stairs and leave through the window before the broken floor. Follow the roof southwest around the building, then jump west to the wider roof. Draw out the Gravebirds one at a time instead of fighting all three at the corner.
Continue northwest from the roofs onto the platform with another bird and stairs. Climb the northern stairs, then the next flight toward the frost-wielding Divine Beast Warrior. The drop over the railing is an optional Spirit Ash detour.
Get past the warrior. From the small structure northwest of it, go east to the corpse with Sunwarmth Stones and climb the roof beside it. Enter the tower through its southeastern windows.
Climb the stairs inside the tower and clear the inquisitors around the lift. This is the lift above the large altar, before the final wind-wielding warrior and Cleansing Chamber Anteroom.
Continue south-southwest up the tower's stairs and go outside. Get past the wind-wielding Divine Beast Warrior on the large platform and enter the building above it for Cleansing Chamber Anteroom grace. The lift down to the altar is an optional helmet detour.
Climb the stairs east from Cleansing Chamber Anteroom and enter the sandy chamber. Finish Leda's dialogue. Use any available gold ally signs if you want help, then interact with the red sign to begin the battle against her and her allies.
Defeat the group and return to your world. Loot the bodies left around the chamber before taking the eastern exit.
If Hornsent joined the opposing group, loot his body after the battle for Falx and his four armor pieces. A character killed in an earlier branch will not leave another body here.
Notes
Weighs 1.5 and provides 2 poise.
Braided Cord Robe increases Watchful Spirit and Horned Bairn damage by 15%. The mask, arm wraps and loincloth have no corresponding damage bonus, and completing the outfit adds no extra effect.
This is a bonus for those specific spirit attacks. It does not improve every Spirit Ash summon or the separate Omen Bairn and Regal Omen Bairn tools.
The complete four-piece outfit weighs 7.1 and provides 10 poise. It is light clothing with very little physical protection; its high Focus resistance protects against Sleep and Madness buildup, rather than increasing FP.
All four regular pieces are collected with Falx. They have no altered versions, and no matching weapon or talisman is required for the robe's own bonus.
Helping Leda kills Hornsent early. Helping him against Messmer can lead to his Rauh invasion; leaving his revenge unfinished can place him among Leda's later opponents. These are alternatives rather than three rewards from one surviving character.
Swift Slash is the separate reward for choosing Hornsent's gold assistance sign against Leda. Killing him through her red sign gives the equipment instead and closes that skill reward.
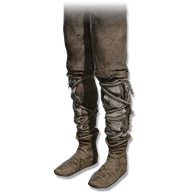
 Legs
 Soiled LoinclothThis piece
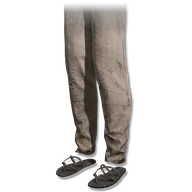 Cloth Trousers
 Old Aristocrat Shoes
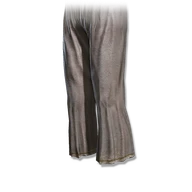 Queen's Leggings
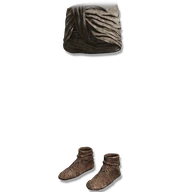 Commoner's Shoes
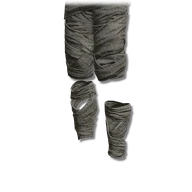 Sorcerer Leggings
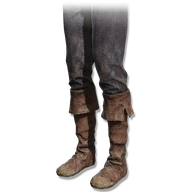 Prisoner Trousers
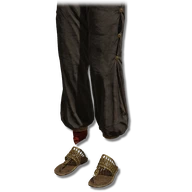 Dancer's Trousers
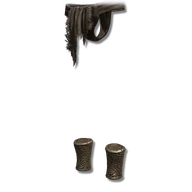 Ascetic's Ankle Guards
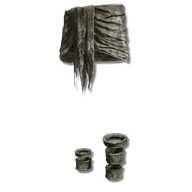 Gravebird Anklets
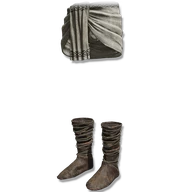 Perfumer Sarong