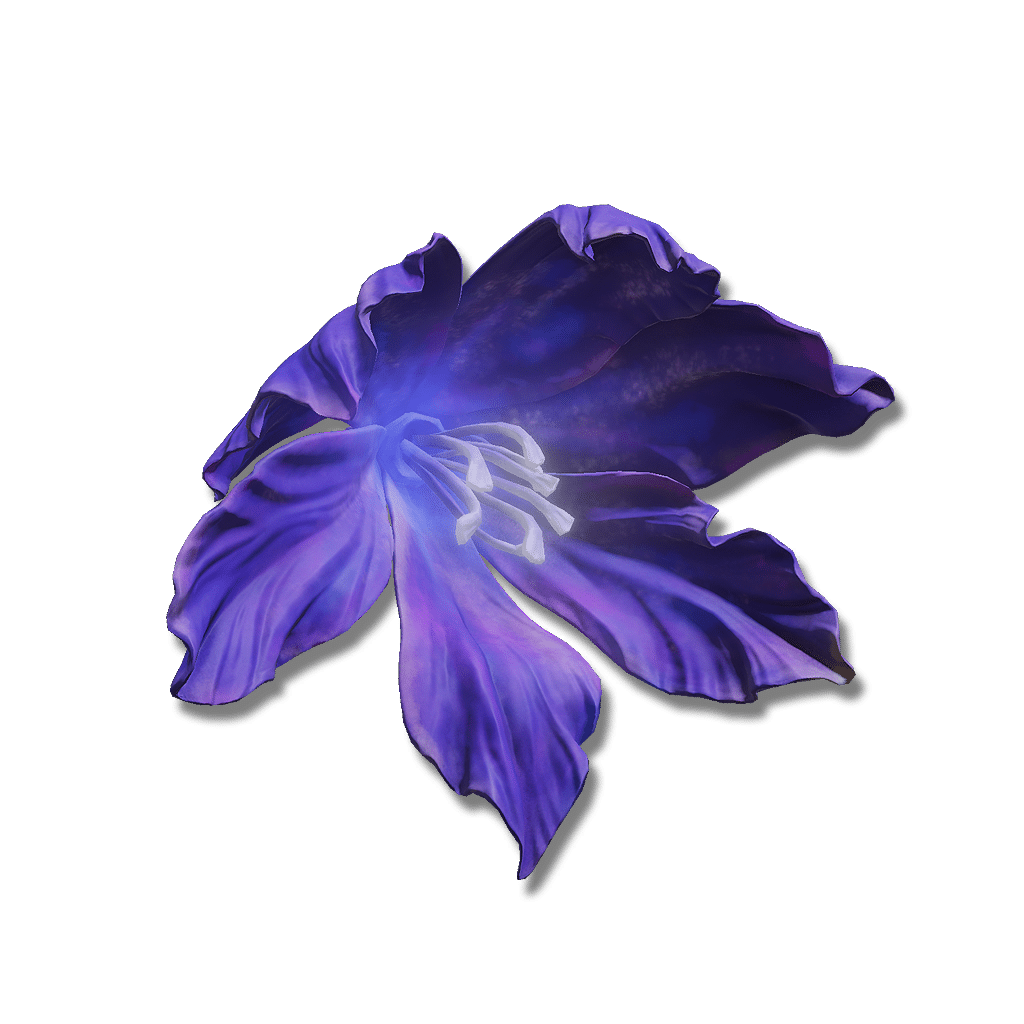
These values are for this piece. Your total also depends on your other armor and active effects.
Negative negation increases incoming damage of that type.
Poise & status resistance
Higher resistance lets more buildup accumulate before a status triggers.
PoiseHelps resist staggering
2
ImmunityPoison and scarlet rot
12
RobustnessBlood loss and frostbite
4
FocusSleep and madness
24
VitalityDeath blight
24
Compare head armor
The ten same-slot pieces closest in weight to St. Trina's Blossom. Lower weight is lighter; higher poise, negation and resistance provide more protection. Negation differences are percentage points.
Increases maximum FP by 6% while worn. It does not raise Mind itself, reduce casting costs or make a Cerulean Flask restore more FP.
Can combine with Cerulean Amber Medallion +3 for 19.78% more maximum FP. These percentage bonuses multiply; their benefit in FP points depends on your underlying pool.
Weighs 1 and provides only 2 poise. Its physical protection is very low, including negative listed Pierce negation, so the FP bonus comes with a defensive tradeoff compared with a heavier helmet.
Technical details
Armor effects
Entry 1:
attribute: Maximum Focus
model: multiplicative
type: positive
value: 1.06
In-game description
St. Trina's life withered and fell, as fleeting as the seasons. At her last, she left a single water lily.
Slightly boosts max FP.
Despite the velvety-purple hue, the flower is in no way poisonous—it merely blooms in quietude.
Where to find
St. Trina's final position
Stone Coffin Fissure
Starting Site of Grace: Garden of Deep Purple
To enter the Realm of Shadow, defeat Starscourge Radahn and Mohg, Lord of Blood, then touch the withered arm in Mohg's arena at Mohgwyn Palace.
From Castle Front, ride south to the crossroads, turn east and follow the road to the next fork. Take the right-hand dirt track, then the left fork downhill toward the southeast.
Pass the bloodfiends and descend into the shallow poison area. Follow the lower path down toward the river rather than climbing toward the fort; watch for militia and poison traps along the descent.
At the bottom is a shallow pool with a giant crab. Turn southwest into the opening in the cliff, continue through the cave past the Revered Spirit Ash chamber and activate Ellac River Cave grace.
Leave by the southern cave exit and turn south along the river. Use Torrent to cross the successive rock ledges beside the waterfall, landing on the nearby rocks rather than jumping to the valley floor.
Continue down the ledge path past the stone birds, watching for the living ones to attack. Drop down the short rock steps to Ellac River Downstream grace.
From Downstream, continue south beside the lower falls. Cross the long rock pillar toward the east and use its far side to reach the lower water safely.
The lower basin opens toward a Furnace Golem. Its fight is optional for reaching the coast, the friendly forager or the lightning-flower pond.
Head through the eastern wooded side of the basin, then follow the passage southwest through the cliffs to Cerulean Coast grace. The blue-flowered field beyond confirms you have reached the coast.
Ride south through the blue-flowered field past the huge stone coffins. Circle the Ghostflame Dragon rather than fighting if you only want the map.
Continue south along the coast to the huge crater on the peninsula. Use the ledges on its western side to descend to The Fissure grace, then enter the tunnel. If a golden seal blocks the way, approach Shadow Keep until the message announces that a great rune and a powerful charm have broken, then return.
Activate Stone Coffin Fissure grace on the right. Follow the southeastern ledge past the bloodfiends and the rocky pillar. The ledge beyond collapses as part of the route; after landing below, go right to Fissure Cross.
From Fissure Cross, head northwest toward the fallen coffin and rubble. Drop down the visible ledges into the short cave beneath the route. Watch for slimes falling from its ceiling; Velvet Sword of St. Trina is an optional pickup inside.
Continue through the cave, clear the Gravebird outside and drop onto the coffin below. The path rejoins the larger stone coffins crossing the chasm. Stone Worms fire beams along them, so use the coffin edges as cover and move between their shots.
Climb the short ledges toward the first beam-firing worm. Beyond it, cross to the next coffins and approach the lower of the two distant beam-firing worms. The path around its right side climbs toward the upper worm; watch for a bird at the corner.
Continue from that upper position across the next coffin platforms. Exploding stone piles glow before bursting, so back away when they light up. Drop from the far ledge to Fissure Waypoint grace.
From Waypoint, head northeast and jump the small gap. Climb the sloping path around to the right, watching for skeletons above and slimes dropping from the ceiling. The lower ledges to the left lead to a separate spell.
Continue through the short passage and past the golden Misbegotten on the main path. Defeating it gives Multilayered Ring of Light. Follow the remaining coffins to Fissure Depths grace, surrounded by resting animals.
Go up the stairs beside Depths to the stone head projecting over the abyss. Jump from its nose into the arena below. This particular leap is the intended route to Putrescent Knight; jumping from unrelated high ledges can still kill you.
Defeat Putrescent Knight, activate Garden of Deep Purple grace and enter the short cave to its west. St. Trina is the large purple flower inside.
After defeating Promised Consort Radahn at the end of Enir-Ilim, return to Garden of Deep Purple and enter St. Trina's cave again. Collect the blossom from her remains.
Notes
Increases maximum FP by 6% while worn. It does not raise Mind itself, reduce casting costs or make a Cerulean Flask restore more FP.
Can combine with Cerulean Amber Medallion +3 for 19.78% more maximum FP. These percentage bonuses multiply; their benefit in FP points depends on your underlying pool.
Weighs 1 and provides only 2 poise. Its physical protection is very low, including negative listed Pierce negation, so the FP bonus comes with a defensive tradeoff compared with a heavier helmet.
It provides no Sleep buildup, Sleep immunity, nectar protection or damage bonus to St. Trina weapons. Wearing matching clothing adds no separate effect, and it cannot be altered.
Return to St. Trina's cave after defeating Promised Consort Radahn to collect it. You do not kill her or need to drink her nectar for this particular pickup. Thiollier's final equipment is collected separately in Enir-Ilim.
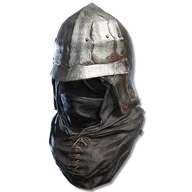
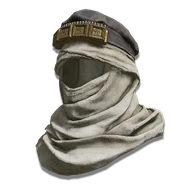
 Head
 St. Trina's BlossomThis piece
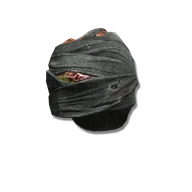 Alberich's Pointed Hat (Altered)
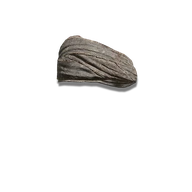 Prophet Blindfold
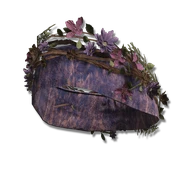 Festive Hood (Altered)
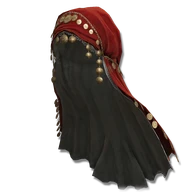 Dancer's Hood
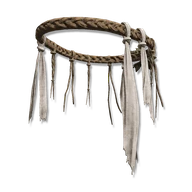 Leather Headband
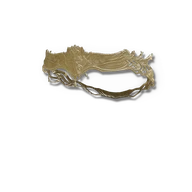 Circlet of Light
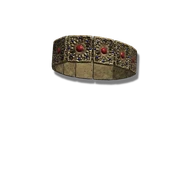 Aristocrat Headband
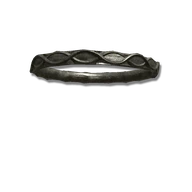 Commoner's Headband (Altered)
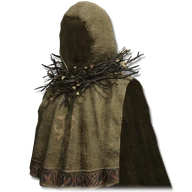 Guilty Hood
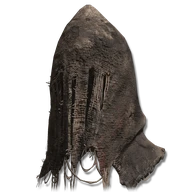 Page Hood