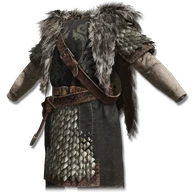
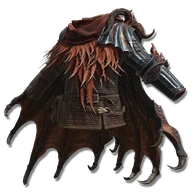
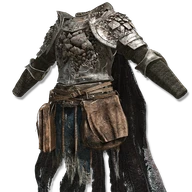
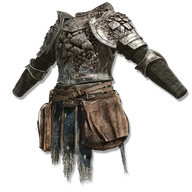
These values are for this piece. Your total also depends on your other armor and active effects.
Poise & status resistance
Higher resistance lets more buildup accumulate before a status triggers.
PoiseHelps resist staggering
16
ImmunityPoison and scarlet rot
63
RobustnessBlood loss and frostbite
42
FocusSleep and madness
55
VitalityDeath blight
57
Compare body armor
The ten same-slot pieces closest in weight to Ivory-Draped Tabard. Lower weight is lighter; higher poise, negation and resistance provide more protection. Negation differences are percentage points.
Weighs 8.3 and gives 16 poise. Include your weapons and talismans when working out your total equip load.
Has a base 3% drop chance from eligible Haligtree Foot Soldiers at 100 Discovery. Higher Discovery can help the random drop, but does not guarantee the next kill gives it.
This is a repeatable enemy drop. Rest at Prayer Room to respawn the nearby patrol, and collect the loot before resetting.
In-game description
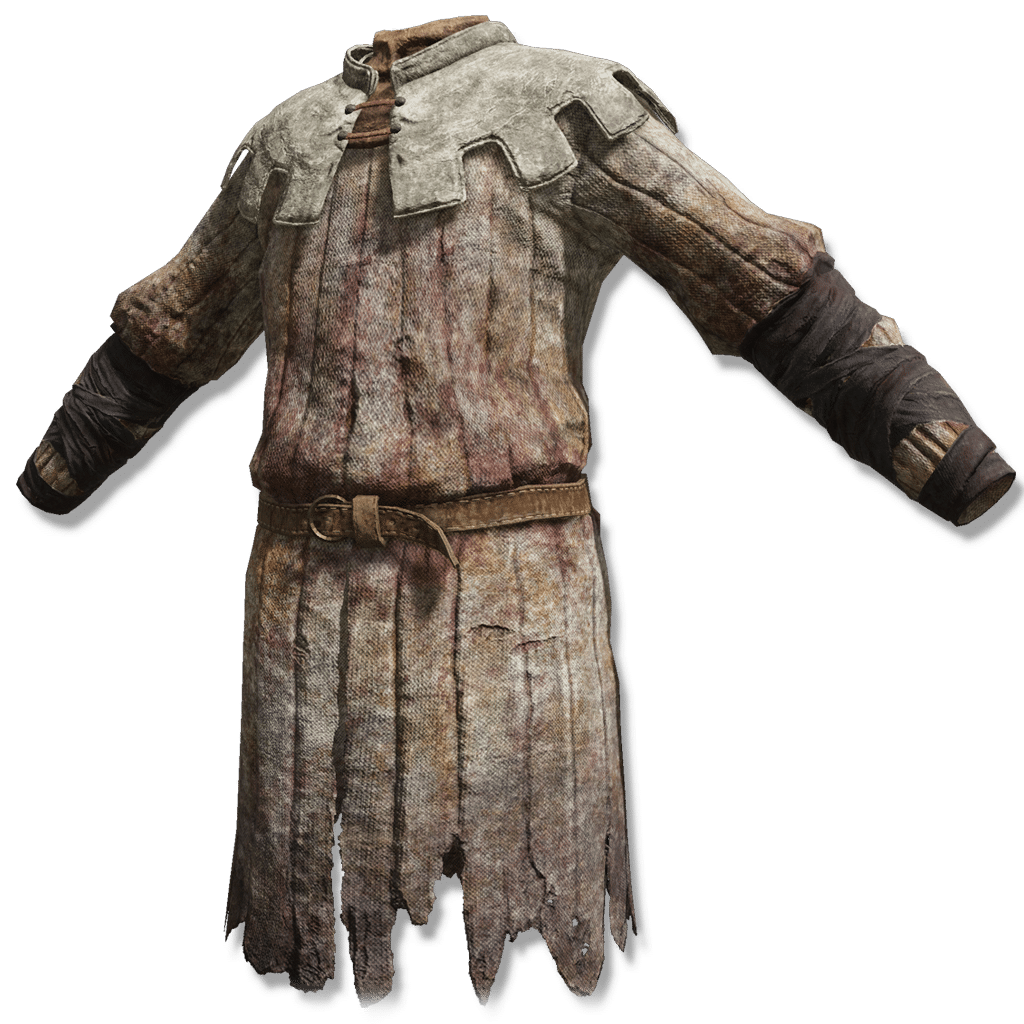
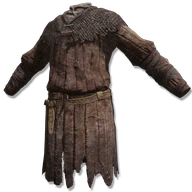
Padded cloth armor with a shawl in the color of ivory draped over the shoulders.
Worn by foot soldiers sworn to the Haligtree.
Where to find
Elphael outer walkways
Miquella's Haligtree
Starting Site of Grace: Prayer Room
Before you go
Reach Prayer Room after defeating Loretta, Knight of the Haligtree.
Obtain the right Haligtree Secret Medallion half from Albus in the Village of the Albinaurics. He is disguised as a pot on the uphill path, before the bridge leading toward the Omenkiller.
Obtain the left half from the tower beyond Commander Niall at Castle Sol in the northern Mountaintops. After winning, continue behind his arena, ride the lift and loot the rooftop corpse.
Return to Grand Lift of Rold with both halves and switch to the secret-medallion prompt. The ordinary Rold Medallion sends you to a different destination.
Take the main stairs through Hidden Path to the Haligtree and leave into Consecrated Snowfield. Continue north through the blizzard, following the road toward Inner Consecrated Snowfield, then on to Ordina, Liturgical Town.
Activate Ordina's grace and find the evergaol seal toward the back of town. Enter it to light the four statues. Invisible assassins patrol the streets and Albinauric archers fire from the rooftops.
From the evergaol seal, go left down the stairs and left again to light the street-level statue. Head toward the second stairs leading toward the town grace, but take the path around the building on their right instead of going down.
Climb the ladder around that building and the next ladder to its rooftop statue. After lighting it, drop from the eastern side onto the red roof, cross the connected rooftops and climb the next pair of ladders to another statue.
Go down those ladders and return to the evergaol courtyard. Pass the right side of the building, drop to the snowy ground and head west around the next building to the last pair of ladders. Light the fourth statue to lift the seal.
Back in ordinary Ordina, climb the long northern staircase and use the sending gate at its top. Activate Haligtree Canopy when you arrive.
From Haligtree Canopy, head east along the branch, climb over the pink mushroom near the envoy and turn south at the junction. Continue past the patrolling envoy to the next junction, then follow its northeastern branch to the end and look southeast for the branch below.
Drop onto that branch. The larger envoy is to the east; return west toward your landing and look south for the mushroom cluster with a corpse. Descend onto the mushrooms, keeping clear of the edges and using them as cover from bubbles.
Go north along the branch past the envoys to the ant patrol. Draw the ants onto a wider section before fighting, then turn back south and take the first broad branch east-southeast.
At its next junction, turn southwest uphill. Just beyond the smaller branch on your left, drop south onto the broad branch below. At the fork, use the southern branch, then turn right onto the thin branch before its far tip.
Follow the thin branch over the next branch, turn northeast onto that one and climb as it curves north. Pass the envoy and turn southeast toward the next envoy, then return west to the large junction.
Take the northwestern mushroom ledge with the Preserving Boluses corpse. Drop southwest onto the mushrooms below, then southwest again onto the main branch.
Head north-northeast. Beyond the branch sticking vertically up on your left, use the mushroom patch on the right to drop onto the branch beneath. Follow it to the larger branch, turn left and continue north-northeast, then northwest at the junction toward the huge envoy firing bubbles.
Near that huge envoy, drop onto the broad branch below. Follow it north through the rot flowers to the trunk. The stone platform on its left has a ladder; descend it and take the stairs to Haligtree Town grace.
From Haligtree Town, go northwest down the stairs past the Misbegotten. Continue toward the building below, watching for the enemies waiting beside the doorway and under its stairs.
Inside, go down the stairs to the lower room. From its northern side, jump north-northeast to the next platform, then turn left across the wooden bridge. Go through the building and out its window.
Cross the pavilion, keeping clear of the large Misbegotten, and enter the building southwest. Leave southwest across the wooden bridge to Haligtree Town Plaza grace.
Go south from the plaza and jump to the roof. Cross to its northeastern side, drop onto the branch and continue toward the ants. Turn back toward the building beside that branch and enter it.
Leave southeast and watch for Spiritcaller Snails around the outside. Their Crystalian summons disappear when their snail dies. Continue southeast and jump to the next roofs, then use the ladders at their eastern side to reach the lower walkway.
Enter the building southeast of the lower ladder and pass the two Misbegotten. Across the bridges ahead, two battlemages guard the way; use the buildings for cover and draw them apart.
Cross east to the next building. Its northwestern bridge leads to a lift back up to Haligtree Town. Ride it once to open the shortcut, then return down for a much shorter boss run.
From the lower lift landing, cross southeast, then turn left onto the northeastern bridge to Loretta's arena. Defeat Loretta, Knight of the Haligtree. The spirit named Royal Knight Loretta in Caria Manor does not unlock this armor.
After Loretta, activate Haligtree Promenade and leave through its northern gateway. Follow the stairs winding down beside the trunk, then descend the long ladder.
Enter the tower below and take its lift down. Cross the bridge toward the Cleanrot Knight at the far doorway and activate Prayer Room inside before starting the farm.
Leave Prayer Room through the northeastern doorway and go down the outside stairs. A soldier with a trumpet watches the railing, and a mixed patrol moves along this walkway.
Target the smaller Foot Soldiers wearing the white tabard and crown-like helm. They are different from the armored Haligtree Soldiers, and some glow before charging and exploding. Back away when they raise their hands.
Collect any glowing loot, then return to Prayer Room and rest to bring the patrol back. You do not need to clear the lower dungeon or defeat Malenia for this farm.
Notes
Weighs 8.3 and gives 16 poise. Include your weapons and talismans when working out your total equip load.
Has a base 3% drop chance from eligible Haligtree Foot Soldiers at 100 Discovery. Higher Discovery can help the random drop, but does not guarantee the next kill gives it.
This is a repeatable enemy drop. Rest at Prayer Room to respawn the nearby patrol, and collect the loot before resetting.
Has no altered form. Ordinary tailoring and Golden Tailoring Tools do not create another version of this piece.
Does not add Faith or grant an incantation bonus. The attribute bonus associated with this outfit comes from its head piece.
The white-clothed Foot Soldiers are the enemies to farm. Their possible glowing suicide attack does not become an ability of the armor.
Silver Scarab and either a Silver-Pickled Fowl Foot or Silver Horn Tender improve Discovery. Gold Scarab and gold consumables affect runes instead.
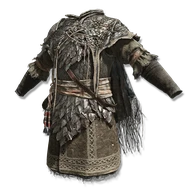
 Body
 Ivory-Draped TabardThis piece
 Drake Knight Armor (Altered)
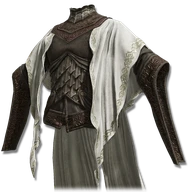 Nox Swordstress Armor
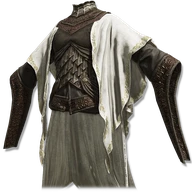 Night Maiden Armor
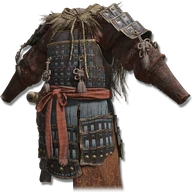 Land of Reeds Armor
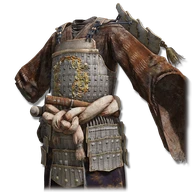 White Reed Armor
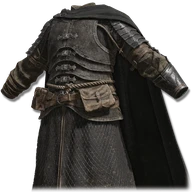 Confessor Armor
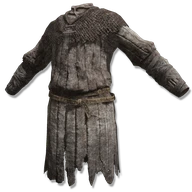 Chain-Draped Tabard
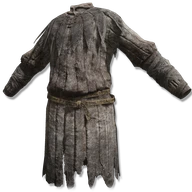 Foot Soldier Tabard
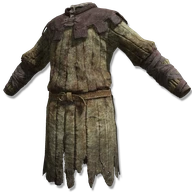 Leather-Draped Tabard
 Scarlet Tabard