Development preview — content and features are still being refined.
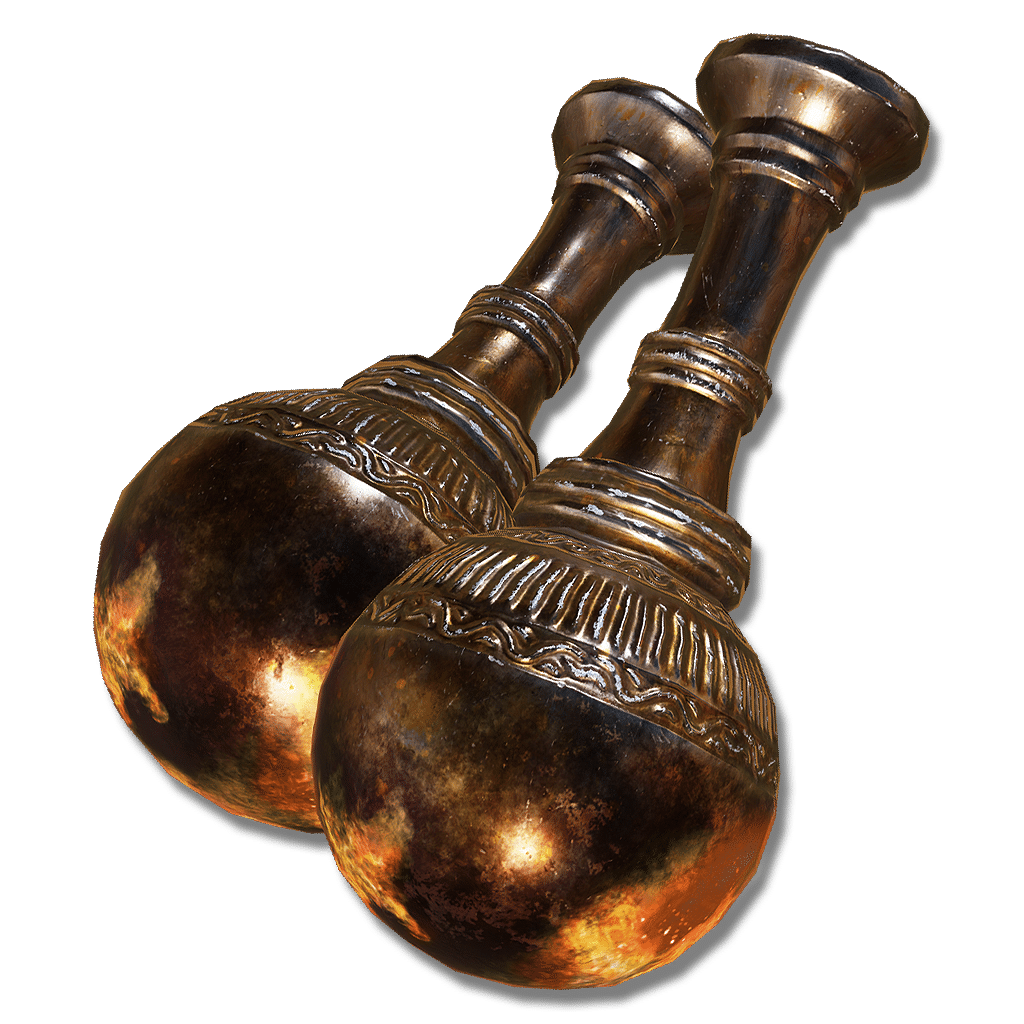 Perfume Bottle
Weapons · Perfume Bottle
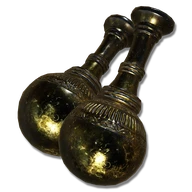
Frenzyflame Perfume Bottle
StandardSmithing Stone—Ash of War changeable
Perfume bottle remade into a weapon by perfumers of the realm of shadow.
Attack rating—At your attributes
Weight1Equip load units
Requires3Str10Dex12Int12Fai
Passive buildup—At your attributes
Attack & scalingUpdates as you edit
In-game description
Perfume bottle remade into a weapon by perfumers of the realm of shadow.
Attacks release perfumed powder, producing frenzied flame.
From time to time, perfumers set out on journeys to pursue new aromatics and flower gardens.
Skill

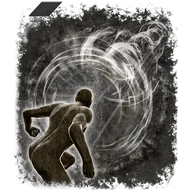
KickFP 0 · Ash of War, changeable
Push an enemy back with a high kick. Effective against enemies who are guarding, and can break a foe's stance. Sometimes a simple tool is the most effective.Ash of War: Kick
Compatible Ashes of War (11)
These Ashes of War can be applied to this weapon.





Where to find
Map pending
LocationAbandoned ChurchMap location pending
Abyssal Woods
Starting Site of Grace: Church Ruins
Before you go
- To enter the Realm of Shadow, defeat Starscourge Radahn and Mohg, Lord of Blood, then touch the withered arm in Mohg's arena at Mohgwyn Palace.
- Access the Realm of Shadow, complete Darklight Catacombs, and defeat Jori to enter Abyssal Woods.
- To enter the Realm of Shadow, defeat Starscourge Radahn and Mohg, Lord of Blood, then touch the withered arm in Mohg's arena at Mohgwyn Palace.
- For the main Shadow Keep approach, defeat the Golden Hippopotamus and activate Main Gate Plaza grace. Follow the left-hand route through the keep to the upper courtyard lined with burning boats. Watch for the Militiamen hiding beside them.
- At the southeastern end of the boat courtyard, find the ladder beside the outer railing and descend to the water. Walk behind the waterfall and take the second ladder down to the painting room.
- Strike the false wall beside the Domain of Dragons painting. Follow the revealed passage and rest in the stone coffin to arrive at Castle Watering Hole.
- Head south past Ruins of Unte, avoiding the active Furnace Golem. Follow the eastern, left-hand cliff beside the waterfall to Recluses' River Upstream grace.
- Continue south along the cliff ledges. Where the route changes sides, jump across to the western, right-hand bank and follow it down to Recluses' River Downstream grace. Clear nearby Man-Flies before attempting the drops.
- Use the large gravestones projecting from the cliff to descend to the river below, then continue south to the next descent. Take the lower gravestones one at a time to the wooded valley filled with stone coffins.
- Follow the valley's eastern cliff, keeping the wall on your left, to the catacomb doors marked by two pale flames. Enter Darklight Catacombs and ride the entrance lift to its grace. Bring a lantern or torch.
- From the dungeon grace, take the right-hand doorway beside the Yellow Fulgurbloom. Follow the descending stairs through the Imp rooms. At the lower doorway, deal with the cannon-mouthed Imp before crossing its line of fire.
- The passage behind the stairs leads to the first light-switch lever. Pull it to make the ledges easier to see, then return through the cannon Imp's doorway to the balcony.
- For the main route, take the balcony's left-hand doorway, pass the sorcerer room and descend the ramp to the first internal stone lift. Ride it down. This is separate from the lift at the dungeon entrance.
- In the next main room, take the stairs on the right and follow the left railing toward the next staircase. Look for the narrow broken section at the top of those stairs.
- Look down through the gap and drop carefully onto the thin ledge below. Turn back toward the doorway in the wall instead of dropping into the pit.
- Go through the doorway above the pit, clear the sorcerer on the right and take the ladder down beside him. Deal with the next sorcerer, then drop onto the main descending passage and ride the next stone lift to the lowest dungeon level.
- The enormous cannon Imp ahead fires explosive clusters. Move between cover toward the platform beneath it, dealing with the smaller imps rather than retreating into each delayed blast.
- Continue north to the doorway marked by two torches and pull the lever on the left. It lights the room and lowers the giant Imp's platform so you can reach the enemy.
- After clearing the lowered platform, drop to the chest area beneath it. Climb the ladder beyond the chest, pass the Lion Imp and drop into the connecting passage. Follow the passage to the final stone lift.
- Ride down to Jori, Elder Inquisitor and defeat him. Leave his arena through the opening into Forsaken Graveyard and activate its grace. This exit, rather than a cliff drop from Scadu Altus, leads into Abyssal Woods.
- Go south through the opening in the stone wall, then follow the woodland path south-southwest past the warning messages to Woodland Trail grace. Torrent becomes unavailable in these woods, so continue on foot.
- Follow the path south from Woodland Trail, watching for the hostile Madding Hand patrolling it. Continue southeast past the rats toward the ruined Abandoned Church.
- Enter Abandoned Church and activate Church Ruins grace. Search the seated corpse against the northern wall for Frenzyflame Perfume Bottle; the map monument outside is a separate pickup.
Notes
- Deals pure Fire damage. Dexterity gives its strongest scaling; Strength, Intelligence and Faith also contribute more weakly. It has no Arcane scaling.
- Normal attacks have 60 madness buildup. Raising Arcane does not improve it. Madness works against players and susceptible human NPCs, while most ordinary enemies and bosses are immune.
- Its Fire damage still works against a madness-immune enemy. The status effect and the damage are separate, so the weapon does not become harmless just because madness cannot trigger.
- Requires 3 Strength, 10 Dexterity, 12 Intelligence and 12 Faith and weighs 1.0. The spread of required attributes does not make every attribute equally effective for its damage.
- Frenzied Flame Seal's incantation bonus does not improve this weapon merely because its flames cause madness.
- A reusable weapon rather than a crafted aromatic. Ordinary attacks use stamina without spending perfume ingredients or an empty Perfume Bottle. Two-handing provides its paired-bottle attacks.
- Perfume Bottle weapons cannot perform backstabs or ripostes. A displayed critical rating does not give this weapon a critical-attack animation.
- Perfumer's Talisman increases perfume-attack damage by 20%. It does not increase status buildup. Damage bonuses for the weapon's actual element are separate options.
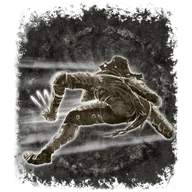
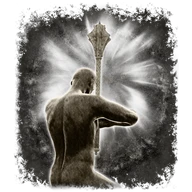
- Starts with Kick for no FP. Can use compatible Ashes of War: Kick, Endure, Rolling Sparks or Wall of Sparks. It keeps Standard affinity; whetblades do not add the usual Heavy, Cold or other melee affinities.
- Upgrades with Smithing Stones to +25. Grease and ordinary weapon enchantments cannot be applied, even though its affinity is Standard.
- The seated corpse is against Abandoned Church's northern wall. You do not need to defeat Midra, enter his manse or inherit the Frenzied Flame to collect it.
Related Equipment
Advertisement
Reserved · 300 × 250