These values are for this piece. Your total also depends on your other armor and active effects.
Poise & status resistance
Higher resistance lets more buildup accumulate before a status triggers.
PoiseHelps resist staggering
7
ImmunityPoison and scarlet rot
12
RobustnessBlood loss and frostbite
20
FocusSleep and madness
8
VitalityDeath blight
20
Compare head armor
The ten same-slot pieces closest in weight to Death Knight Helm. Lower weight is lighter; higher poise, negation and resistance provide more protection. Negation differences are percentage points.
Each piece increases damage from Dragon Cult incantations and supported Dragon Cult weapon skills by 2%. Wearing all four gives about 8% more qualifying damage.
Lightning Spear, Honed Bolt, Ancient Dragons' Lightning Strike and Knight's Lightning Spear benefit. Thunderbolt and Lightning Slash are examples of supported skills.
Technical details
Armor effects
Entry 1:
attribute: Attack Power
conditions:
Entry 1: Dragon Cult Spell
Entry 2: Unknown #133
model: multiplicative
type: positive
value: 1.02
Effects
Increases attack power by 2%. Requires: Dragon Cult Spell, supported Dragon Cult weapon skills.
Technical details
Attack Power
Increases attack power by 2%. Requires: Dragon Cult Spell, Unknown #133.
attribute: Attack Power
conditions:
Entry 1: Dragon Cult Spell
Entry 2: Unknown #133
model: multiplicative
type: positive
value: 1.02
In-game description
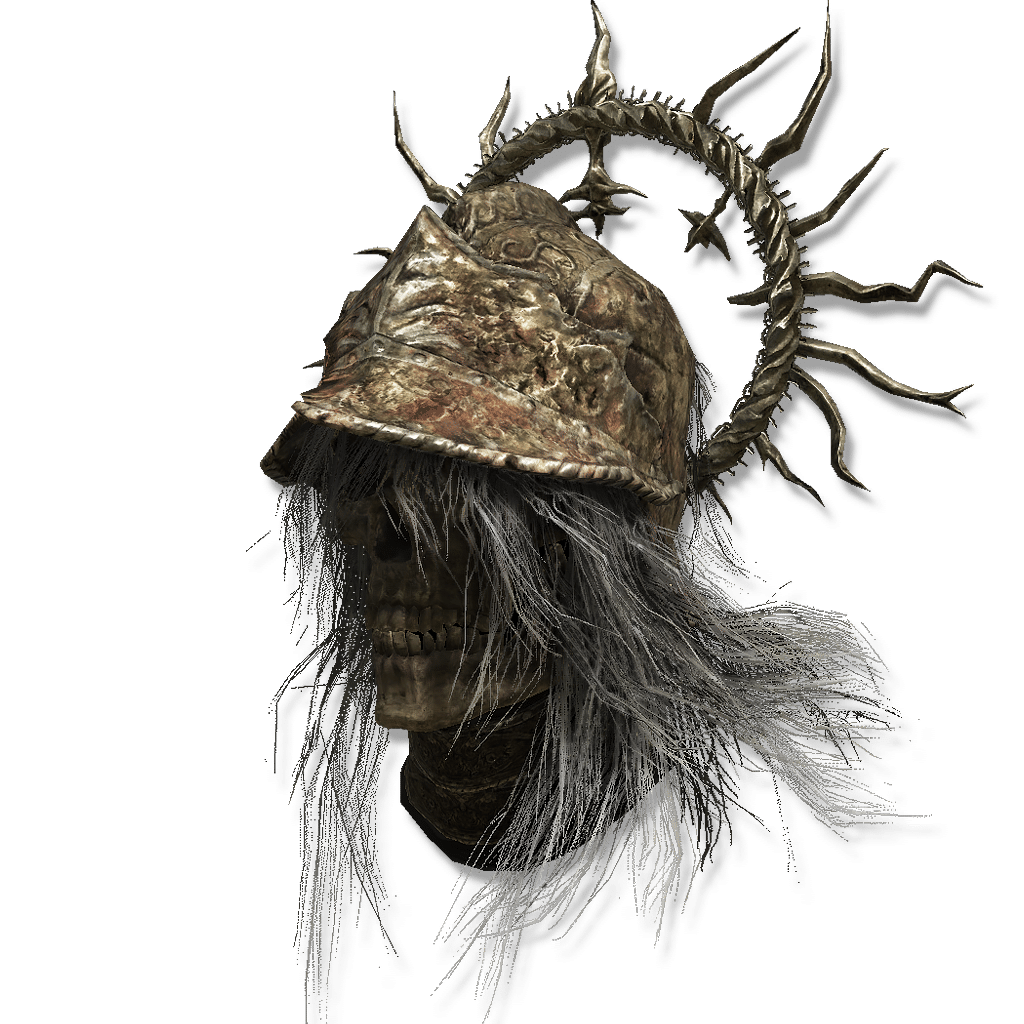
Golden helm of the Death Knights, whose own death masks served as the visards of their armor.
Enhances skills and incantations of the capital's ancient dragon cult.
The decayed golden wheel that adorns it represents their unbroken loyalty to Godwyn, he who became Prince of Death.
Where to find
Hidden room in Darklight Catacombs
Scadu Altus
Starting Site of Grace: Darklight Catacombs
Before you go
Reach the second dungeon level; no Jori victory is required.
To enter the Realm of Shadow, defeat Starscourge Radahn and Mohg, Lord of Blood, then touch the withered arm in Mohg's arena at Mohgwyn Palace.
For the main Shadow Keep approach, defeat the Golden Hippopotamus and activate Main Gate Plaza grace. Follow the left-hand route through the keep to the upper courtyard lined with burning boats. Watch for the Militiamen hiding beside them.
At the southeastern end of the boat courtyard, find the ladder beside the outer railing and descend to the water. Walk behind the waterfall and take the second ladder down to the painting room.
Strike the false wall beside the Domain of Dragons painting. Follow the revealed passage and rest in the stone coffin to arrive at Castle Watering Hole.
Head south past Ruins of Unte, avoiding the active Furnace Golem. Follow the eastern, left-hand cliff beside the waterfall to Recluses' River Upstream grace.
Continue south along the cliff ledges. Where the route changes sides, jump across to the western, right-hand bank and follow it down to Recluses' River Downstream grace. Clear nearby Man-Flies before attempting the drops.
Use the large gravestones projecting from the cliff to descend to the river below, then continue south to the next descent. Take the lower gravestones one at a time to the wooded valley filled with stone coffins.
Follow the valley's eastern cliff, keeping the wall on your left, to the catacomb doors marked by two pale flames. Enter Darklight Catacombs and ride the entrance lift to its grace. Bring a lantern or torch.
From the dungeon grace, take the right-hand doorway beside the Yellow Fulgurbloom. Follow the descending stairs through the Imp rooms. At the lower doorway, deal with the cannon-mouthed Imp before crossing its line of fire.
The passage behind the stairs leads to the first light-switch lever. Pull it to make the ledges easier to see, then return through the cannon Imp's doorway to the balcony.
For the main route, take the balcony's left-hand doorway, pass the sorcerer room and descend the ramp to the first internal stone lift. Ride it down. This is separate from the lift at the dungeon entrance.
In the next main room, take the stairs on the right and follow the left railing toward the next staircase. Look for the narrow broken section at the top of those stairs.
Look down through the gap and drop carefully onto the thin ledge below. Turn back toward the doorway in the wall instead of dropping into the pit.
An Imp hangs above that doorway and a sorcerer waits on the right inside. Clear them, then loot the Death Knight corpse beside the room's inner edge for all four armor pieces. Jori, the dungeon boss, is not required.
Notes
Weighs 4.6 and provides 7 poise.
Each piece increases damage from Dragon Cult incantations and supported Dragon Cult weapon skills by 2%. Wearing all four gives about 8% more qualifying damage.
Lightning Spear, Honed Bolt, Ancient Dragons' Lightning Strike and Knight's Lightning Spear benefit. Thunderbolt and Lightning Slash are examples of supported skills.
This is not a bonus to every Lightning attack. Ordinary attacks with a Lightning weapon do not gain it, and Dragon Communion breaths belong to a different spell family.
It does not increase Faith or the amount of Lightning added by Electrify Armament. Defensive Dragon Cult blessings do not gain stronger protection from a damage bonus.
The bonus can combine with Gravel Stone Seal for eligible incantations or Shard of Alexander for eligible skills. Neither makes an unsupported attack qualify.
All four pieces come from a hidden corpse in Darklight Catacombs. The Death Knights fought in other catacombs give their own weapon rewards, rather than dropping this outfit.
None of the pieces can be altered. No boss kill is needed for the hidden armor room.
 Head
 Death Knight HelmThis piece
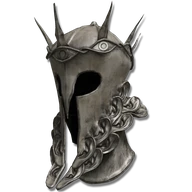 All-Knowing Helm
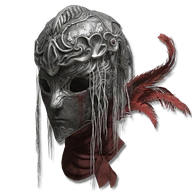 Diallos's Mask
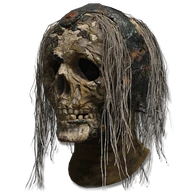 Royal Remains Helm
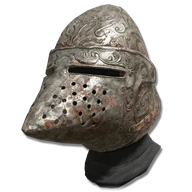 Bloodhound Knight Helm
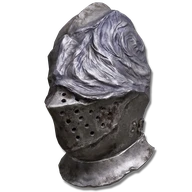 Fingerprint Helm
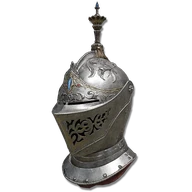 Carian Knight Helm
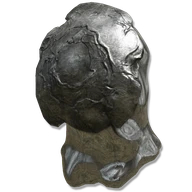 Silver Tear Mask
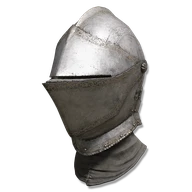 Knight Helm
 Winged Serpent Helm
 Horned Warrior Helm