Development preview — content and features are still being refined.
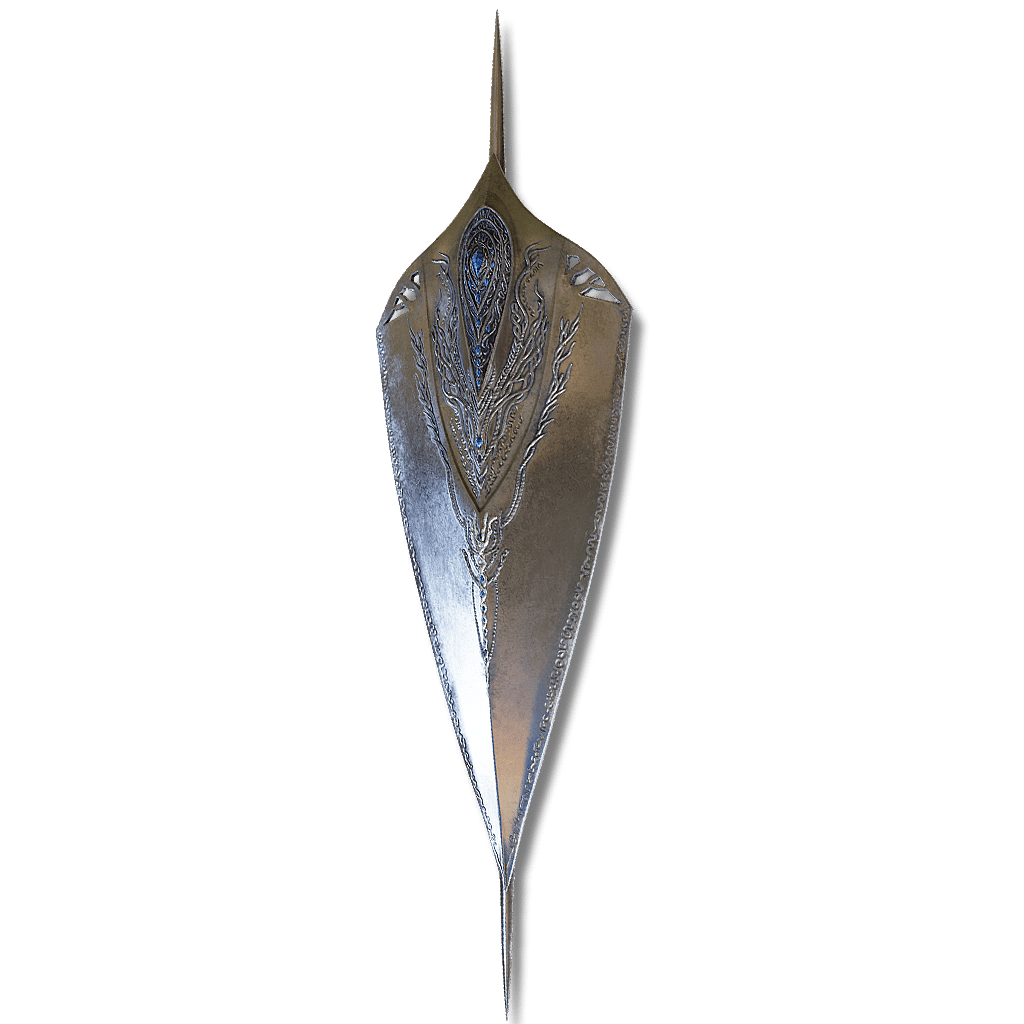 Thrusting Shield
Weapons · Thrusting Shield
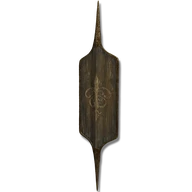
Carian Thrusting Shield
Pierce / StrikeSmithing Stone—Ash of War changeable
Silver thrusting shield embedded with glintstones. Enables the wielder to attack and guard simultaneously.
Attack rating—At your attributes
Weight10.5Equip load units
Requires17Str13Dex15Int
Passive buildup—At your attributes
Attack & scalingUpdates as you edit
In-game description
Silver thrusting shield embedded with glintstones.
Enables the wielder to attack and guard simultaneously.
Once wielded by Rellana, the Twin Moon Knight, during her sole entry into ritual combat—a demonstration of fidelity to the Erdtree.
Skill
Shield StrikeFP pending · Ash of War, changeable
A skill that uses the shield to attack. Repeated inputs allow for up to three follow-up attacks.Ash of War: Shield Strike
Compatible Ashes of War (49)
These Ashes of War can be applied to this weapon.
 Barricade Shield
 Beast's Roar
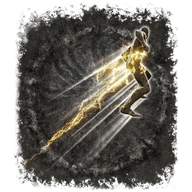 Blinkbolt
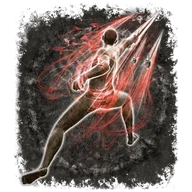 Blood Tax
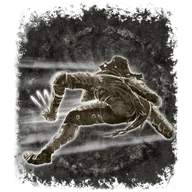 Bloodhound's Step
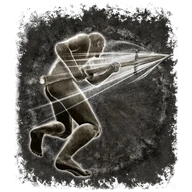 Charge Forth
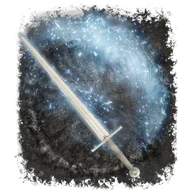 Chilling Mist
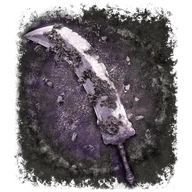 Cragblade
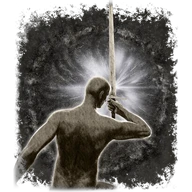 Determination
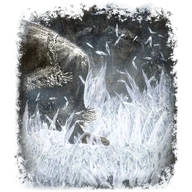 Divine Beast Frost Stomp
 Endure
 Flame of the Redmanes
 Flame Skewer
 Flame Spear
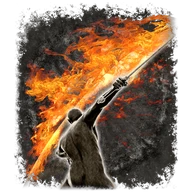 Flaming Strike
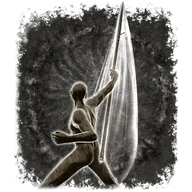 Giant Hunt
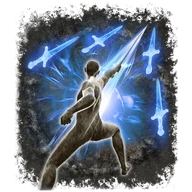 Glintblade Phalanx
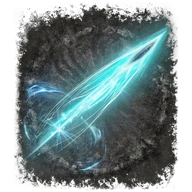 Glintstone Pebble
 Golden Slam
 Golden Vow
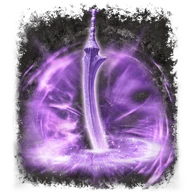 Gravitas
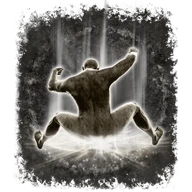 Ground Slam
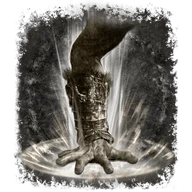 Hoarah Loux's Earthshaker
 Hoarfrost Stomp
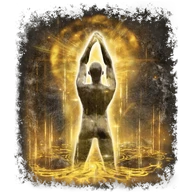 Holy Ground
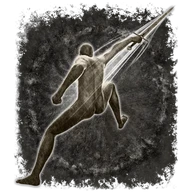 Impaling Thrust
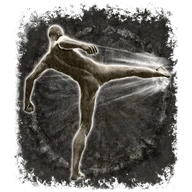 Kick
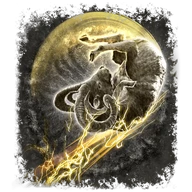 Lightning Ram
 No Skill
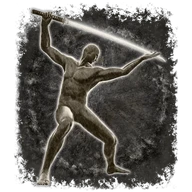 Piercing Fang
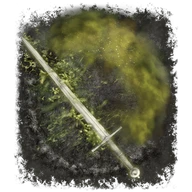 Poisonous Mist
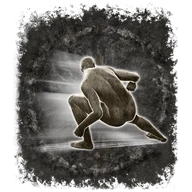 Quickstep
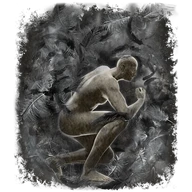 Raptor of the Mists
 Repeating Thrust
 Royal Knight's Resolve
 Sacred Blade
 Sacred Order
 Shared Order
 Shield Bash
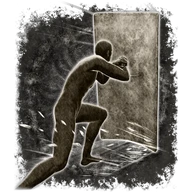 Shield Crash
- Shield Strike
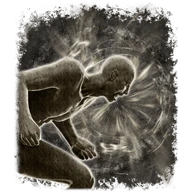 Shriek of Sorrow
 Spinning Weapon
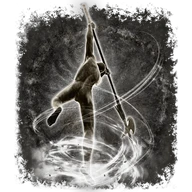 Storm Assault
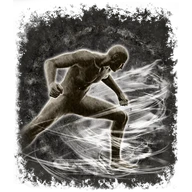 Storm Stomp
 The Poison Flower Blooms Twice
 Thunderbolt
 Vow of the Indomitable
 White Shadow's Lure
Where to find
Map pending
LocationShadow Keep, Storehouse Back SectionMap location pending
Scadu Altus
Starting Site of Grace: Storehouse, Back Section
Before you go
- To enter the Realm of Shadow, defeat Starscourge Radahn and Mohg, Lord of Blood, then touch the withered arm in Mohg's arena at Mohgwyn Palace.
- Reach Shadow Keep through the Church District entrance on its eastern side.
- From Highroad Cross in Scadu Altus, follow the road east to Moorth Ruins and activate the grace beside the cross.
- Pass through the large stone arch east-southeast of the grace. At the house ahead, turn left toward the leaning tower. Avoid the large open shaft behind the house, which is too deep for a direct drop.
- Find the smaller gap between the broken building and the rock wall in front of the leaning tower. Drop onto the balcony-like ledge, turn right past the dogs and follow the cave inward.
- In the open chamber at the end, take the back-left ledges down onto the lower roof. Look for the small shrine guarded by three Inquisitors and collect Golden Arcs from the chest inside.
- To continue east, drop from the lower roof to the ground and take the cave beside the building on the left. Follow it to the long ladder and climb out of the well at Bonny Village grace.
- Go east through Bonny Village, watching for the large cleaver-wielding villagers, and cross the two suspension bridges. The second brings you to Bridge Leading to the Village grace.
- Follow the road north through the woods to Church District Highroad grace. Take the northwestern road through the entrance tunnel and activate Church District Entrance inside Shadow Keep. This eastern entrance leads to the flooded district, rather than the main-gate Hippopotamus arena.
- Jump from the entrance ledge onto the first roof below. Follow its northwestern edge and jump from the raised roof section to the stone wall opposite, rather than taking the southwestern log platforms toward different loot.
- Follow the wall around and climb its northeastern rise. Jump to the next roof northwest, where a Fire Knight patrols. Clear it or make enough room to continue safely.
- Cross toward the next large church and jump onto the sloping stone support on your left. Walk southwest up that support to the high roof, then use the broken roof opening to drop onto the central beam below.
- Follow the beam to the adjoining upper corridor and drop through the opening in its floor onto the raised church passage. Stay above the water and continue northwest; the Prayer Room door is a separate side destination.
- Pass the small side room holding a Rune of an Unsung Hero and continue into the corridor patrolled by two Fire Knights. The first left exit leads toward the drainage wheel, while the later left exit leads to the Storehouse lift.
- In the corridor with the two Fire Knights, pass the first left exit toward the drainage wheel. Use the later left exit and cross the bridge to the lift. Draining the district is unnecessary for this upper route.
- Ride the lift into the Storehouse. Go left to activate Storehouse, Back Section, then continue around the corner into the room with a Fire Knight.
- Clear the knight or draw him away from the table behind him. Search the corpse beneath that table for Carian Thrusting Shield. You do not need to defeat Messmer or Commander Gaius.
Notes
- Requires 17 Strength, 13 Dexterity and 15 Intelligence, and weighs 10.5. On Standard, Strength and Dexterity provide equal physical scaling while Intelligence strengthens its separate magic portion.
- Its thrusts deal physical piercing damage plus innate magic damage. Raising Intelligence does not directly strengthen the physical portion, and a displayed combined attack rating still meets the enemy's physical and magic defenses separately.
- The thrusting-shield moveset can attack and guard during the same motion. This is useful for trading into an opening, but attacking and blocking both spend stamina. It does not recreate the old near-free blocking behavior.
- Standard blocks 94% physical damage, so some physical chip gets through. Base Guard Boost is 64, Magic blocking is 64%, and Lightning is its weakest protection at 34%. Blocking a hit is not the same as avoiding it.
- Shield Strike costs no FP and gives the shield's light-attack chain through skill inputs, including when held in the left hand. Repeated inputs continue the chain; it is not a parry or a spell cast.
- Upgrade with Smithing Stones to +25. Can use compatible Ashes of War from both its melee-weapon and shield options. That does not mean every sword, spear or shield skill is compatible.
- A shield-specific skill in the left hand can override the right-hand weapon's skill. A melee-weapon skill installed on this shield normally follows weapon priority instead; two-hand the shield to use that skill without interference from the right hand.
- Grease or a weapon enchantment can be applied while using Standard, Heavy, Keen or Quality, despite its built-in magic damage. Magic and Cold change the scaling and damage mix but remove ordinary offensive weapon-buff compatibility.
- Defensive shield buffs and offensive weapon coatings use the same buff slot on this weapon. Applying one replaces the other; Scholar's Shield and an offensive weapon enchantment are not simultaneous layers.
- Dueling Shield is lighter and needs no Intelligence, while this one has stronger Standard physical and magic blocking and an innate magic attack. Choose around the attributes and defenses you actually need rather than treating the Intelligence requirement as a casting ability.
Related Equipment
Advertisement
Reserved · 300 × 250