Development preview — content and features are still being refined.
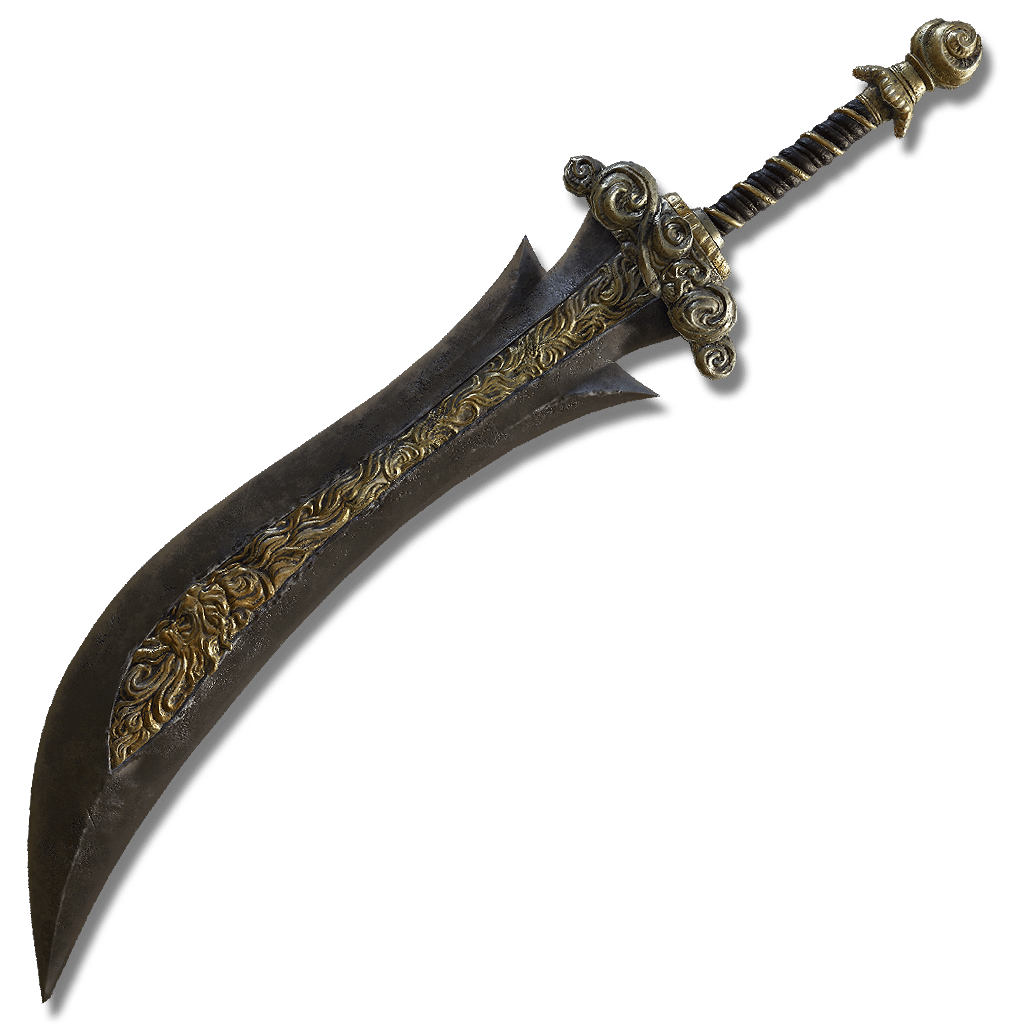 Curved Greatsword
Weapons · Curved Greatsword
Freyja's Greatsword
Weapon of Freyja, a Redmane. Greatsword decorated with a mane, much like the weapons used by her liege.
Attack & scalingUpdates as you edit
Effects
Effects
Increases attack power by 10%. In PvP, the change is 7%. Requires: Lion's Claw, Savage Lion's Claw, Flame of the Redmanes or Roaring Bash.
Technical details
Attack Power
Increases attack power by 10%. In PvP, the change is 7%. Requires: Unknown 134.
- attribute: Attack Power
- conditions:
- Entry 1: Unknown 134
- model: multiplicative
- type: positive
- value: 1.1
- value pvp: 1.07
In-game description
Weapon of Freyja, a Redmane.
Greatsword decorated with a mane, much like the weapons used by her liege.
The spirit of Freyja's training lingers in this sword, enhancing the power of Redmane battle skills.
Skill
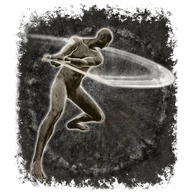
Skill favored by dexterous warriors. Slash foes as your body spins. Additional input allows for a follow-up attack.Ash of War: Spinning Slash
Compatible Ashes of War (57)
These Ashes of War can be applied to this weapon.
 Aspects of the Crucible: Wings
 Barbaric Roar
 Beast's Roar
 Blinkbolt
 Bloodhound's Step
 Bloody Slash
 Braggart's Roar
 Carian Grandeur
 Carian Greatsword
 Carian Sovereignty
 Chilling Mist
 Cragblade
 Determination
 Divine Beast Frost Stomp
 Double Slash
 Endure
 Eruption
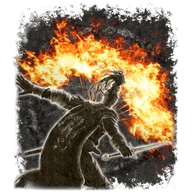 Flame of the Redmanes
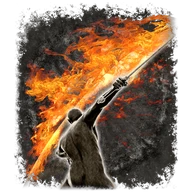 Flaming Strike
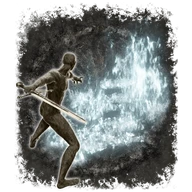 Ghostflame Call
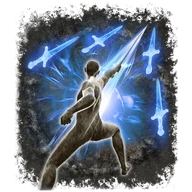 Glintblade Phalanx
 Glintstone Pebble
 Golden Slam
 Golden Vow
 Gravitas
 Ground Slam
 Hoarah Loux's Earthshaker
 Hoarfrost Stomp
 Kick
 Lightning Ram
 Lightning Slash
 Lion's Claw
 Poisonous Mist
 Quickstep
 Raptor of the Mists
 Royal Knight's Resolve
 Sacred Blade
 Sacred Order
 Savage Lion's Claw
 Seppuku
 Shared Order
 Shriek of Sorrow
 Spinning Gravity Thrust
- Spinning Slash
 Stamp (Sweep)
 Stamp (Upward Cut)
 Storm Blade
 Storm Stomp
 Stormcaller
 Sword Dance
 The Poison Flower Blooms Twice
 Thunderbolt
 Troll's Roar
 Vacuum Slice
 War Cry
 White Shadow's Lure
 Wild Strikes
Where to find
Enir-Ilim
Starting Site of Grace: Cleansing Chamber Anteroom
- Enter the Realm of Shadow after defeating Starscourge Radahn and Mohg, Lord of Blood, by touching the withered arm in Mohg's arena.
- At Three-Path Cross, speak to Redmane Freyja. Follow the western rocky passage to Main Gate Cross outside Belurat and speak to Sir Ansbach. Return to finish their new conversations after Miquella's great rune and charm break near Shadow Keep.
- From Highroad Cross in Scadu Altus, follow the main road north to Shadow Keep's southern gate. Ride the entrance lift and activate Shadow Keep Main Gate grace.
- Defeat Golden Hippopotamus in the plaza. This is the front-door route; the flooded Church District provides a different way into the keep.
- From Main Gate Plaza, leave through the west-northwest doorway, pass through the armory and climb the stairs. Continue up the wooden steps to the dining hall, where two Black Knights guard the route.
- Leave the dining hall through its southeastern exit to the upper rampart. Follow the rampart past the burning boats and watch for the small Shadow Militiamen hiding beside them.
- Take the stairs leading north-northeast toward the large lift, passing the Fire Knight in front of it. Ride up and activate Storehouse, First Floor grace.
- From Storehouse, First Floor, take the stairs beside the large horned specimen and follow the shelves toward the northern side. Before climbing to the next level, take the right-hand passage down into the side room with the altar and skeletons.
- Ansbach is in the corner of this room. Finish his dialogue about his investigation, but hold on to Secret Rite Scroll until you have spoken to Freyja upstairs if you want her shield.
- Return upstairs and follow the shelf-lined walkways up the next two levels. Watch for Shadow Militiamen beside the stairs and the Fire Knight on the third-floor walkway.
- Continue southwest past that Fire Knight to the walkway corner where more militiamen approach. Find the large feet of the suspended specimen, climb onto it and follow its body upward.
- Jump from the specimen's horns onto the balcony with the cross and activate Storehouse, Fourth Floor grace. The ordinary stair route does not directly replace this climb.
- Leave the fourth-floor grace through the western doorway. Follow the outer balcony south, climb past the Fire Knight casting from the next stairs and continue east.
- Before continuing up toward the next Storehouse entrance, take the stairs down on the left near the bats. Enter the lower room and collect Secret Rite Scroll beside the shelves at the far edge.
- Keep the scroll for now if following Freyja. Picking it up is safe; handing it to Ansbach before discussing her investigation is the step that can make him leave too soon.
- Return outside and climb the stairs past the turnoff for the scroll. Take the left doorway around the eastern corner to re-enter the Storehouse.
- Follow the shelves northeast and north past the Fire Knight near the corner. Continue by the deer specimen and climb the stairs toward the sixth floor.
- Keep taking the upward stairs, then turn west up the final flight to Storehouse, Seventh Floor grace. Freyja is reading beside the fireplace here. Finish her dialogue about the information she needs from Ansbach.
- Fast travel to Storehouse, First Floor and return to Ansbach's lower side room. Tell him about Freyja's investigation before handing over Secret Rite Scroll, then finish his new dialogue.
- Ask about Freyja again until he gives Letter for Freyja. If the option has not appeared, rest, return and finish the next conversation after both the scroll and her question have been discussed.
- Return to Storehouse, Seventh Floor and give Freyja the letter. Speak again to receive Golden Lion Shield, then finish her dialogue. Pass on her response to Ansbach if he is still in his room.
- Defeat Messmer in Shadow Keep for his kindling and Romina at Church of the Bud in the Ancient Ruins of Rauh.
- Finish the companion quest steps you want before burning the Sealing Tree behind Romina with Messmer's Kindling. This advances their quests and carries you to Enir-Ilim: Outer Wall.
- From Outer Wall, climb northeast to the large balcony, then southwest up the next stairs. Turn southeast toward the Divine Bird Warrior and enter the building beyond it. Climb the broken ledges and cross the balcony to First Rise grace.
- From First Rise, take the stairs upward through the building and use the southwest doorway toward the courtyard route. Continue through to the courtyard with the large patrolling inquisitor and the smaller enemies praying below.
- Take the upward stairs on the courtyard's southeastern side, rather than the lower tree detour. Use the stone railings for cover from the inquisitors' rapid spells, then continue up beside the large tree to the Divine Beast Warrior.
- Get past the warrior and climb northwest. Keep moving when the upper inquisitors cast attacks beneath your feet. Open the large double doors at the top of the stairs and activate Spiral Rise grace.
- Climb the spiral stairs and leave through the window before the broken floor. Follow the roof southwest around the building, then jump west to the wider roof. Draw out the Gravebirds one at a time instead of fighting all three at the corner.
- Continue northwest from the roofs onto the platform with another bird and stairs. Climb the northern stairs, then the next flight toward the frost-wielding Divine Beast Warrior. The drop over the railing is an optional Spirit Ash detour.
- Get past the warrior. From the small structure northwest of it, go east to the corpse with Sunwarmth Stones and climb the roof beside it. Enter the tower through its southeastern windows.
- Climb the stairs inside the tower and clear the inquisitors around the lift. This is the lift above the large altar, before the final wind-wielding warrior and Cleansing Chamber Anteroom.
- Continue south-southwest up the tower's stairs and go outside. Get past the wind-wielding Divine Beast Warrior on the large platform and enter the building above it for Cleansing Chamber Anteroom grace. The lift down to the altar is an optional helmet detour.
- Climb the stairs east from Cleansing Chamber Anteroom and enter the sandy chamber. Finish Leda's dialogue. Use any available gold ally signs if you want help, then interact with the red sign to begin the battle against her and her allies.
- Defeat the group and return to your world. Loot the bodies left around the chamber before taking the eastern exit.
- After winning, search Freyja's body for her greatsword and regular armor. Golden Lion Shield was the earlier letter reward.
Shadow Keep
Starting Site of Grace: Storehouse, Seventh Floor
Before you go
- Leave Freyja without the letter and progress to Leda's Enir-Ilim confrontation.
- At Three-Path Cross, speak to Redmane Freyja. Follow the western rocky passage to Main Gate Cross outside Belurat and speak to Sir Ansbach. Return to finish their new conversations after Miquella's great rune and charm break near Shadow Keep.
- Enter the Realm of Shadow after defeating Starscourge Radahn and Mohg, Lord of Blood, by touching the withered arm in Mohg's arena.
- From Highroad Cross in Scadu Altus, follow the main road north to Shadow Keep's southern gate. Ride the entrance lift and activate Shadow Keep Main Gate grace.
- Defeat Golden Hippopotamus in the plaza. This is the front-door route; the flooded Church District provides a different way into the keep.
- From Main Gate Plaza, leave through the west-northwest doorway, pass through the armory and climb the stairs. Continue up the wooden steps to the dining hall, where two Black Knights guard the route.
- Leave the dining hall through its southeastern exit to the upper rampart. Follow the rampart past the burning boats and watch for the small Shadow Militiamen hiding beside them.
- Take the stairs leading north-northeast toward the large lift, passing the Fire Knight in front of it. Ride up and activate Storehouse, First Floor grace.
- From Storehouse, First Floor, take the stairs beside the large horned specimen and follow the shelves toward the northern side. Before climbing to the next level, take the right-hand passage down into the side room with the altar and skeletons.
- Ansbach is in the corner of this room. Finish his dialogue about his investigation, but hold on to Secret Rite Scroll until you have spoken to Freyja upstairs if you want her shield.
- Return upstairs and follow the shelf-lined walkways up the next two levels. Watch for Shadow Militiamen beside the stairs and the Fire Knight on the third-floor walkway.
- Continue southwest past that Fire Knight to the walkway corner where more militiamen approach. Find the large feet of the suspended specimen, climb onto it and follow its body upward.
- Jump from the specimen's horns onto the balcony with the cross and activate Storehouse, Fourth Floor grace. The ordinary stair route does not directly replace this climb.
- Leave the fourth-floor grace through the western doorway. Follow the outer balcony south, climb past the Fire Knight casting from the next stairs and continue east.
- Before continuing up toward the next Storehouse entrance, take the stairs down on the left near the bats. Enter the lower room and collect Secret Rite Scroll beside the shelves at the far edge.
- Keep the scroll for now if following Freyja. Picking it up is safe; handing it to Ansbach before discussing her investigation is the step that can make him leave too soon.
- Return outside and climb the stairs past the turnoff for the scroll. Take the left doorway around the eastern corner to re-enter the Storehouse.
- Follow the shelves northeast and north past the Fire Knight near the corner. Continue by the deer specimen and climb the stairs toward the sixth floor.
- Keep taking the upward stairs, then turn west up the final flight to Storehouse, Seventh Floor grace. Freyja is reading beside the fireplace here. Finish her dialogue about the information she needs from Ansbach.
- If you leave Freyja's investigation unfinished, she stays in the Storehouse instead of joining Leda's group. Continue through Enir-Ilim to Leda's confrontation, then return to Storehouse, Seventh Floor after the encounter and reload if needed.
- Collect Freyja's Greatsword and her armor from her former position. If you never spoke to her there, also check her original Three-Path Cross position. This fallback does not give the earlier shield reward.
Notes
- Requires 25 Strength and 14 Dexterity, and weighs 14. Standard Physical scaling strongly favors Strength, with a smaller Dexterity contribution.
- While held in an active hand, it improves eligible Redmane skill damage by 10% against enemies and 7% against other players.
- The eligible skills are Lion's Claw, Savage Lion's Claw, Flame of the Redmanes and Roaring Bash. It is not a bonus to every skill used by Radahn, every fire attack or ordinary greatsword swings.
- The passive can strengthen a qualifying skill used from the other active hand. Keeping the sword in an unused inventory slot does not activate it.
- Shard of Alexander combines with its skill bonus. For an eligible skill against enemies, the two 15% and 10% bonuses multiply to 26.5% before other bonuses and defenses.
- The sword starts with Spinning Slash, which is outside the special Redmane list. Use a compatible eligible Ash if you want the sword's own skill to receive its passive.
- Its heavy curved greatsword moveset is separate from the somersault of Lion's Claw. Changing the skill does not replace every ordinary attack.
- Uses ordinary Smithing Stones to +25. Can use compatible Ashes of War. Grease or a weapon enchantment can be applied while using an affinity that allows weapon buffs.
- Tell Ansbach about Freyja's investigation before finishing the scroll conversation if you want Letter for Freyja. Delivering it gives Golden Lion Shield and sends her toward the later opposing group.
- The sword also has a later fallback when she was left in the Storehouse. Killing her early ends her quest and can lose the shield, so it is unnecessary for the ordinary reward route.
Related Equipment
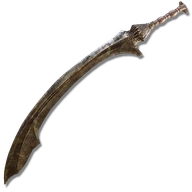 Onyx Lord's GreatswordCurved GreatswordCalculating at min req stats
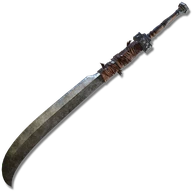 DismounterCurved GreatswordCalculating at min req stats
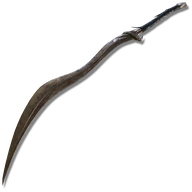 Bloodhound's FangCurved GreatswordCalculating at min req stats
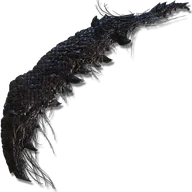 Magma Wyrm's ScaleswordCurved GreatswordCalculating at min req stats
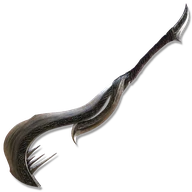 Zamor Curved SwordCurved GreatswordCalculating at min req stats
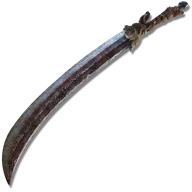 Omen CleaverCurved GreatswordCalculating at min req stats
Advertisement